How to create Sensitive Information Types in Purview
- Maxime Hiez
- Purview , Tutorial
- 07 Jul, 2026
Introduction
In previous articles, we examined how Microsoft Purview can protect sensitive data through DLP (Data Loss Prevention) policies and Sensitivity Labels. However, all these features rely on one essential element : the ability to accurately identify sensitive information.
This is where Sensitive Information Types (SIT) come in. Whether detecting credit card numbers, social security numbers, employee IDs, passwords, or custom business identifiers, these sensitive information types form the foundation of many Purview features. They allow organizations to automatically classify, protect, and monitor sensitive data, as well as prevent its unauthorized sharing within Microsoft 365.
Prerequisites
Required licenses
- Microsoft 365 Business Premium, Microsoft 365 E3 and Microsoft 365 E5.
- Microsoft Purview Suite as an add-on with another license (E1, Standard, …).
Administrator role
- An account with the Global Administrator or Compliance Administrator role to access the Microsoft Purview Portal.
Step 1 : Sign in to the Microsoft Purview Portal
Sign in to the Microsoft Purview Portal by opening your web browser to https://purview.microsoft.com.
Step 2 : Create a Sensitive Information Type
In the left menu, click Solutions, then Information Protection, then Classifiers, and Sensitive info types.
Click Create sensitive info type.
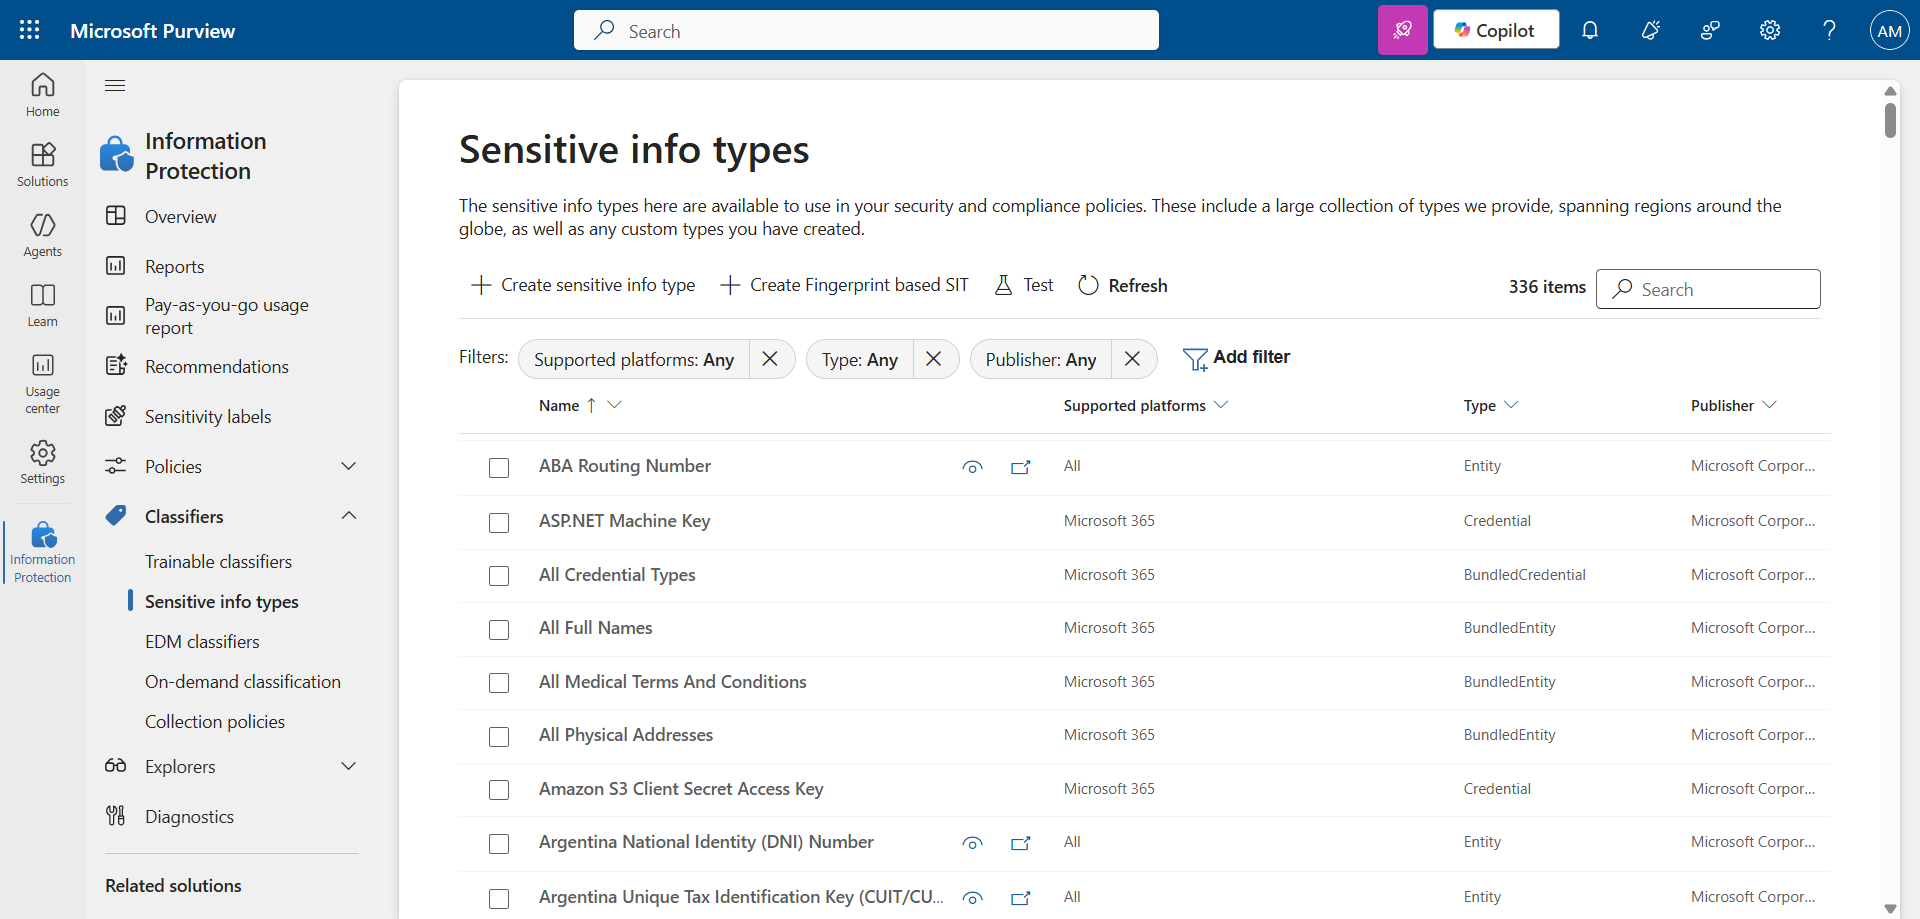
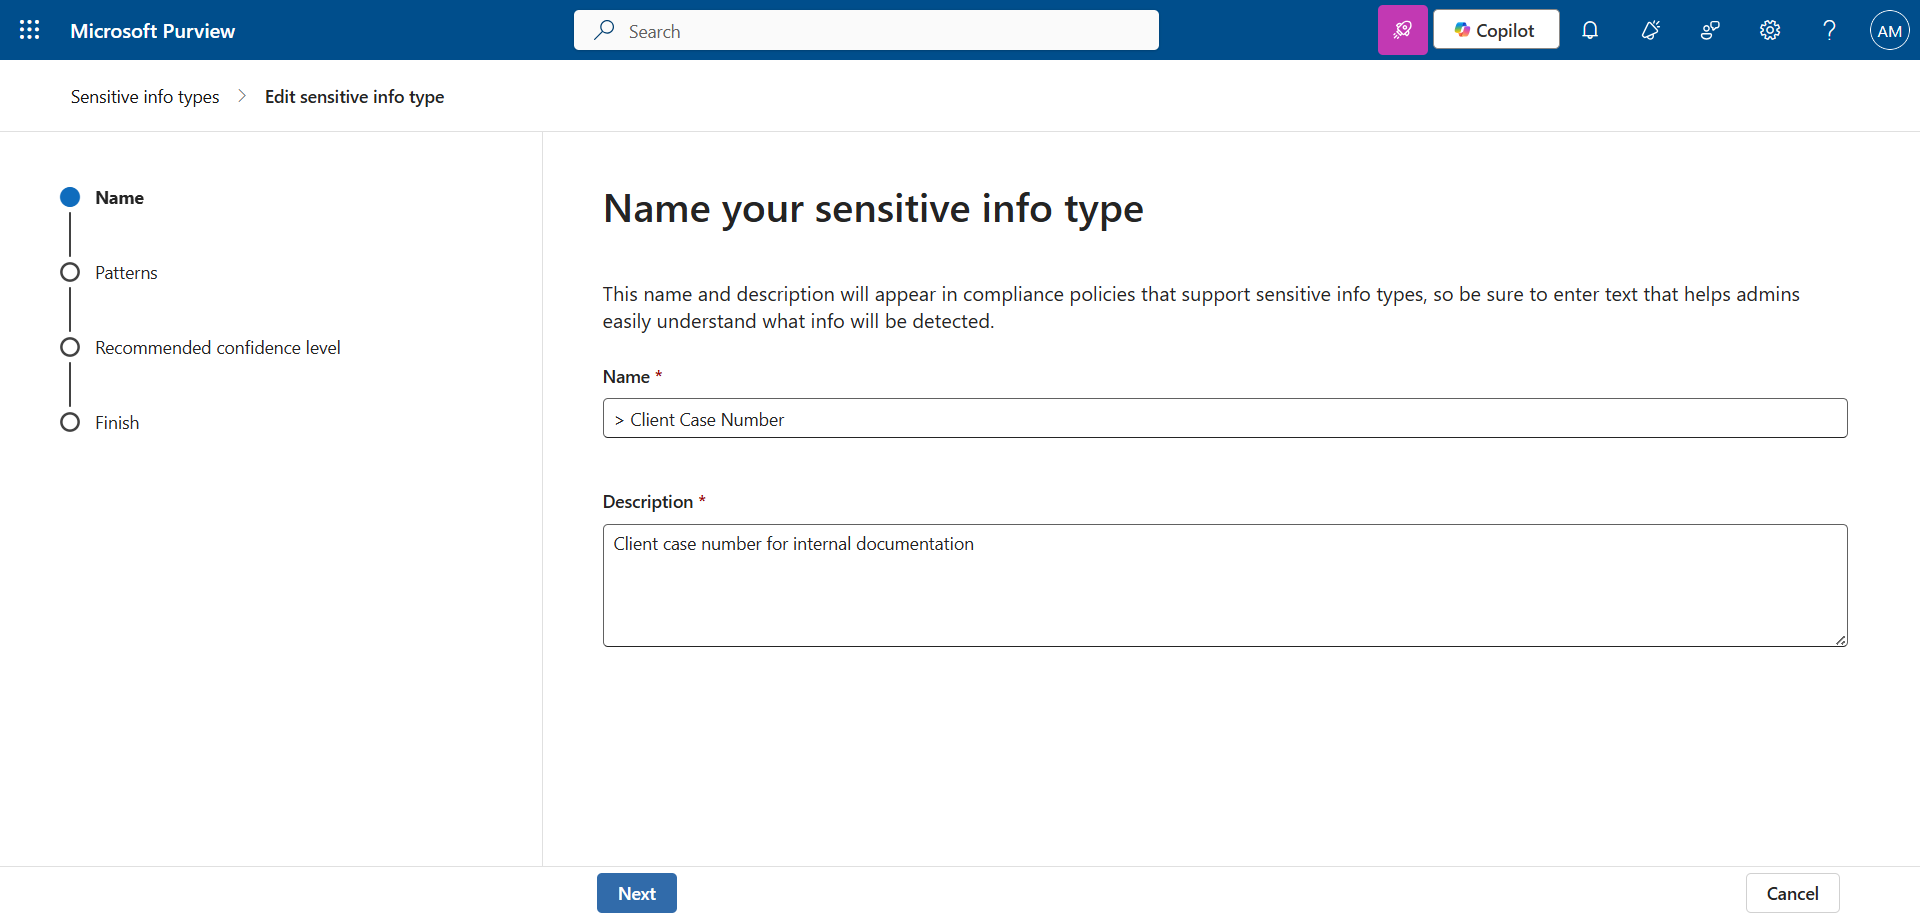
Set a name and description. (I use a ”>” prefix to easily find my custom Sensitive Information Types).
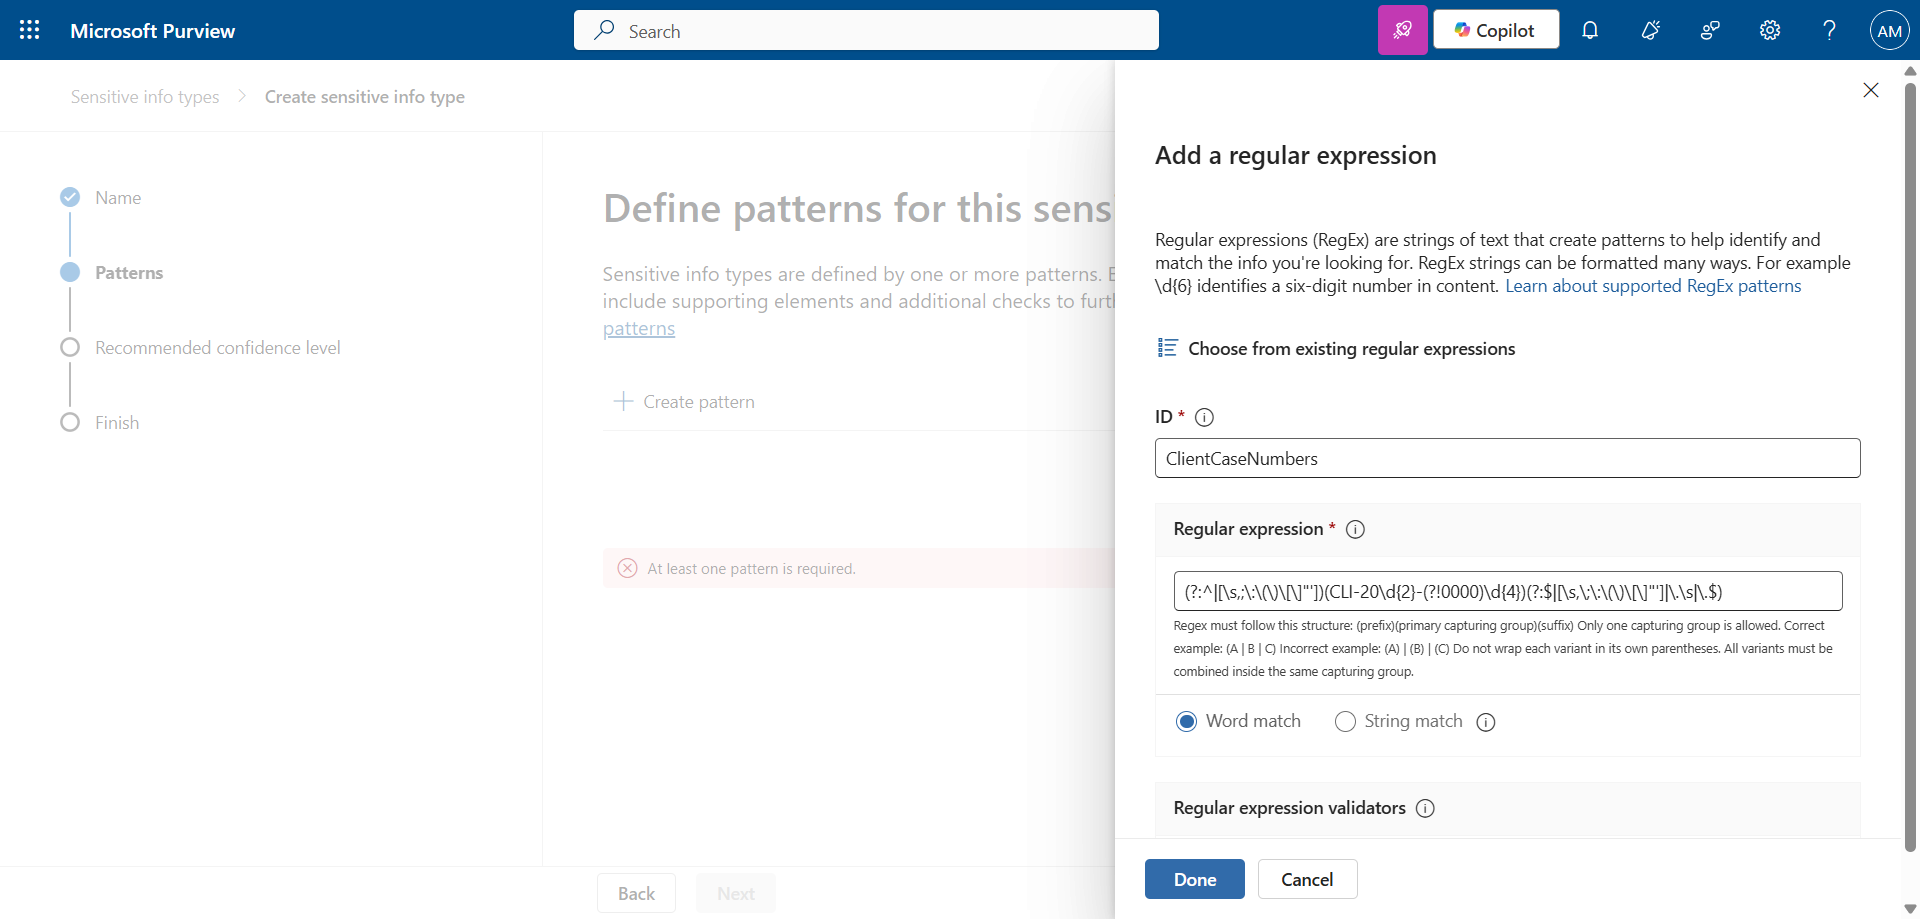
Here, I use a regex to detect the CLI-20XX-YYYY format (for example CLI-2026-1234).
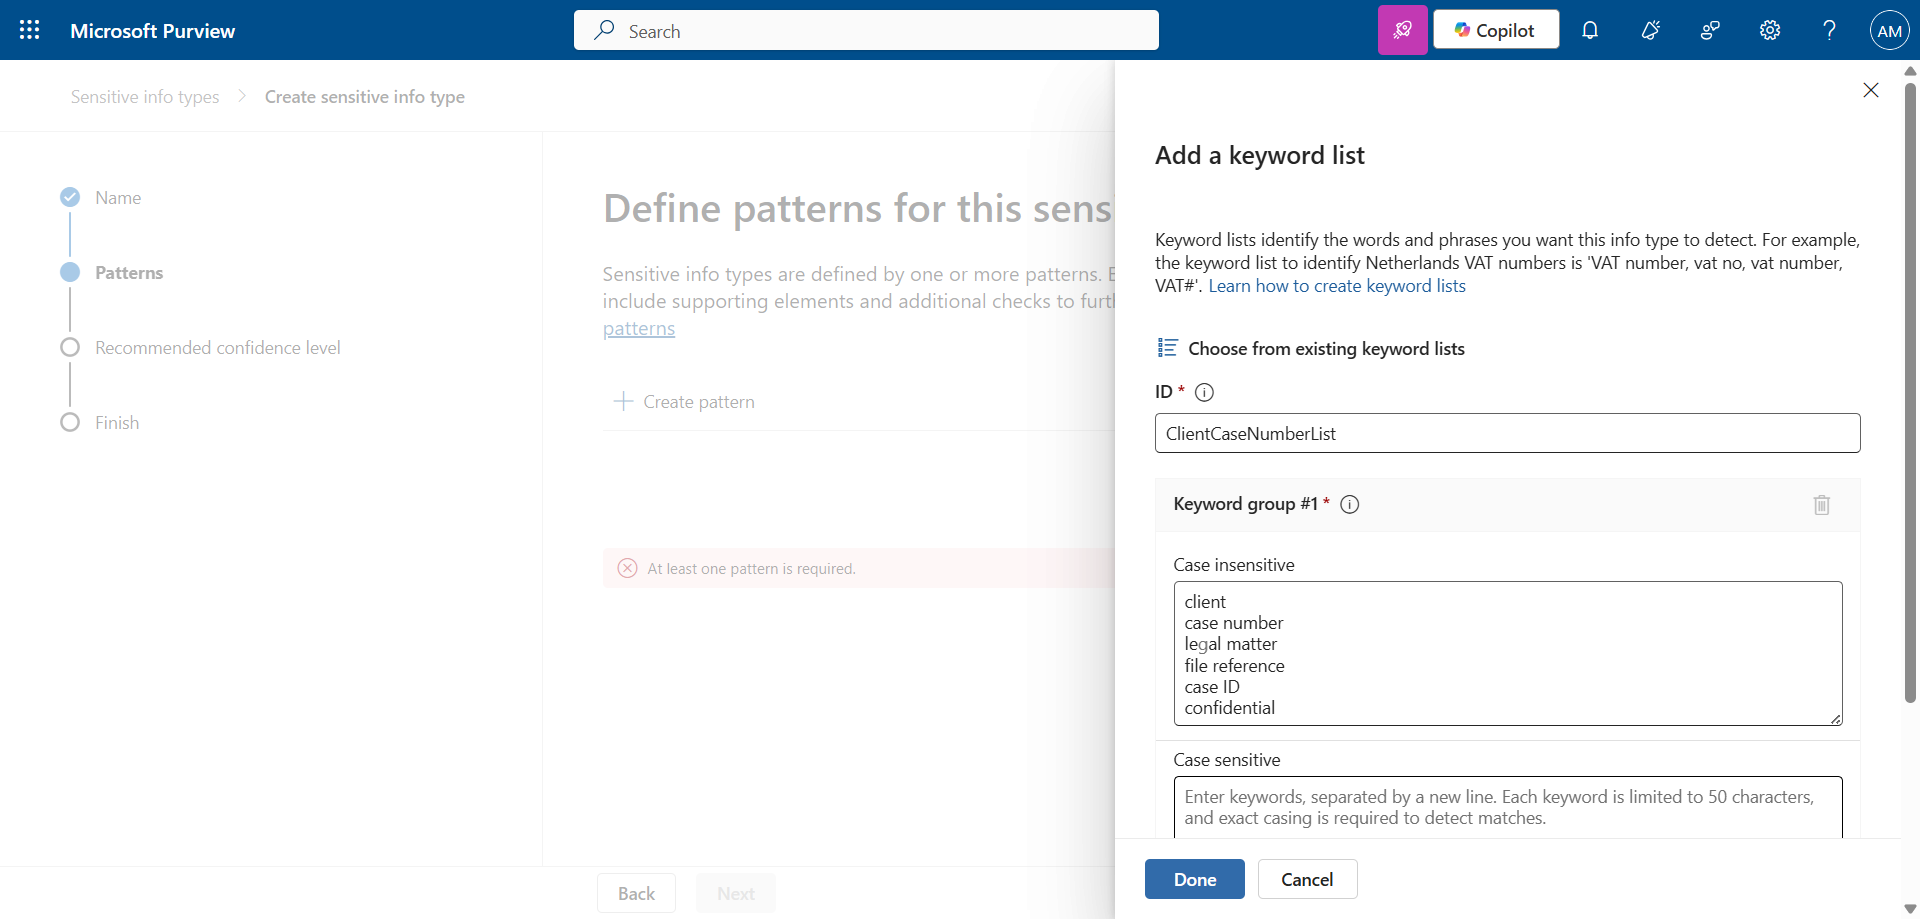
And a keyword list that can support the expression I am trying to validate.
tip
Step 3 : Test the Sensitive Information Type
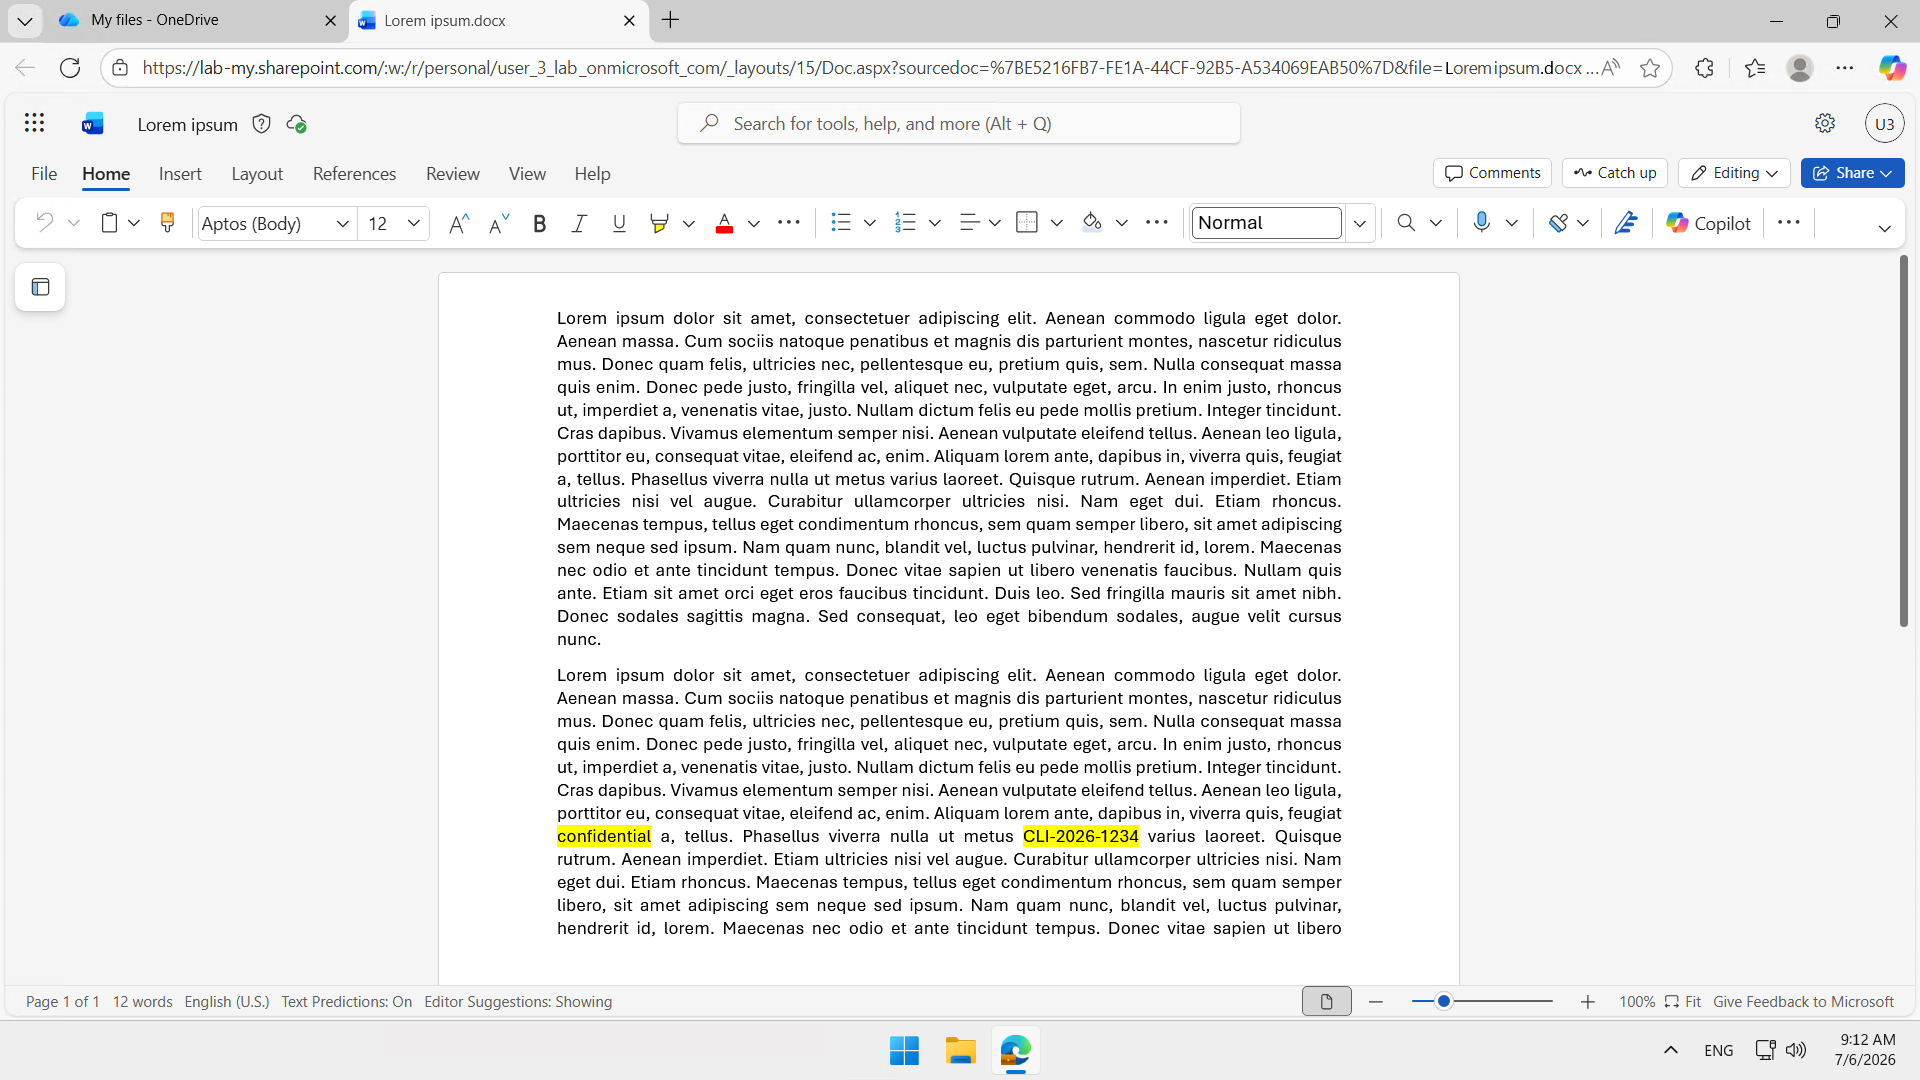
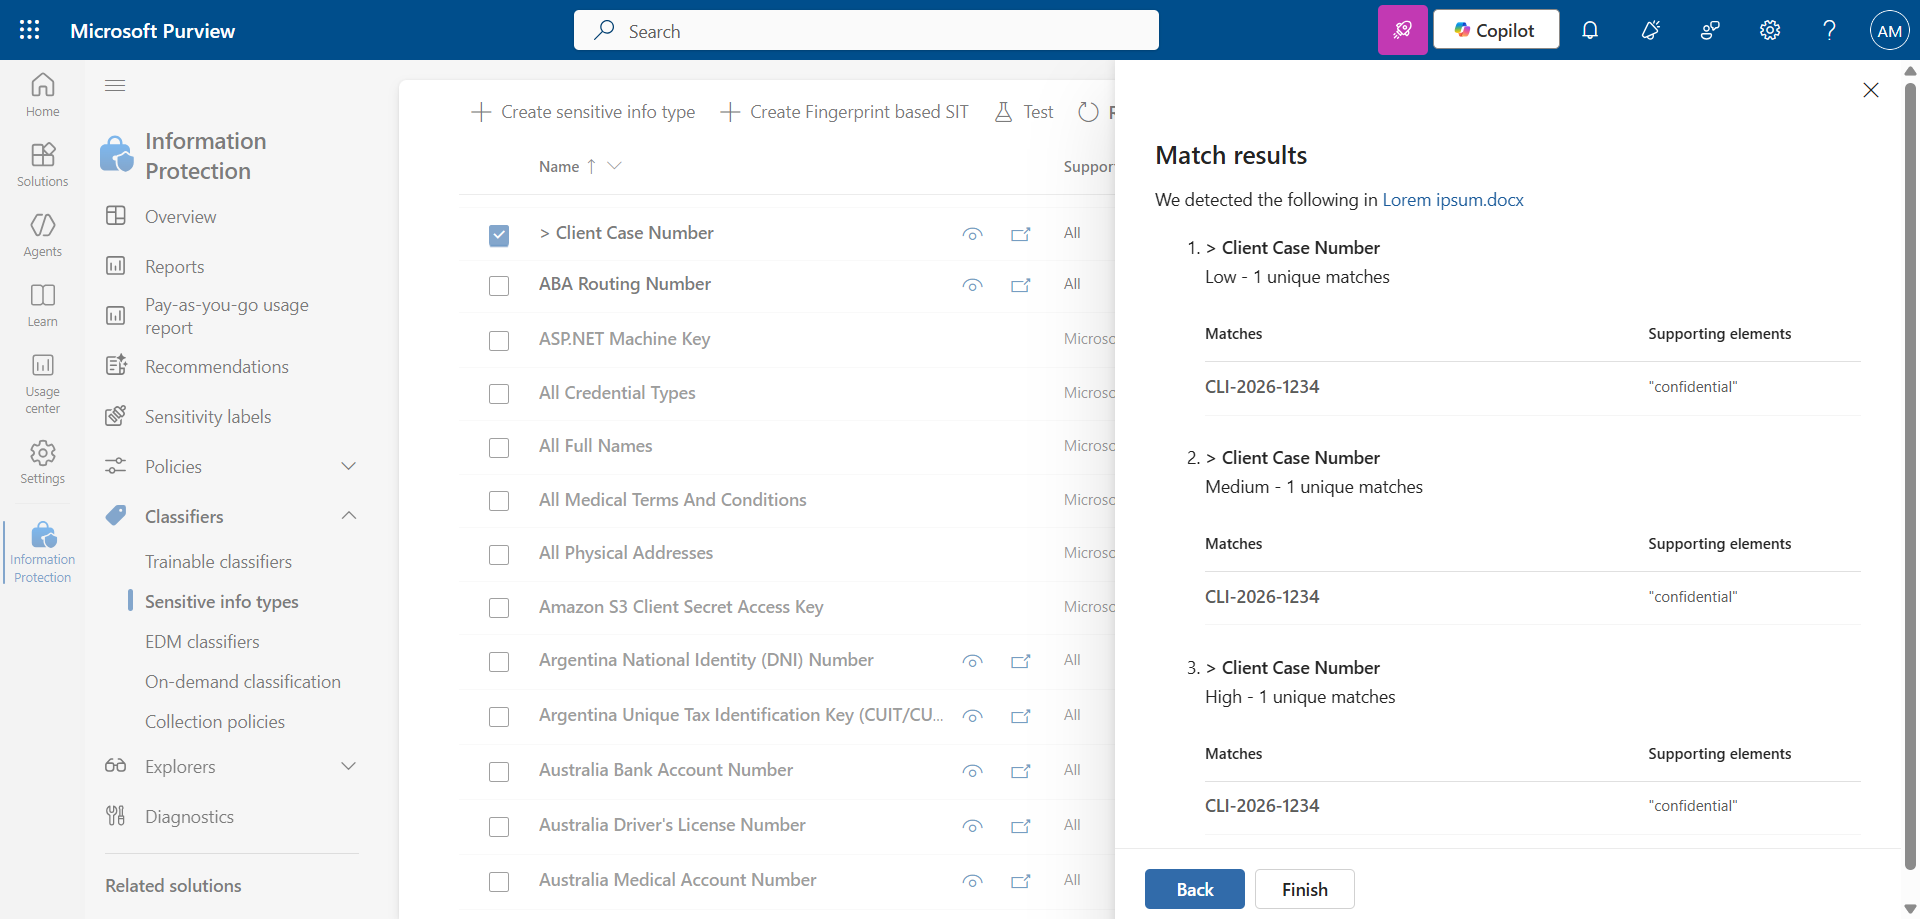
I created the Word file Lorem ipsum.docx with random text and the format I am looking to detect, embedded in the middle.
On the created Sensitive Information Type, click Test and import the file.
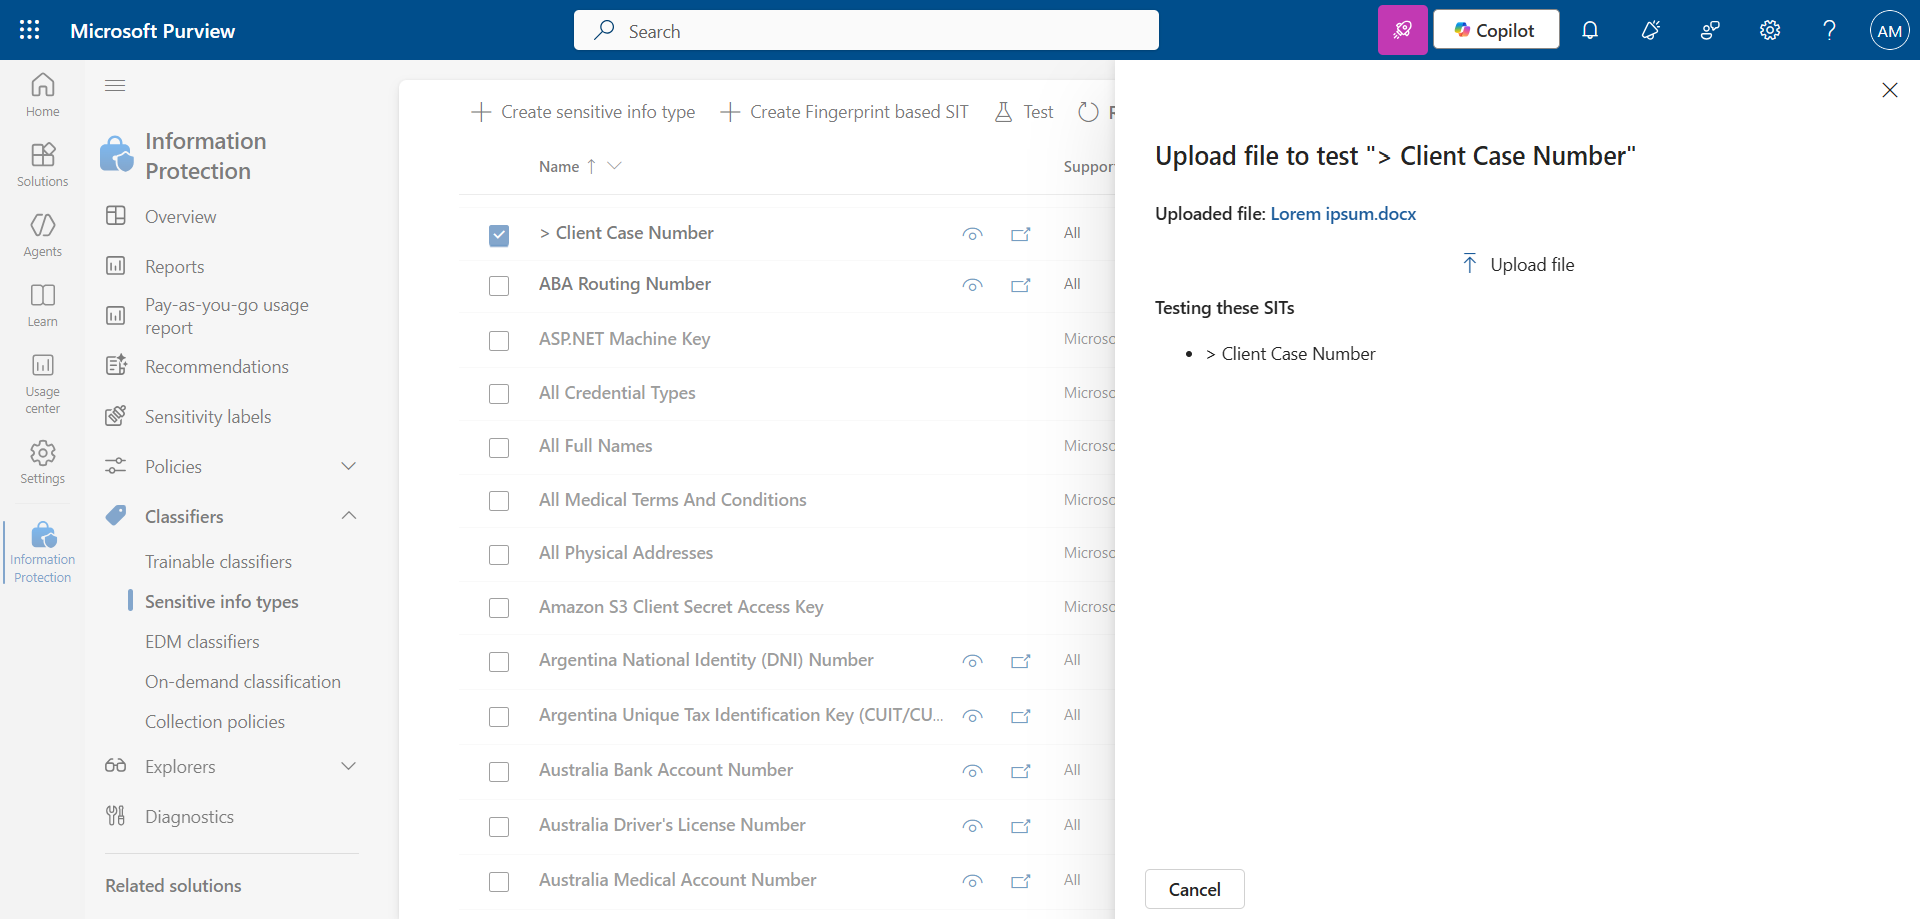
We can see 3 results here :
- Low : Matching elements have the fewest false negatives, but the most false positives. The low confidence level returns all low, medium, and high confidence matches. This level has a value of 65.
- Medium : Matching elements have an average number of false positives and false negatives. The medium confidence level returns all medium and high confidence matches. This level has a value of 75.
- High : Matching elements have the fewest false positives, but the most false negatives. The high confidence level returns only high confidence matches. This level has a value of 85.
note
So, what do we do with that now ?
Sensitive Information Types allow you to find and sort important and sensitive information within your organization. This can include credit card numbers, social security numbers, passport numbers, etc.
They are essential for identifying sensitive information when using Microsoft Purview, including :
- Data Loss Prevention policies
- Sensitivity Labels
- Retention Labels
- Insider Risk Management
- Communication Compliance
- Auto-Labelling policies
Conclusion
By understanding how Sensitive Information Types work and learning to create custom detection rules, organizations can go beyond generic protection and adapt Microsoft Purview to their specific business needs. Whether protecting customer data, employee information, financial documents, or strategic company assets, well-designed sensitive information types reduce false positives, improve policy accuracy, and strengthen your overall security posture.
You now know how to create Sensitive Information Types in Purview.
Sources
Microsoft Learn - Sensitive Information Type
Did you enjoy this post ? If you have any questions, comments or suggestions, please feel free to send me a message from the contact form.
Don’t forget to follow us and share this post.