How to create Sensitivity Labels for emails in Purview
- Maxime Hiez
- Purview , Tutorial
- 30 Mar, 2026
Introduction
Emails remain one of the primary vectors for information leaks in businesses. Whether it’s a message sent to the wrong recipient, an attachment forwarded without proper oversight, or sensitive content shared externally, the risks are very real and often involve human error. It is precisely to address these challenges that Microsoft Purview Sensitivity Labels play a key role in email protection. Far beyond a simple visual banner or manual classification, Sensitivity Labels allow you to manage email usage, apply encryption, restrict sharing, and educate users on appropriate confidentiality levels, all directly from within Outlook.
Prerequisites
Required licenses
- Microsoft 365 Business Premium, Microsoft 365 E5.
- Microsoft Purview Suite in addition to another license (E3, …).
Administrator role
- An account with the Global Administrator or Compliance Administrator role to access the Microsoft Purview Portal.
Step 1 : Sign in to the Microsoft Purview Portal
Sign in to the Microsoft Purview Portal by opening your web browser to https://purview.microsoft.com.
Step 2 : Create a group
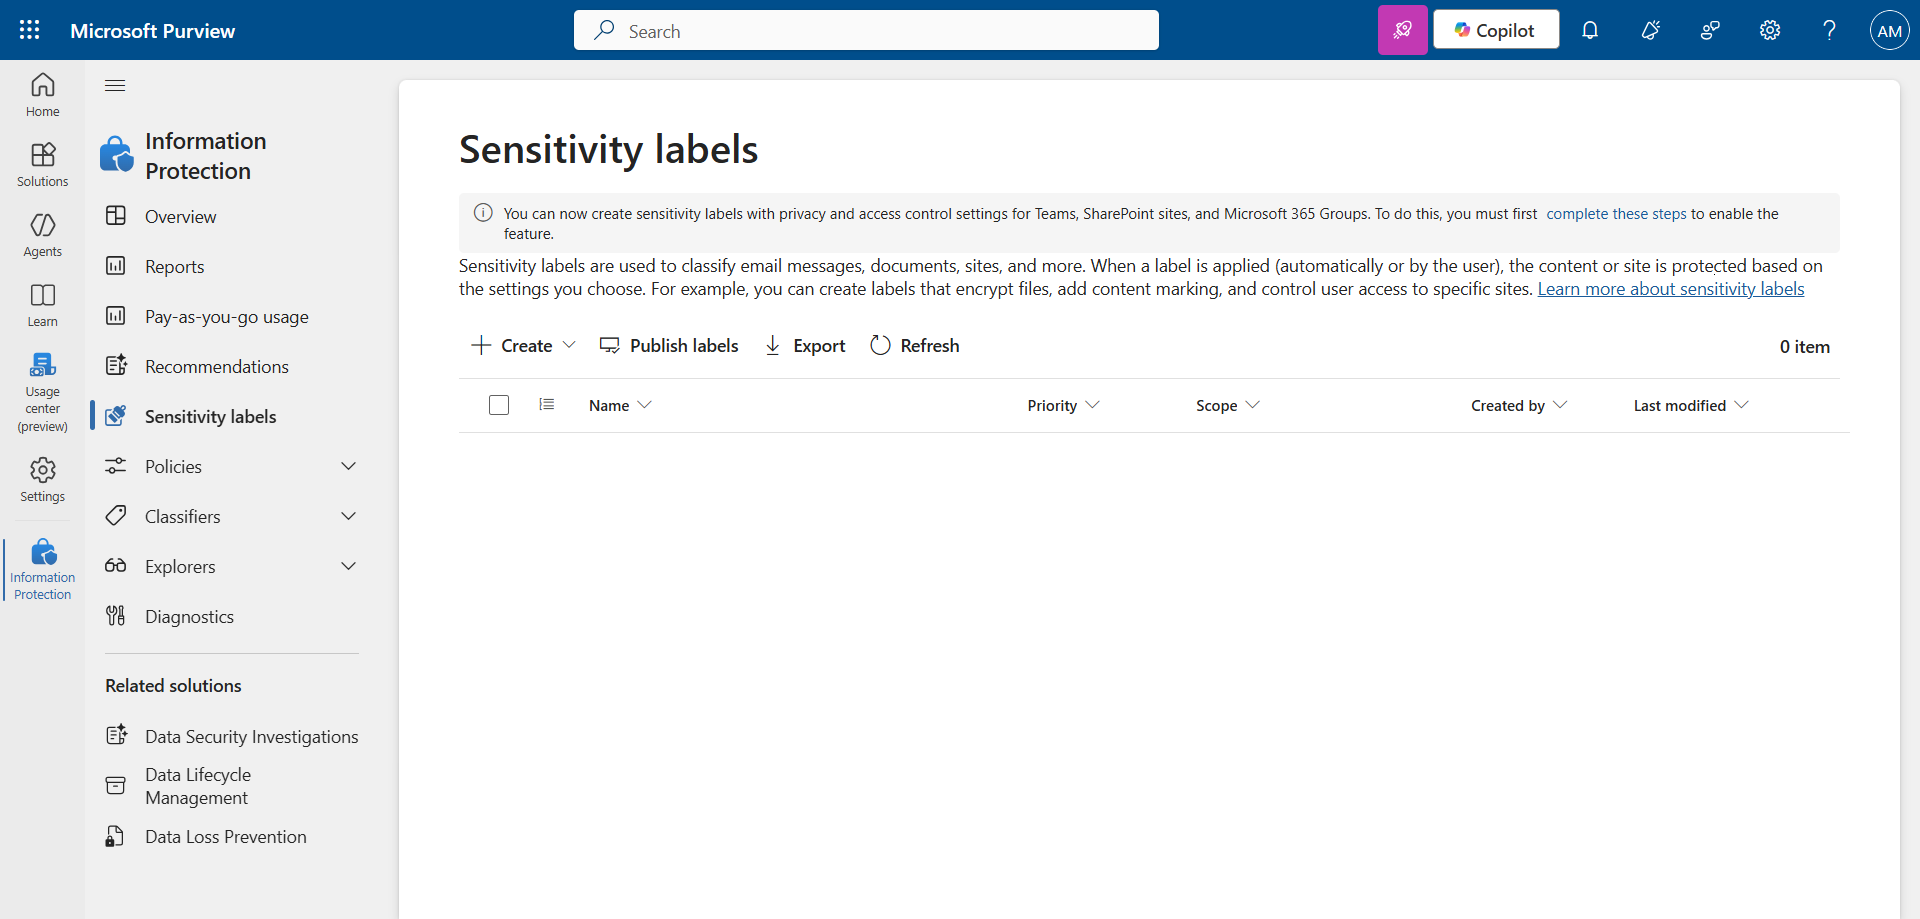
In the left menu, click Solutions, then Information Protection, and Sensitivity Labels.
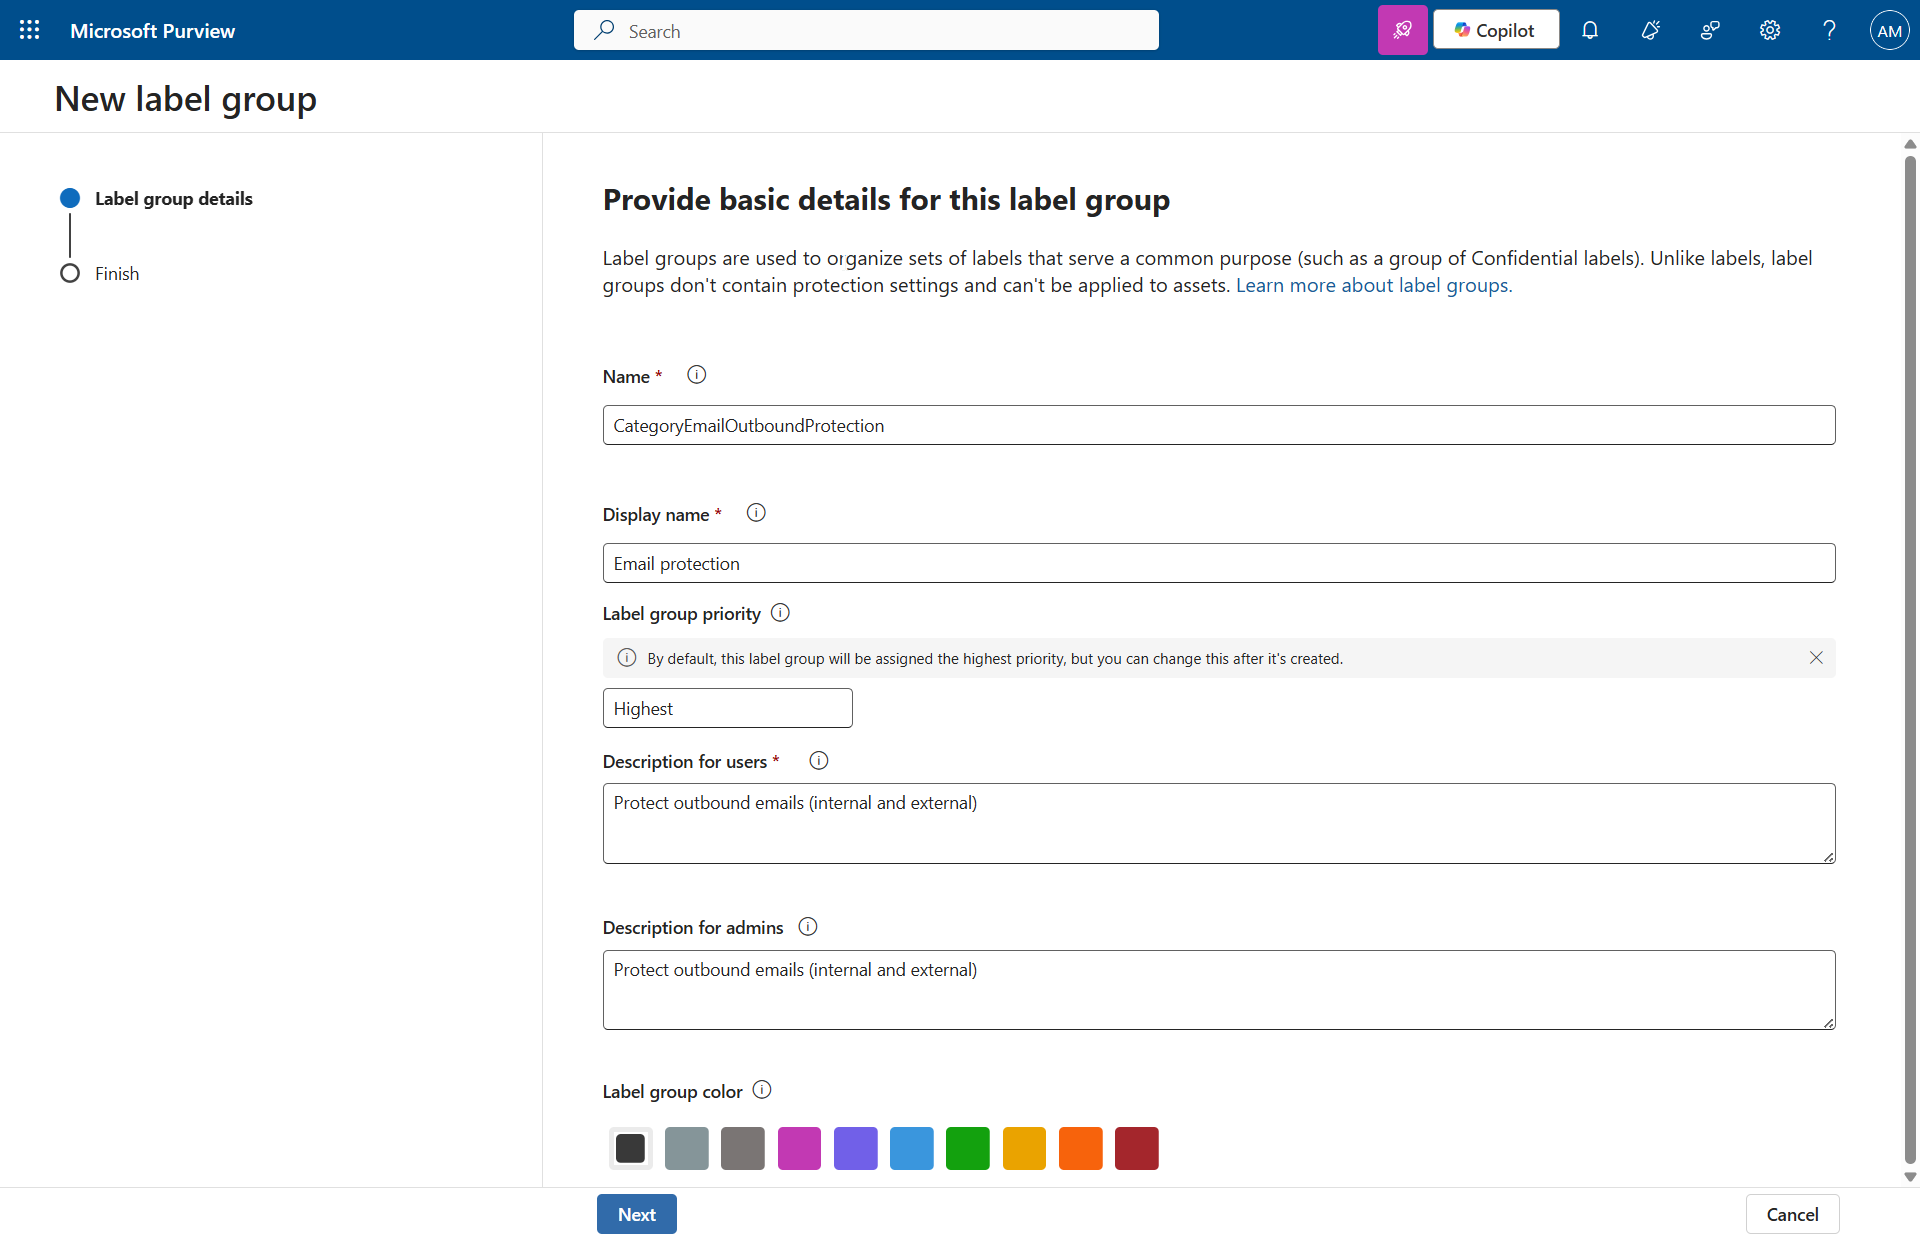
Click Create, and Label group to create the group.
Set a name, a description, and a color.
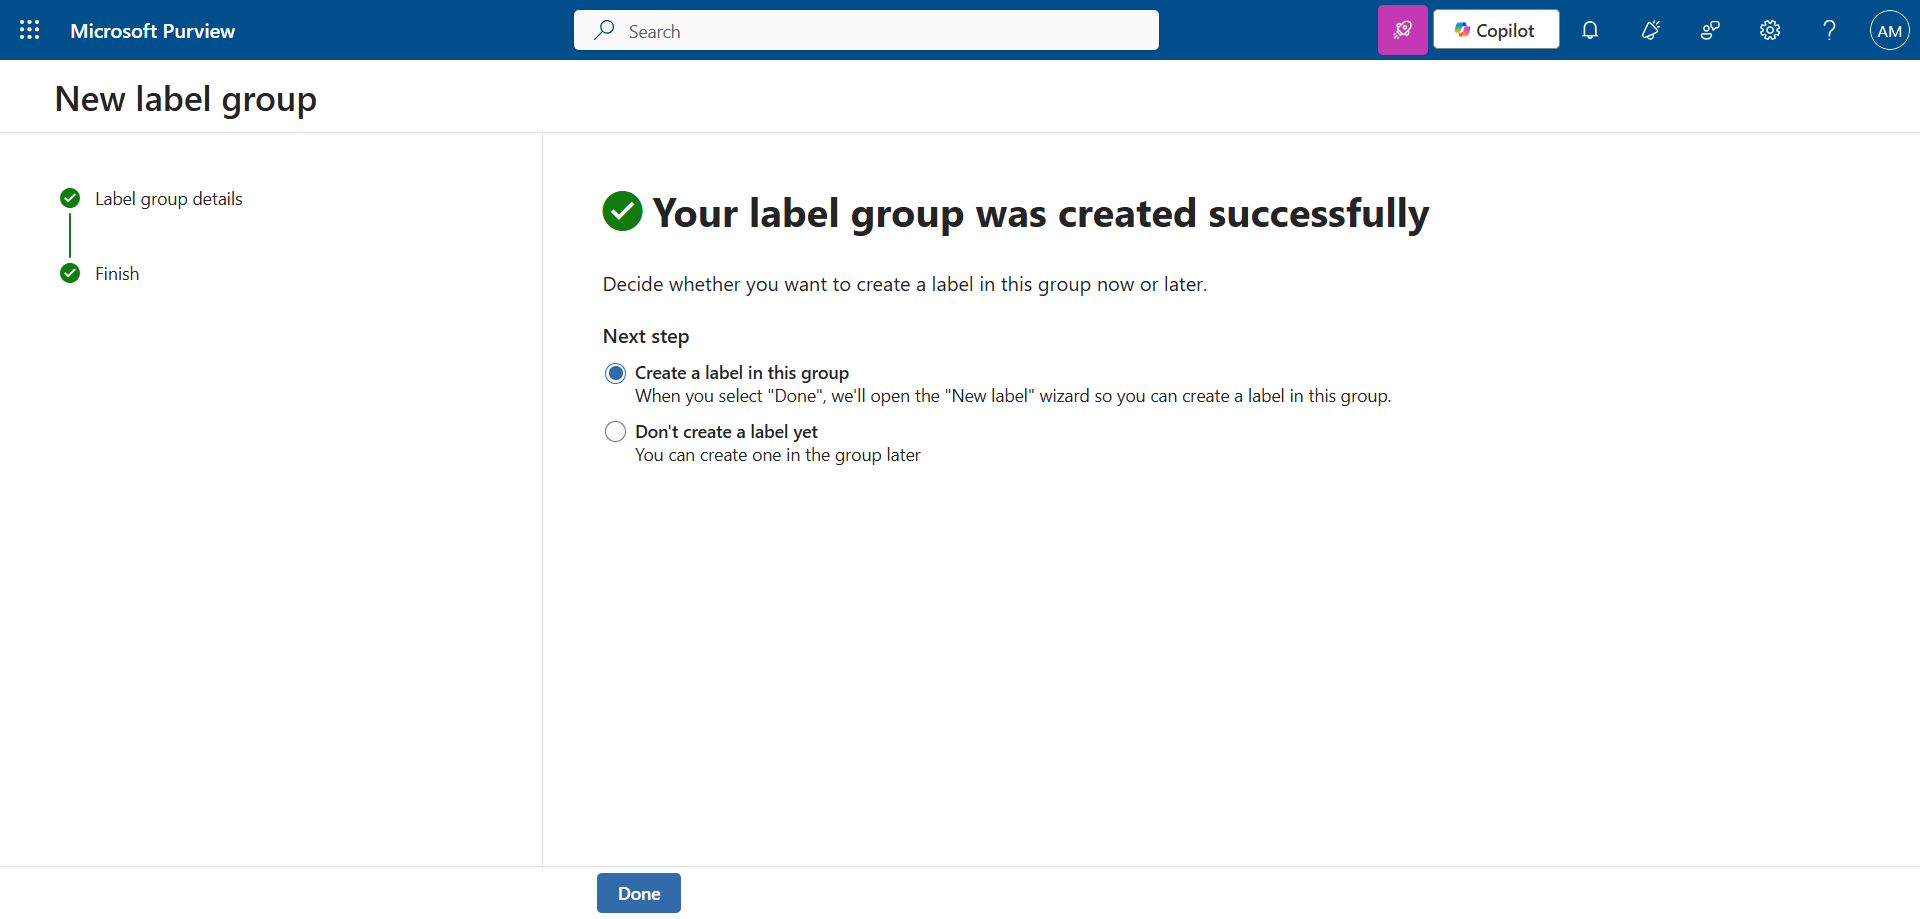
Choose (or not) to create a label in this group.
Step 3 : Create two Sensitivity Labels for emails
Set a name and a description.
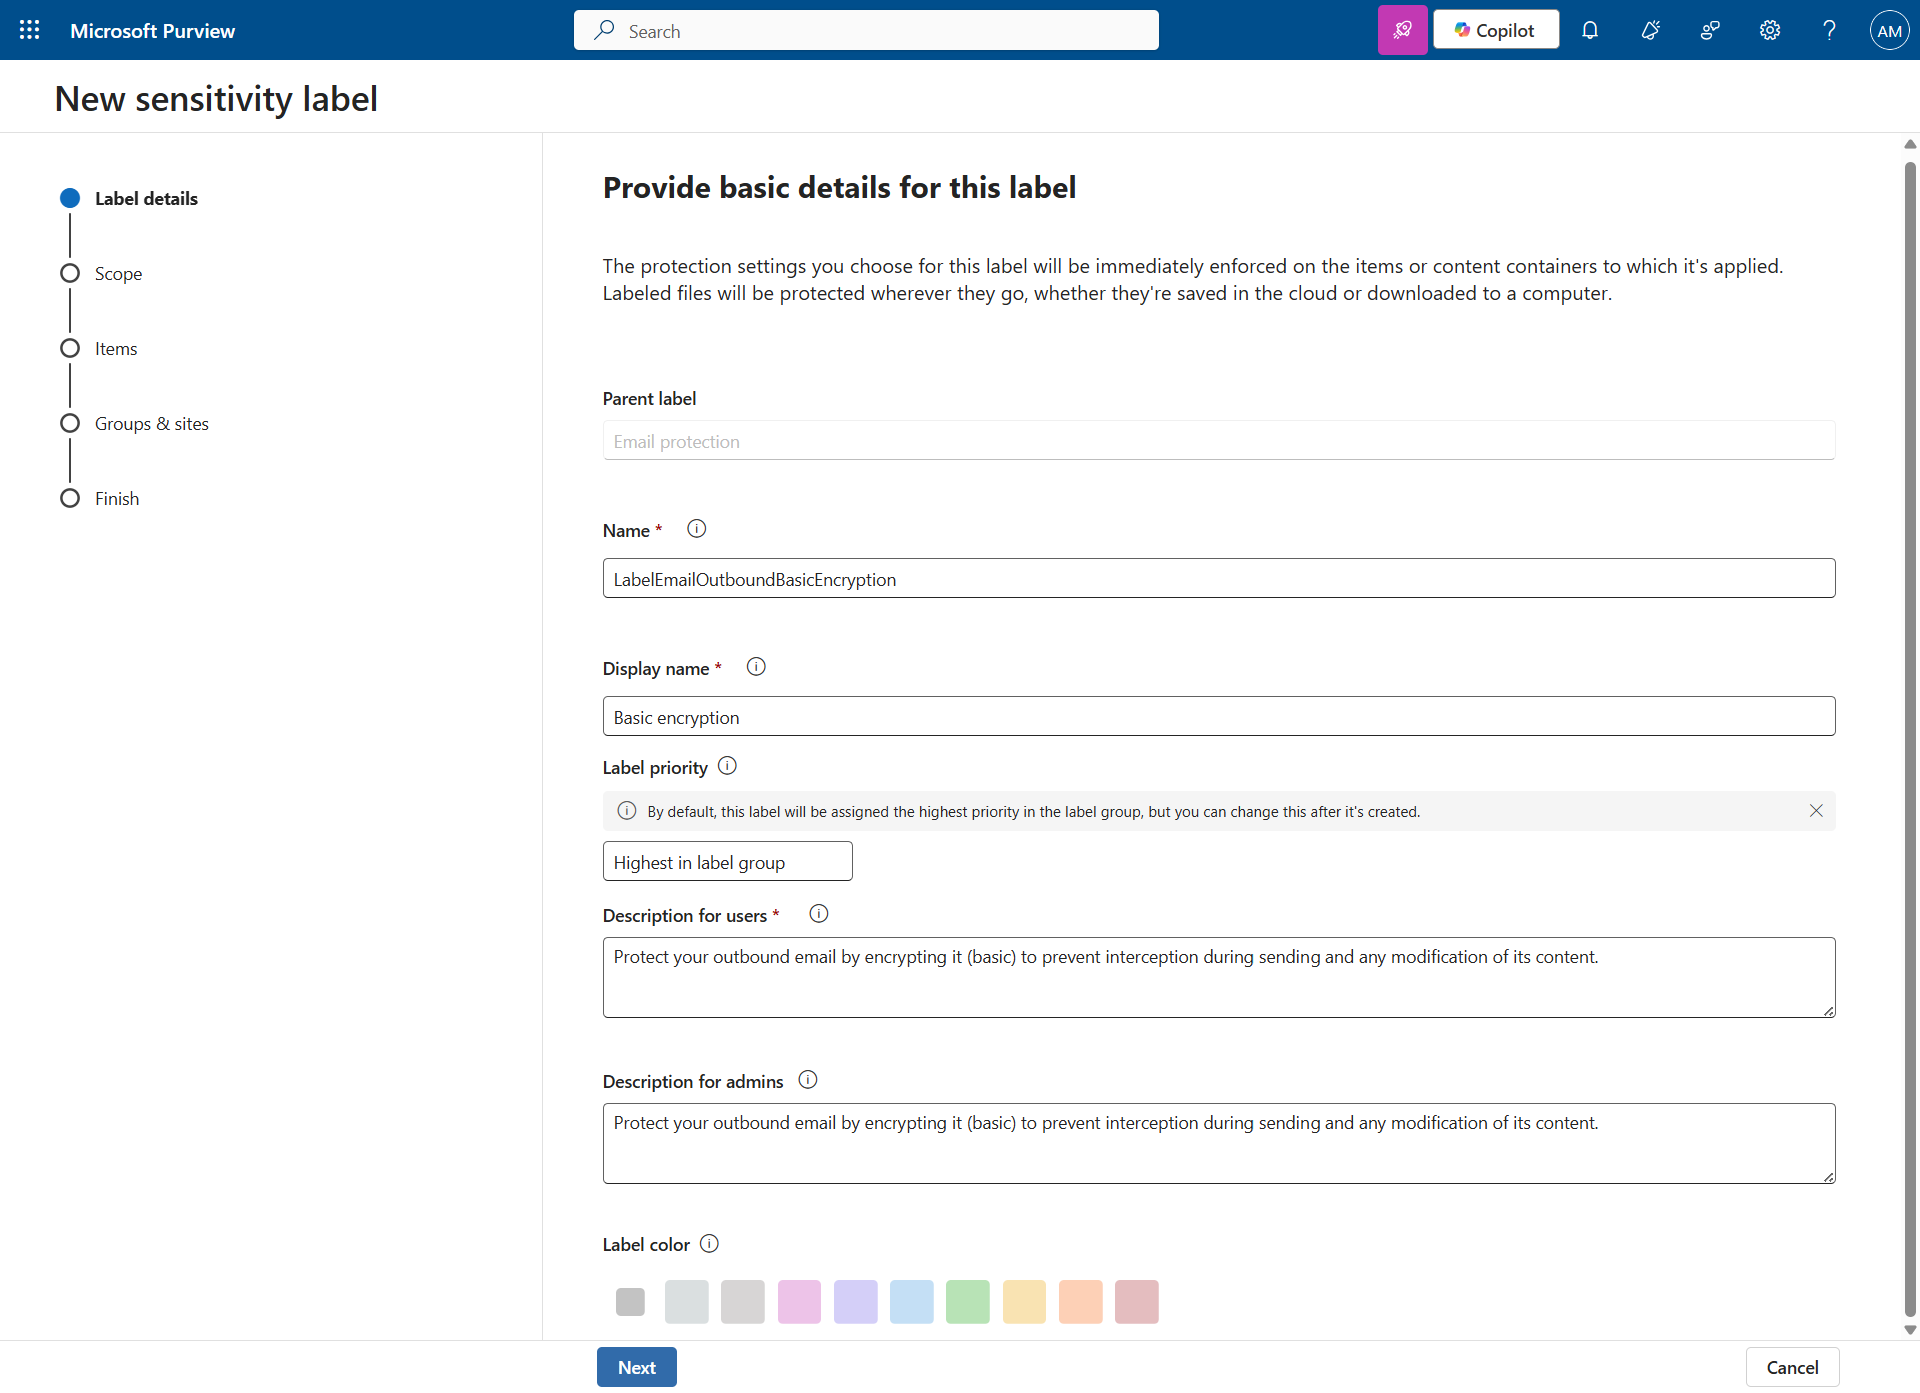
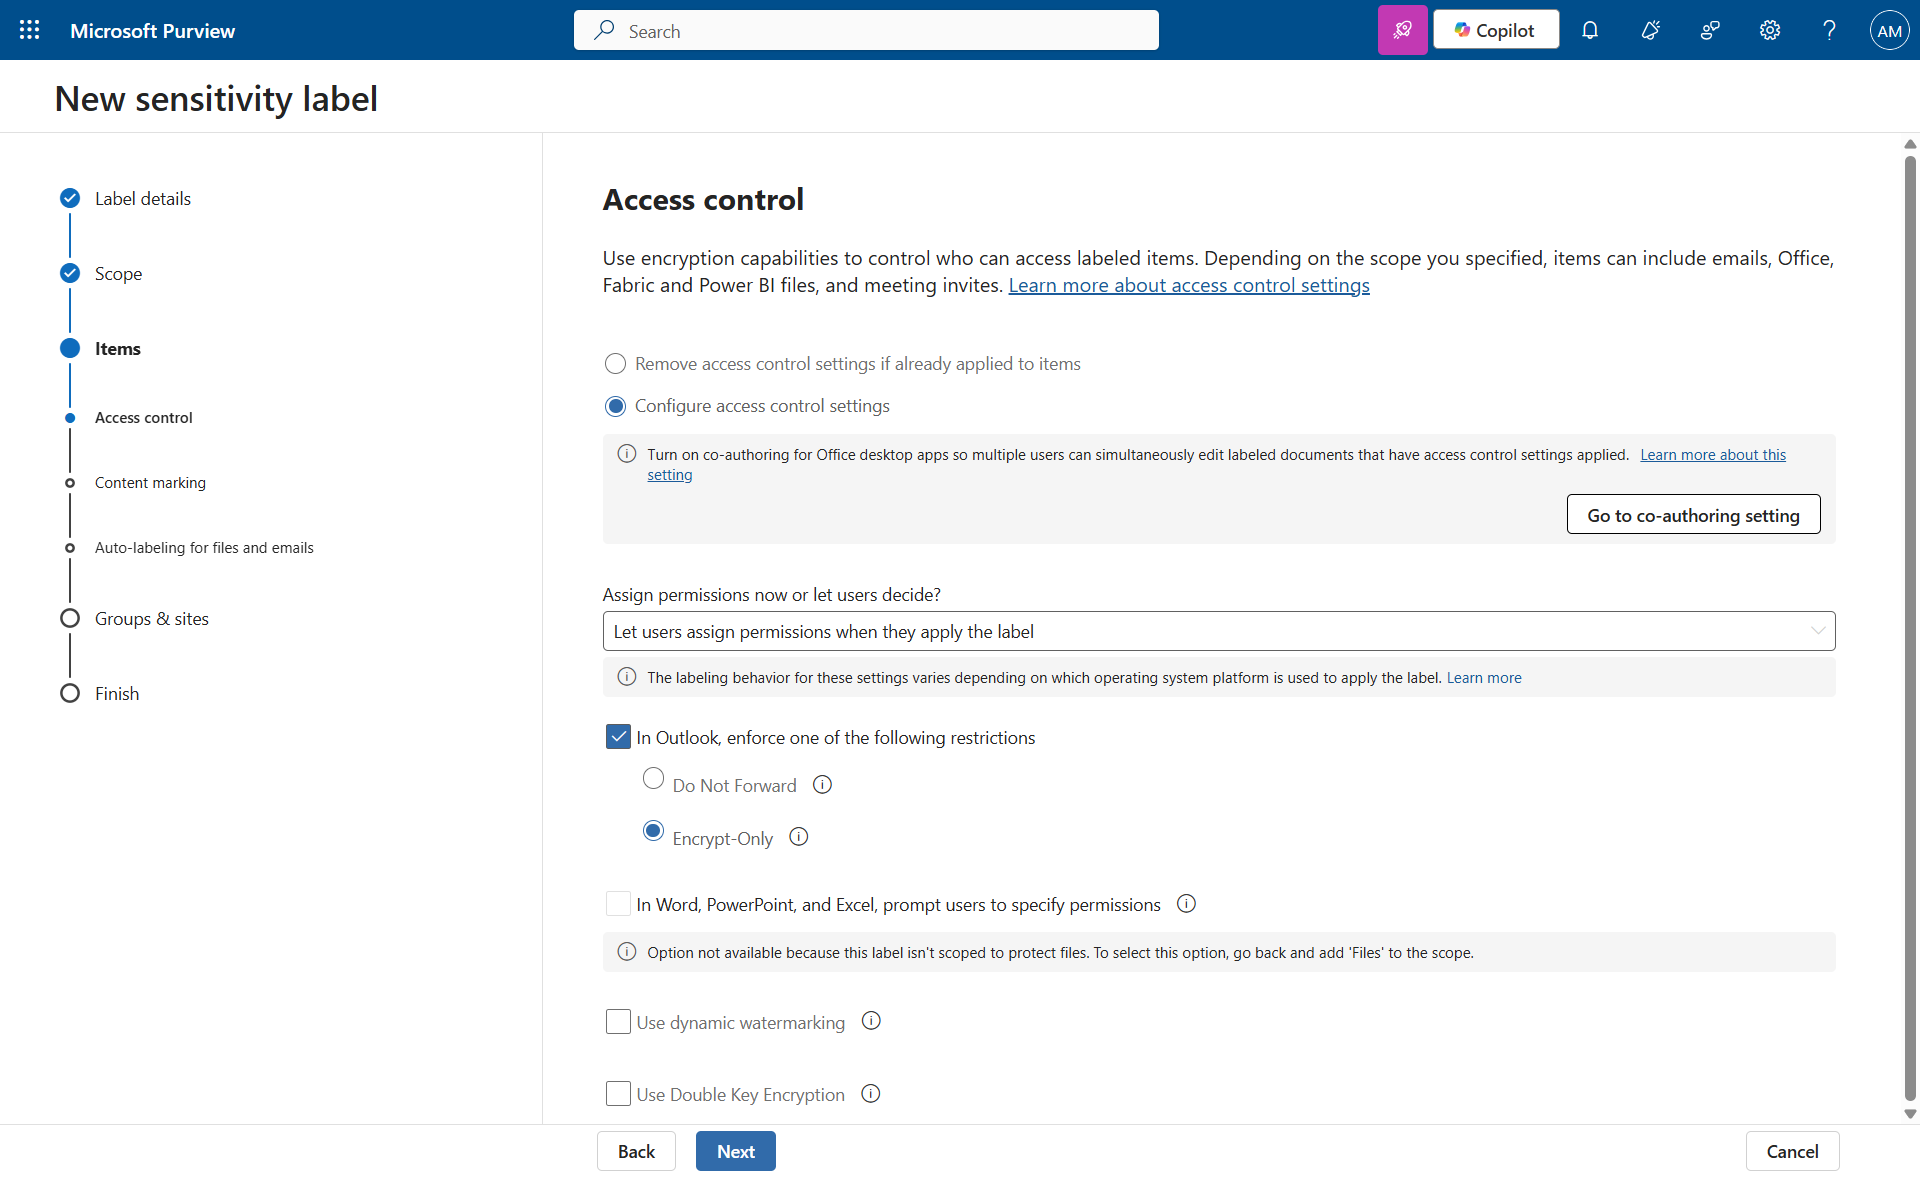
In my case, I decided to do basic encryption, and leave the choice of whether or not to apply it to the user.
Don’t publish it just yet …

… and create a second label.
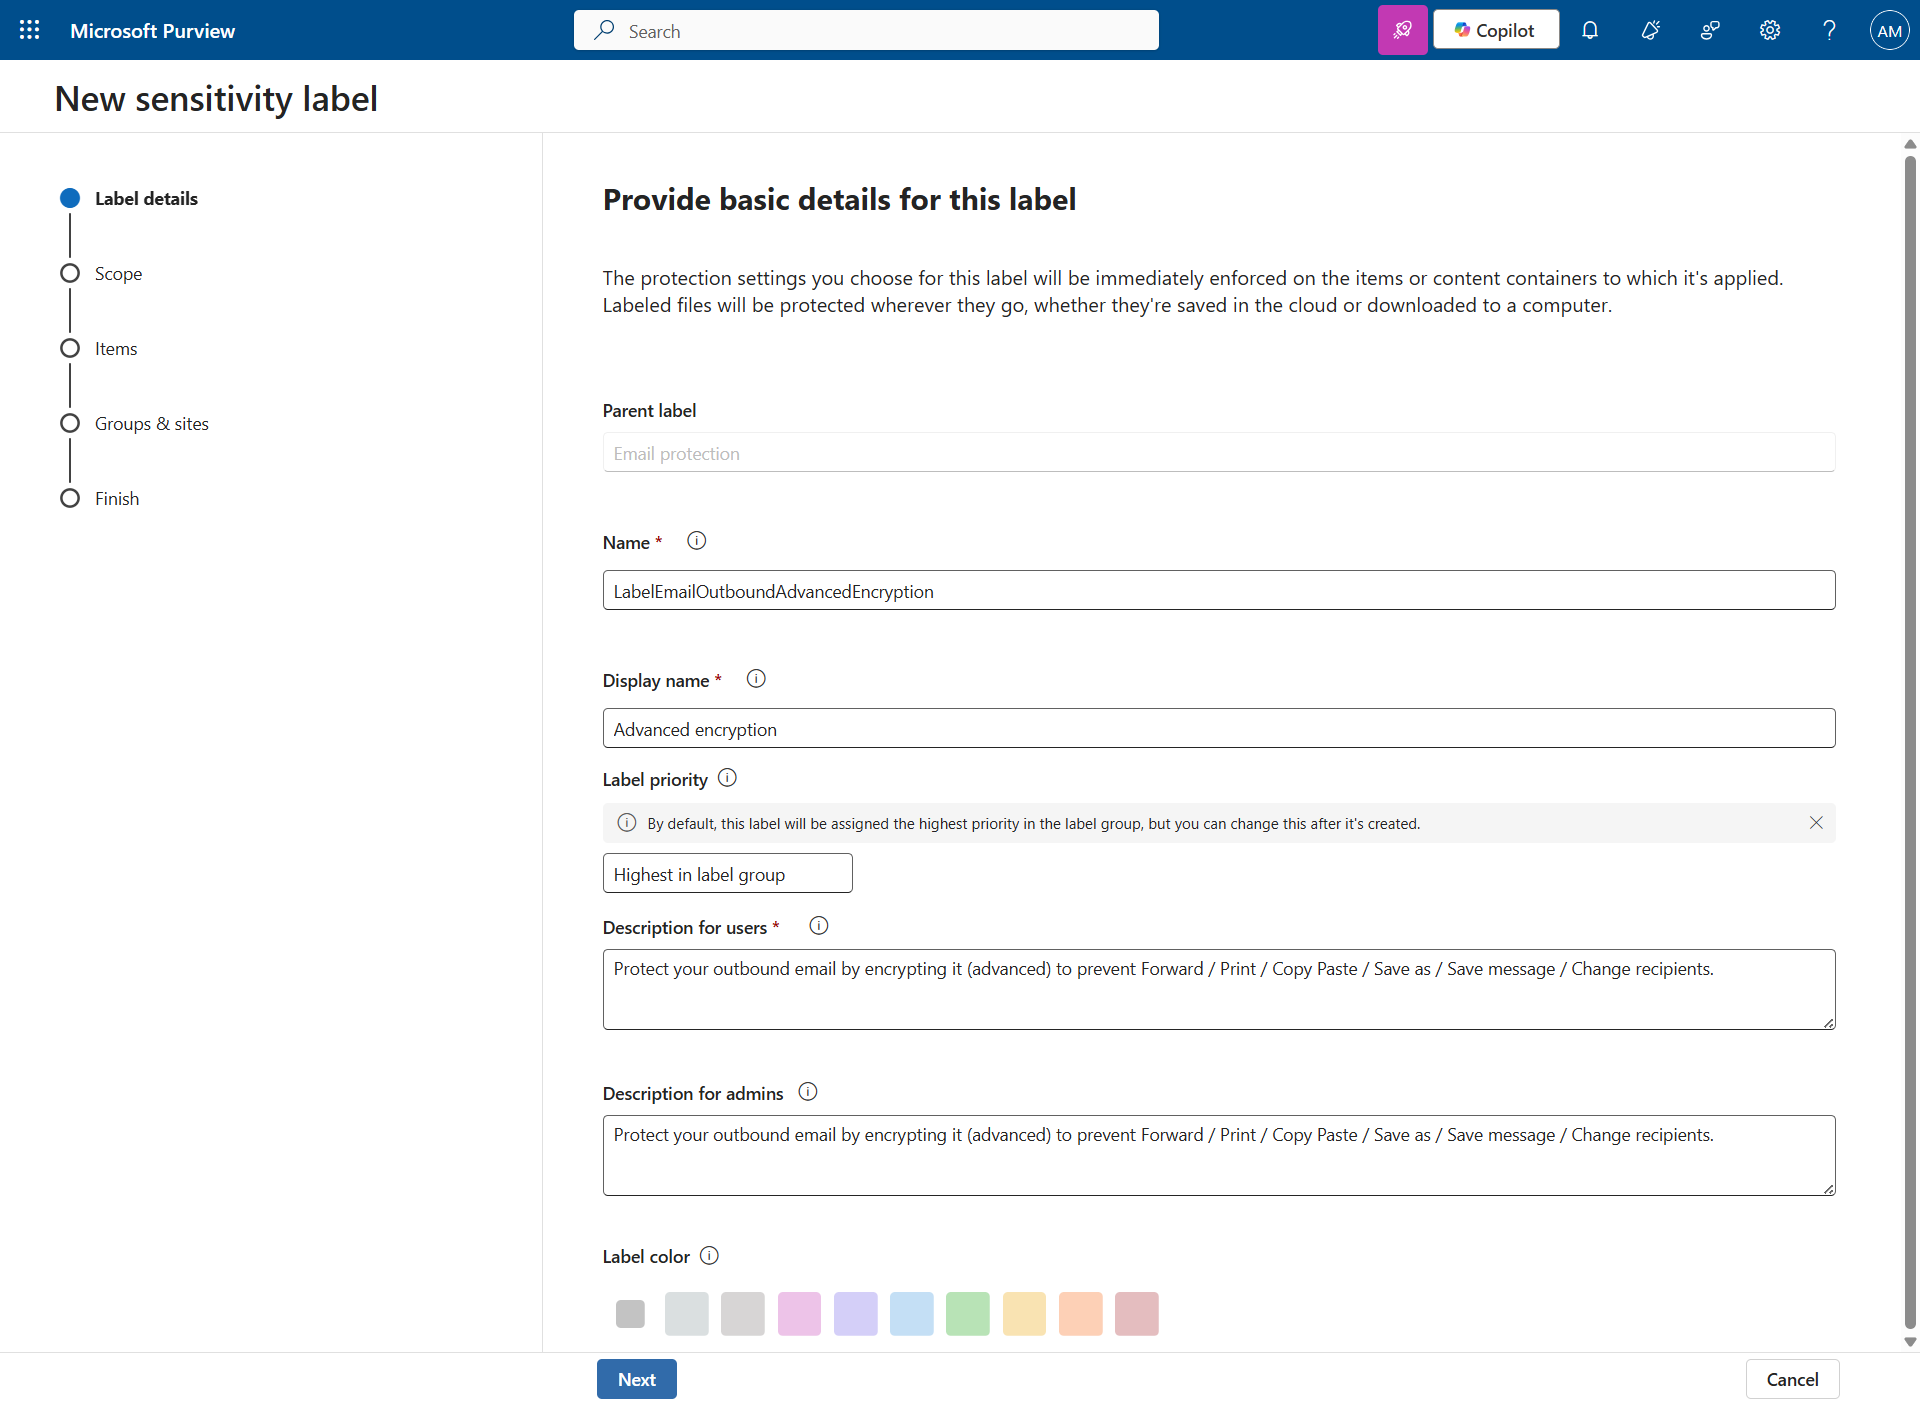
I decide to use advanced encryption, and leave the choice of whether or not to apply it to the user.

Again, don’t publish it right away.
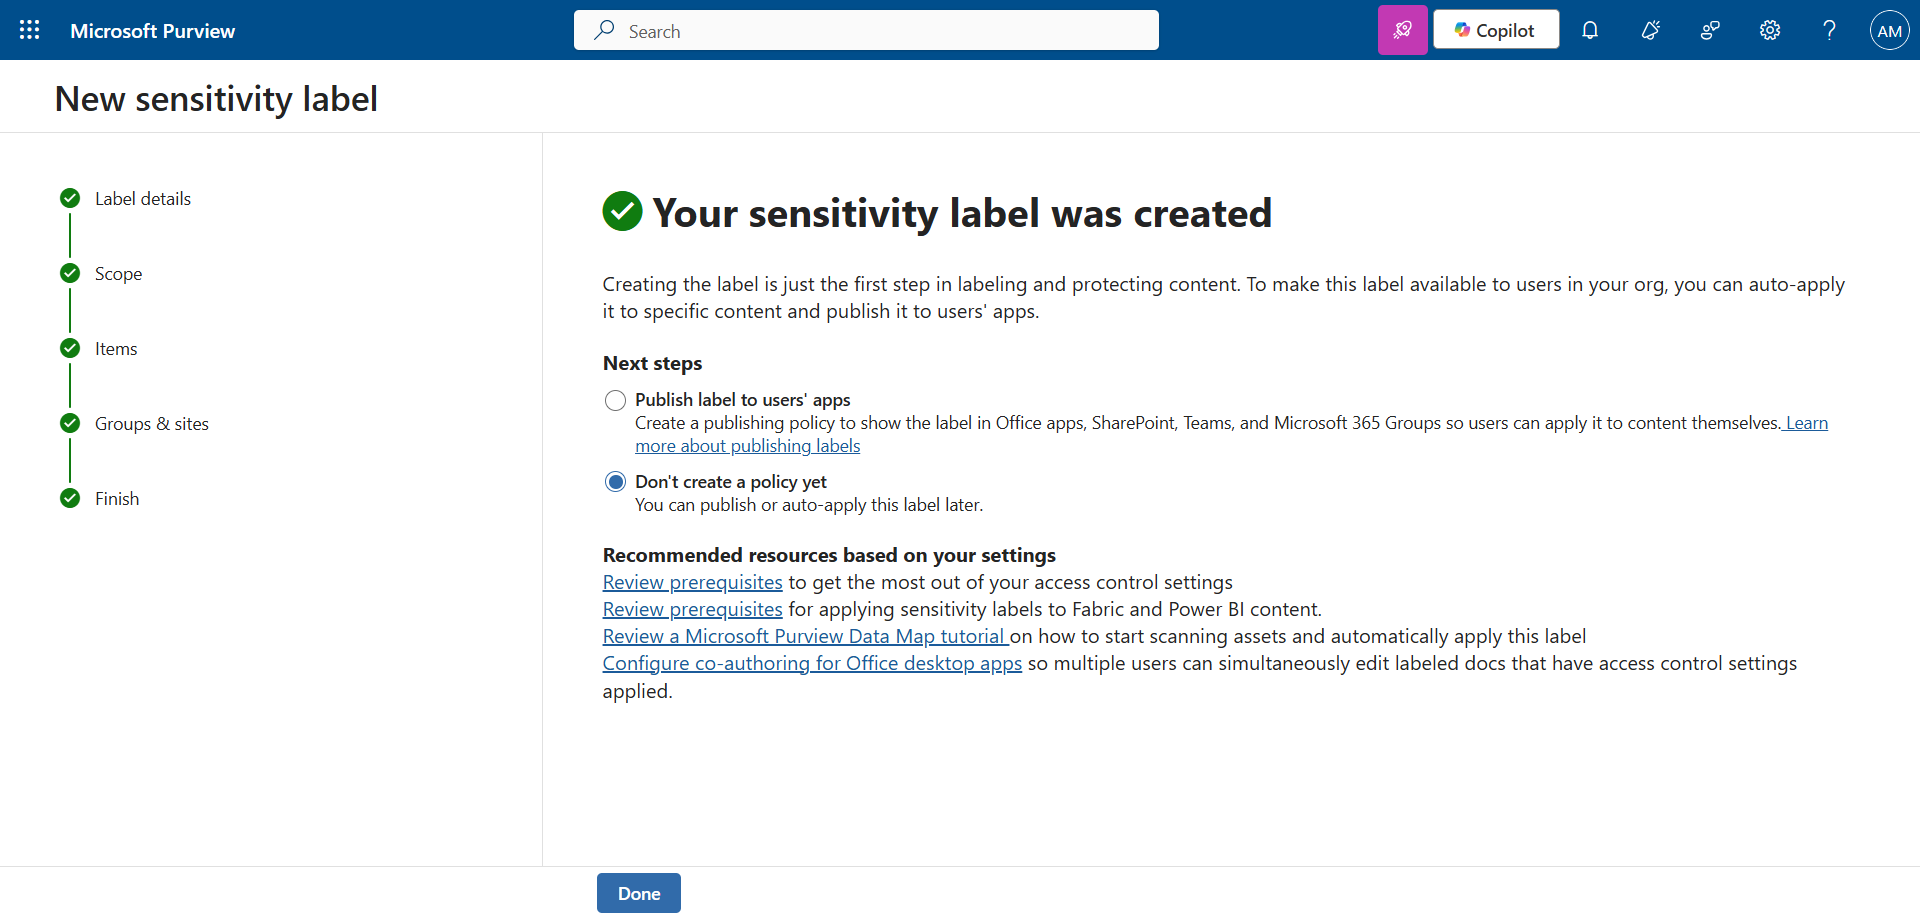
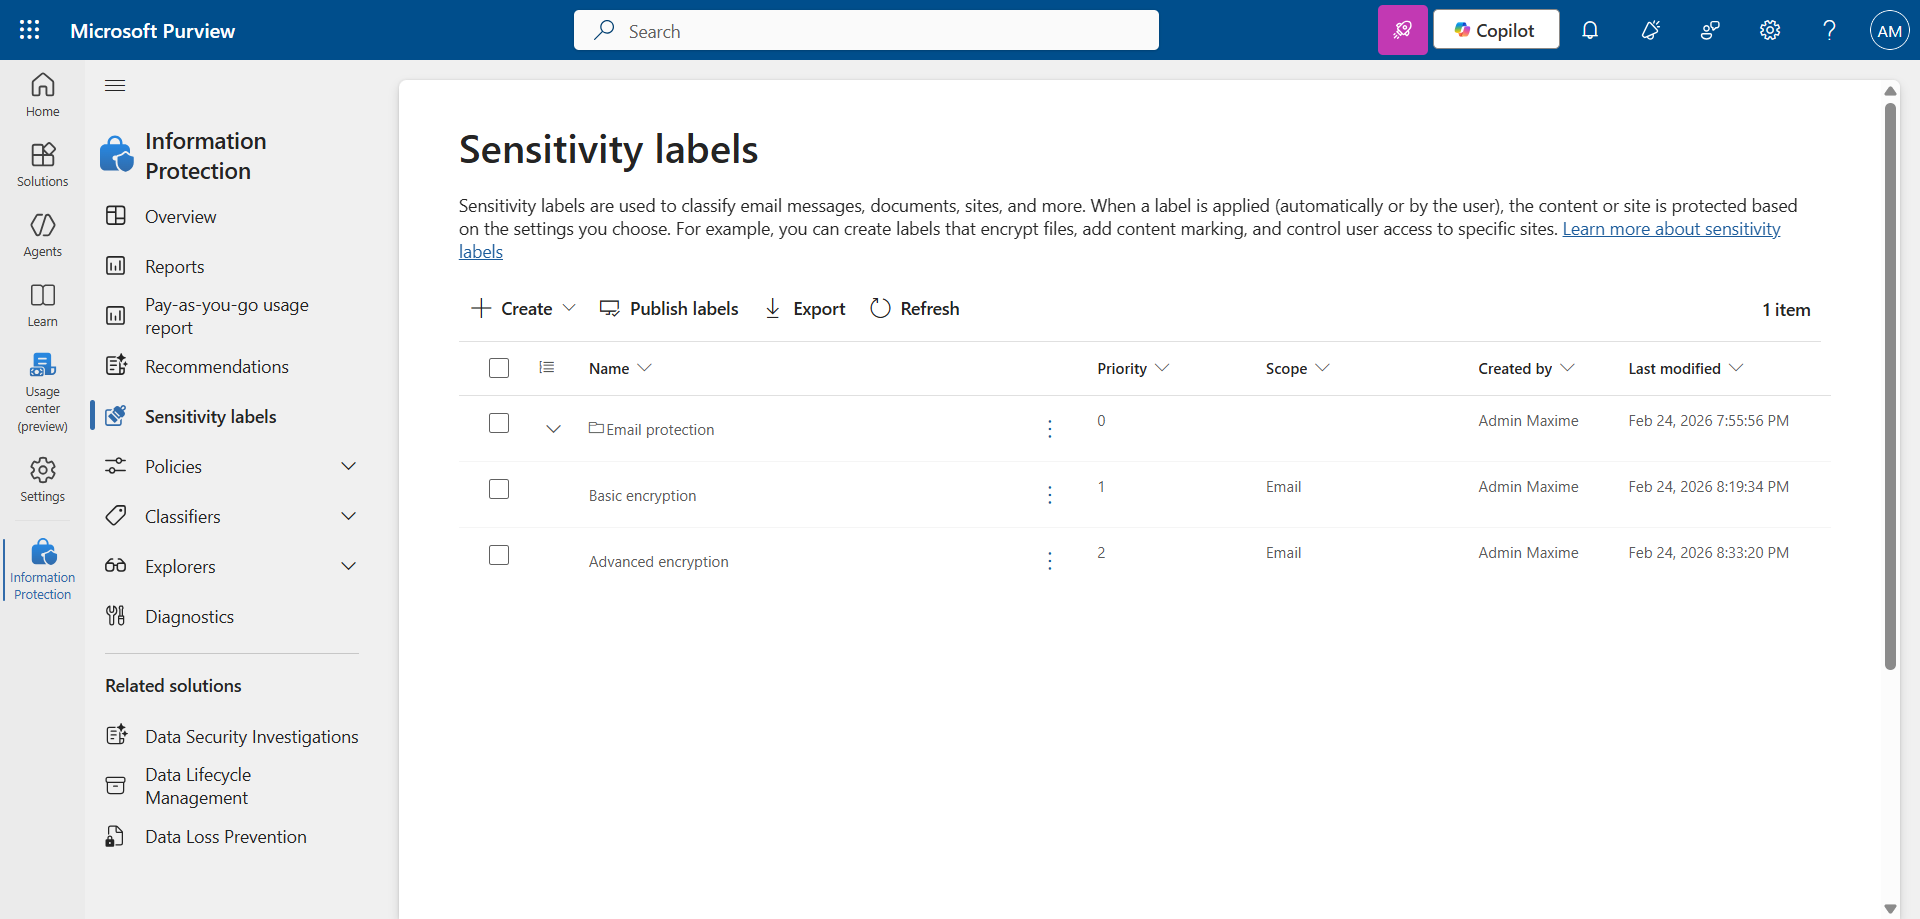
Your 2 Sensitivity Labels have now been created.
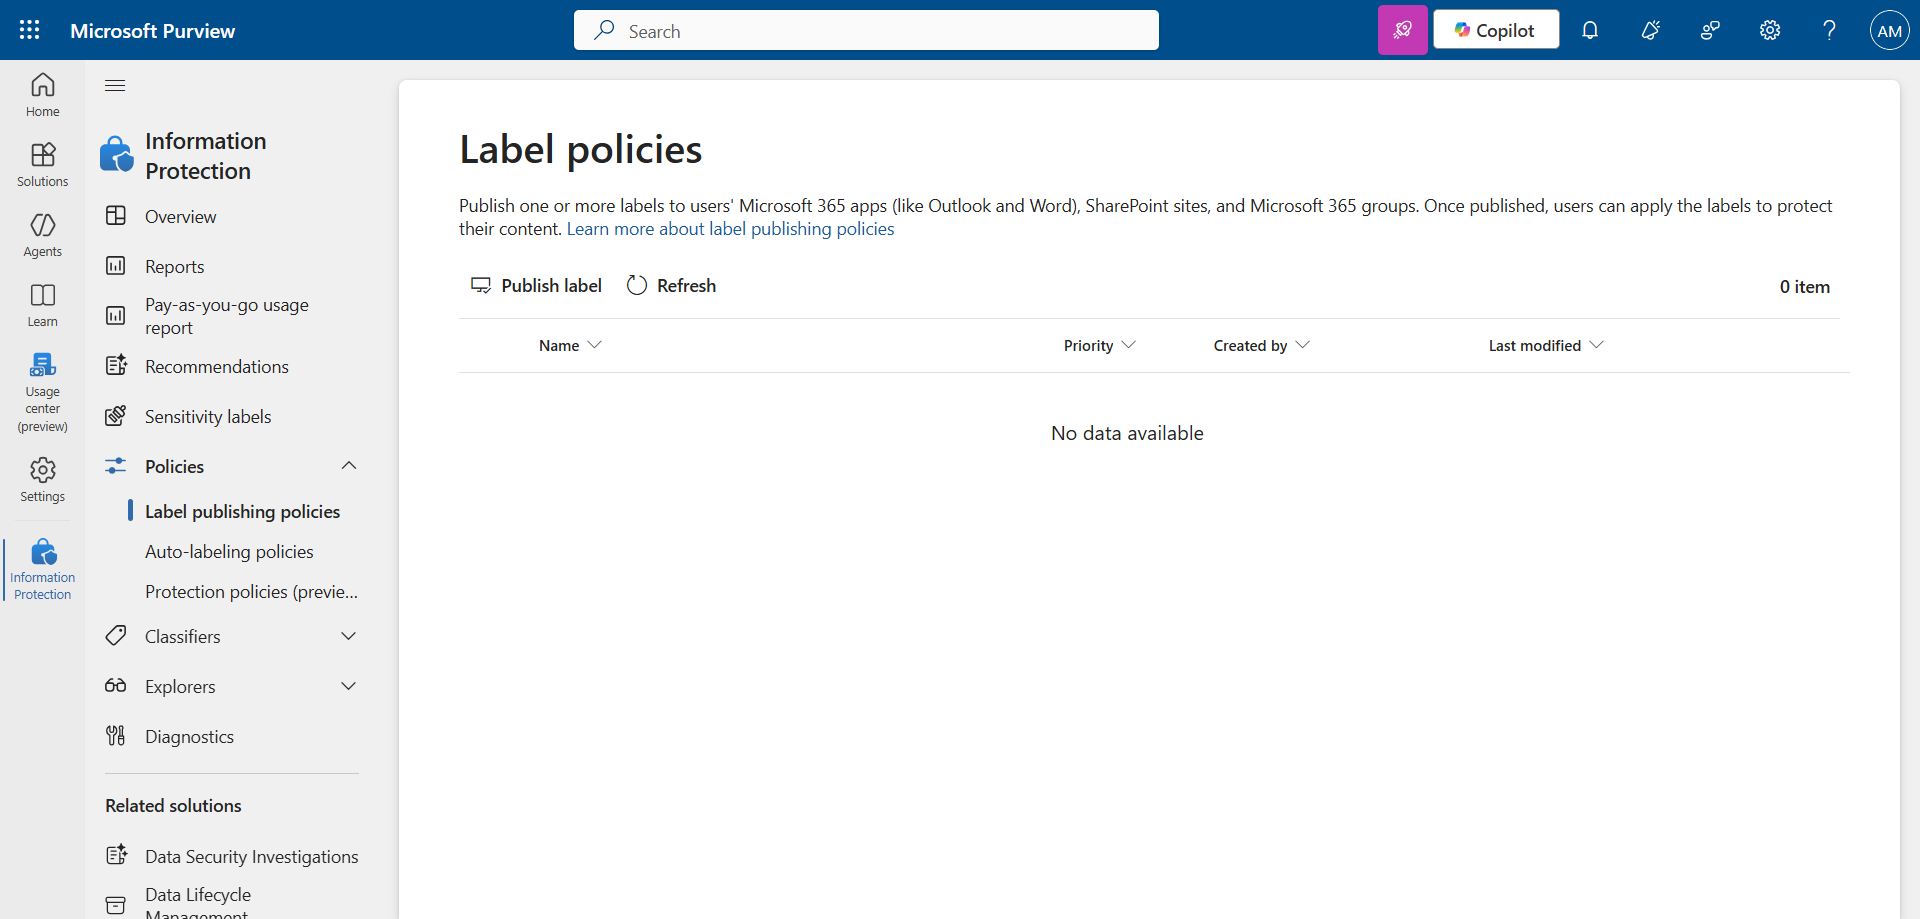
Step 4 : Publish the Sensitivity Labels
In the left menu, click Policies, then Label publishing policies.
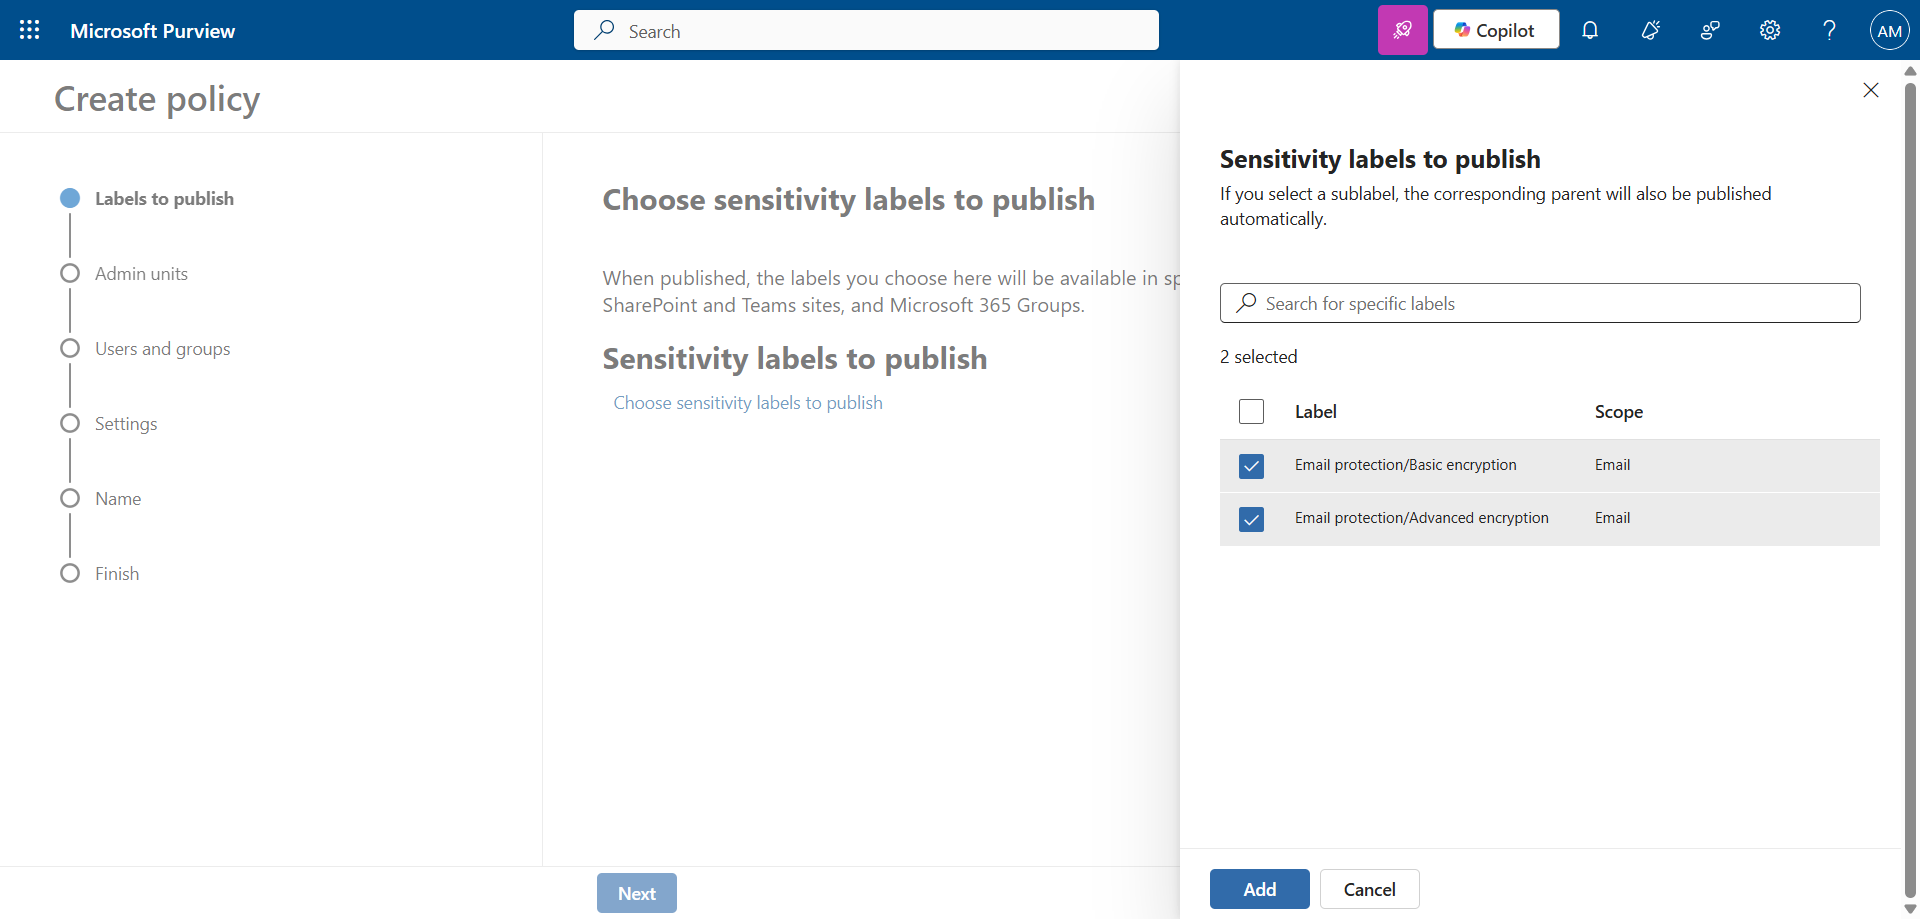
Click Publish label to publish the Sensitivity Labels.
Choose the 2 labels created previously.
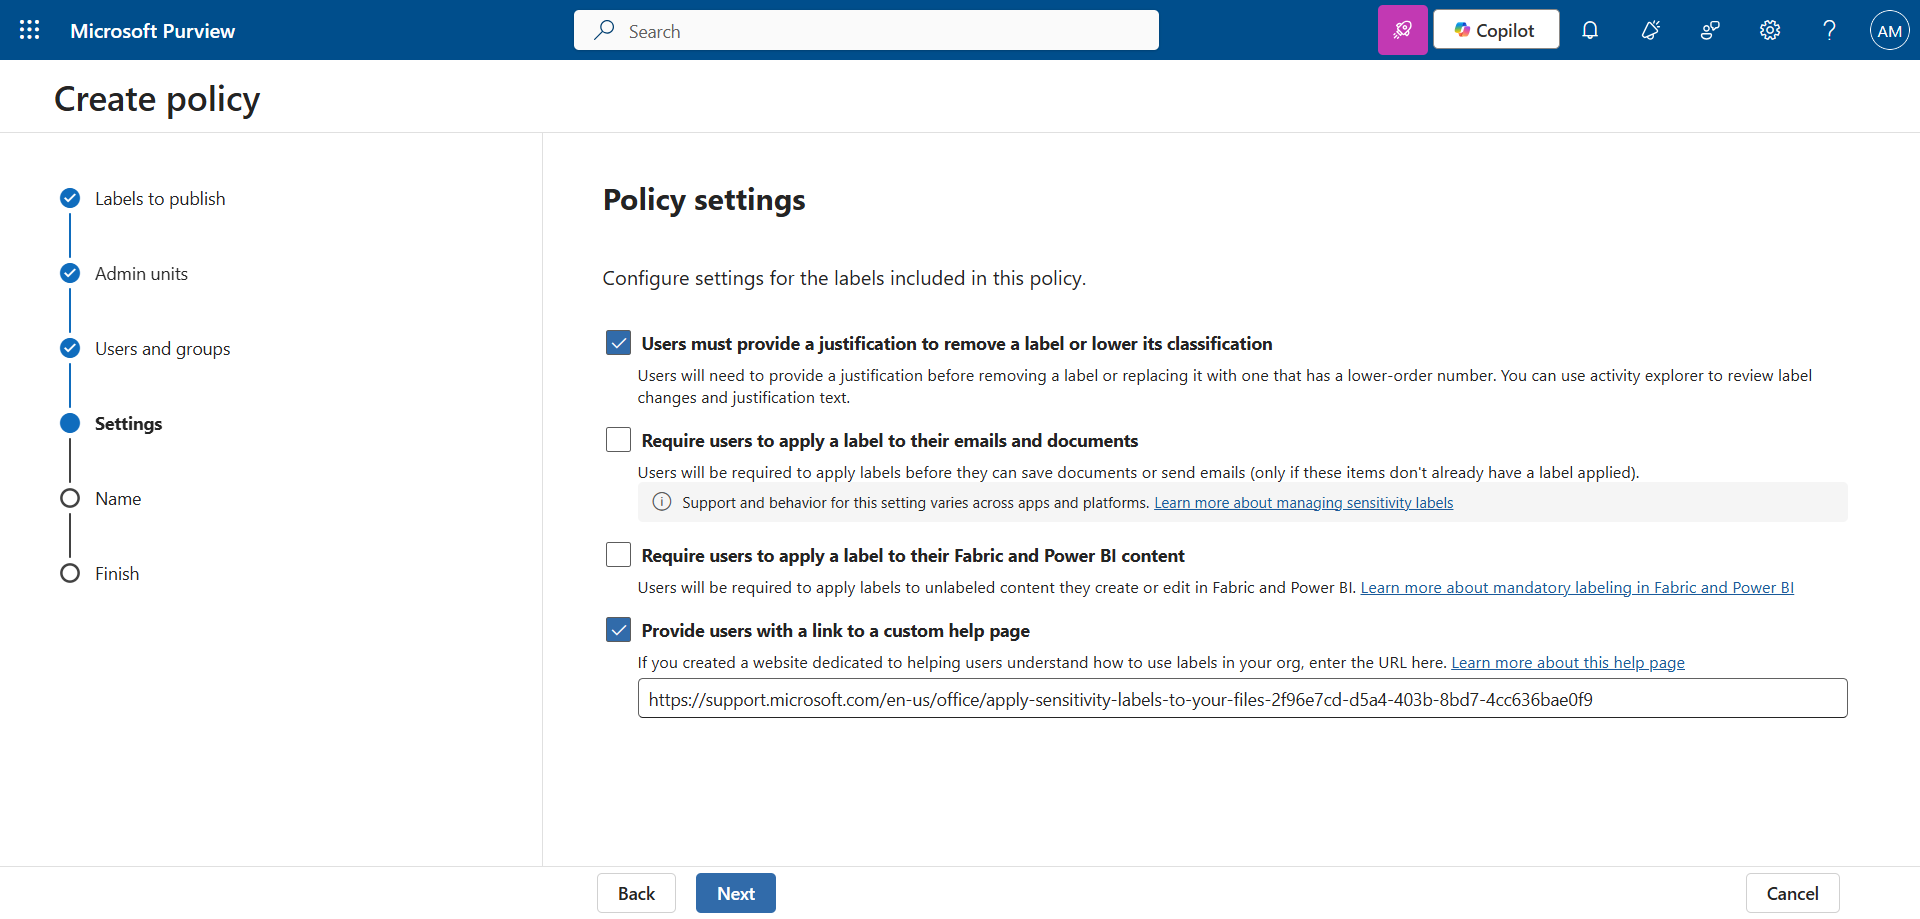
Check the box Users must provide a justification …. Optionally, you can check the other boxes as needed.
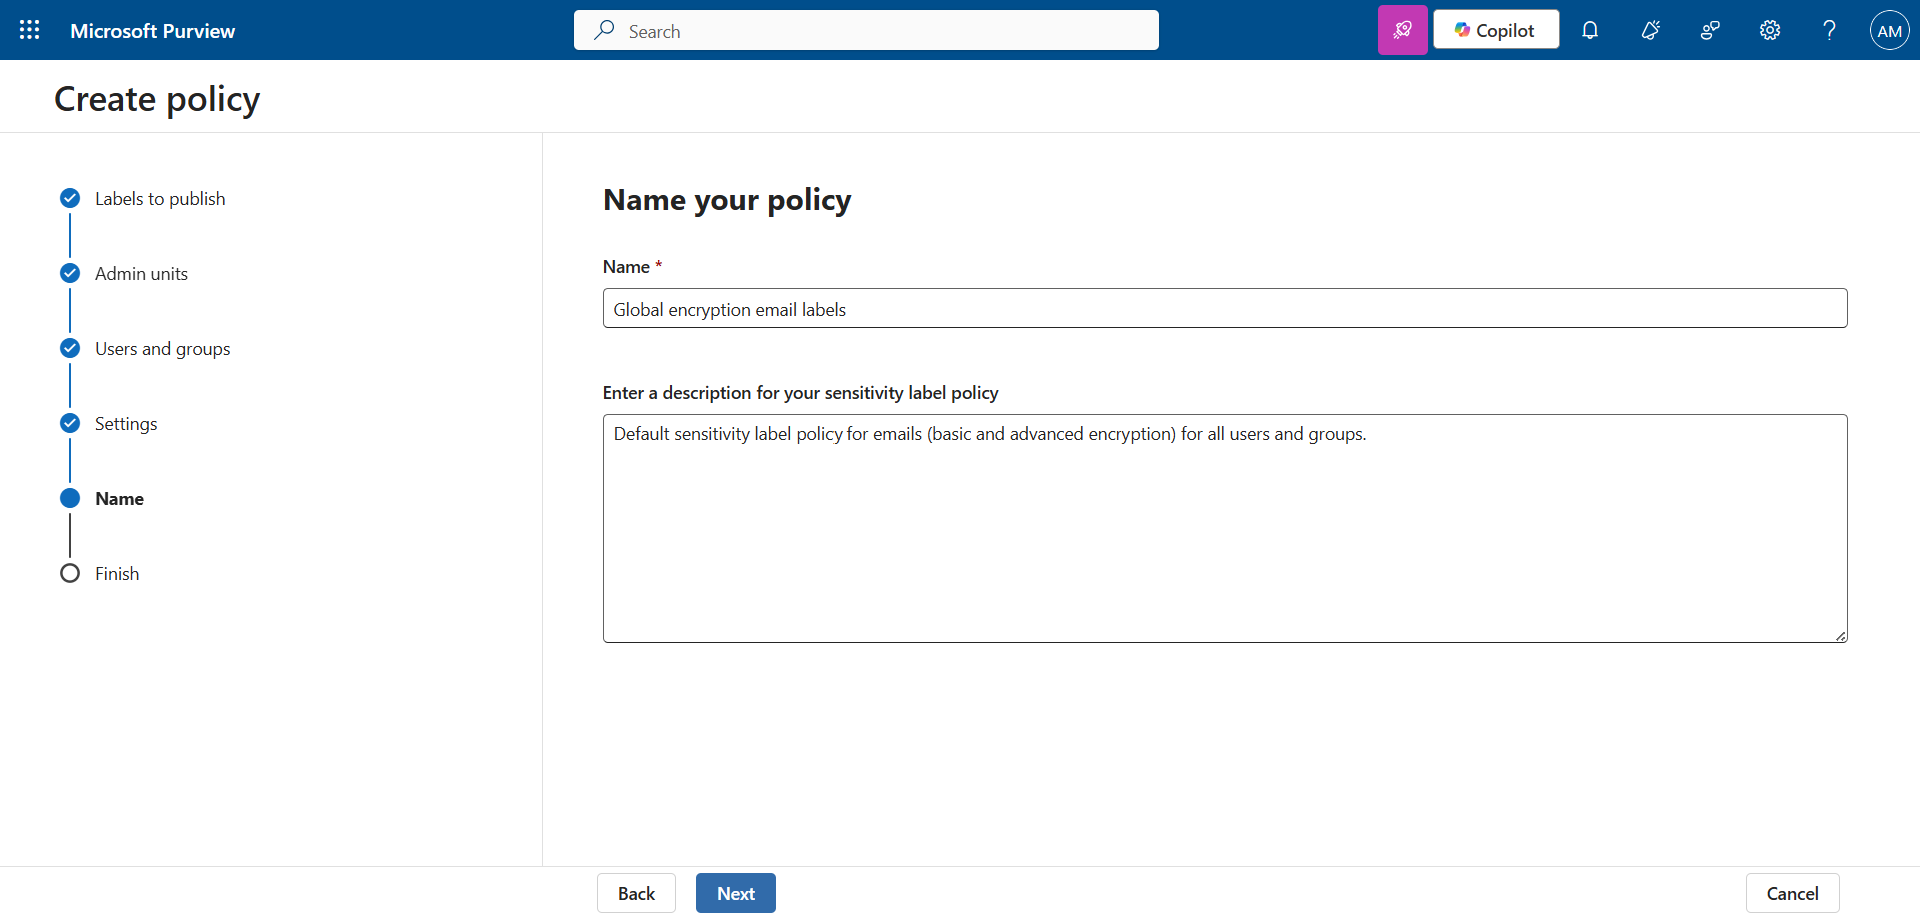
Set a name and description to validate the publication.
note
Step 5 : Validate the result
My Outlook client now has both Sensitivity Labels available.
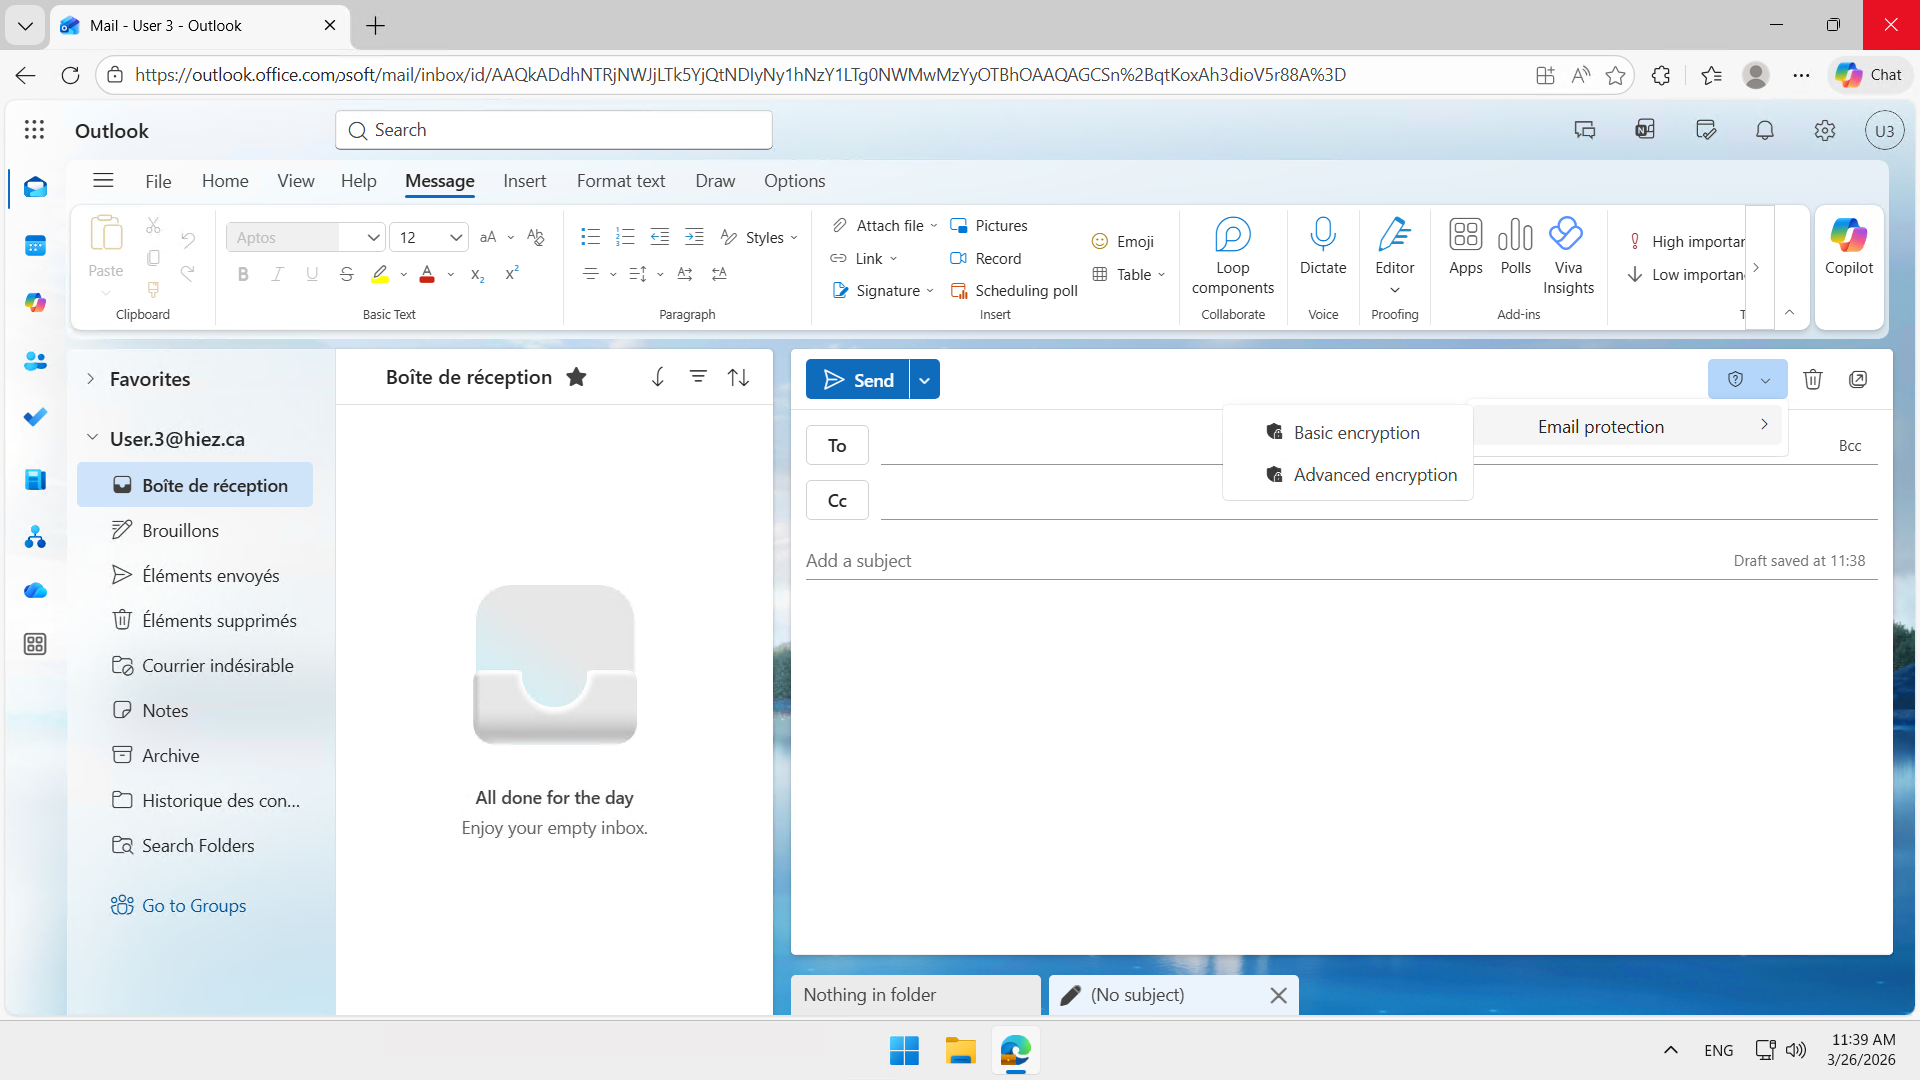
So, what do we do with that now ?
By applying one of these Sensitivity Labels to your email, it will be encrypted according to the label you applied.
I will write an article soon to demonstrate its use and results.
Conclusion
Sensitivity Labels applied to emails allow you to protect information where errors most often occur : at the time of sending. By combining classification, encryption, and usage restrictions, they offer effective protection without impacting the user experience.
You now know how to create Sensitivity Labels for emails in Purview.
Sources
Microsoft Learn - Sensitivity Labels
Did you enjoy this post ? If you have any questions, comments or suggestions, please feel free to send me a message from the contact form.
Don’t forget to follow us and share this post.