How to secure your emails with Sensitivity Labels
- Maxime Hiez
- Purview , Tutorial
- 06 Apr, 2026
Introduction
Last week, I showed you how to create Sensitivity Labels to secure your emails, without explaining how they work. Today I’ll talk about how to use them and what results you get when you apply them to your emails before sending.
Check the article from last week HERE.
Prerequisites
Required licenses
- Microsoft 365 Business Premium, Microsoft 365 E5.
- Microsoft Purview Suite in addition to another license (E3, Business, …).
Step 1 : Apply Sensitivity Labels to emails
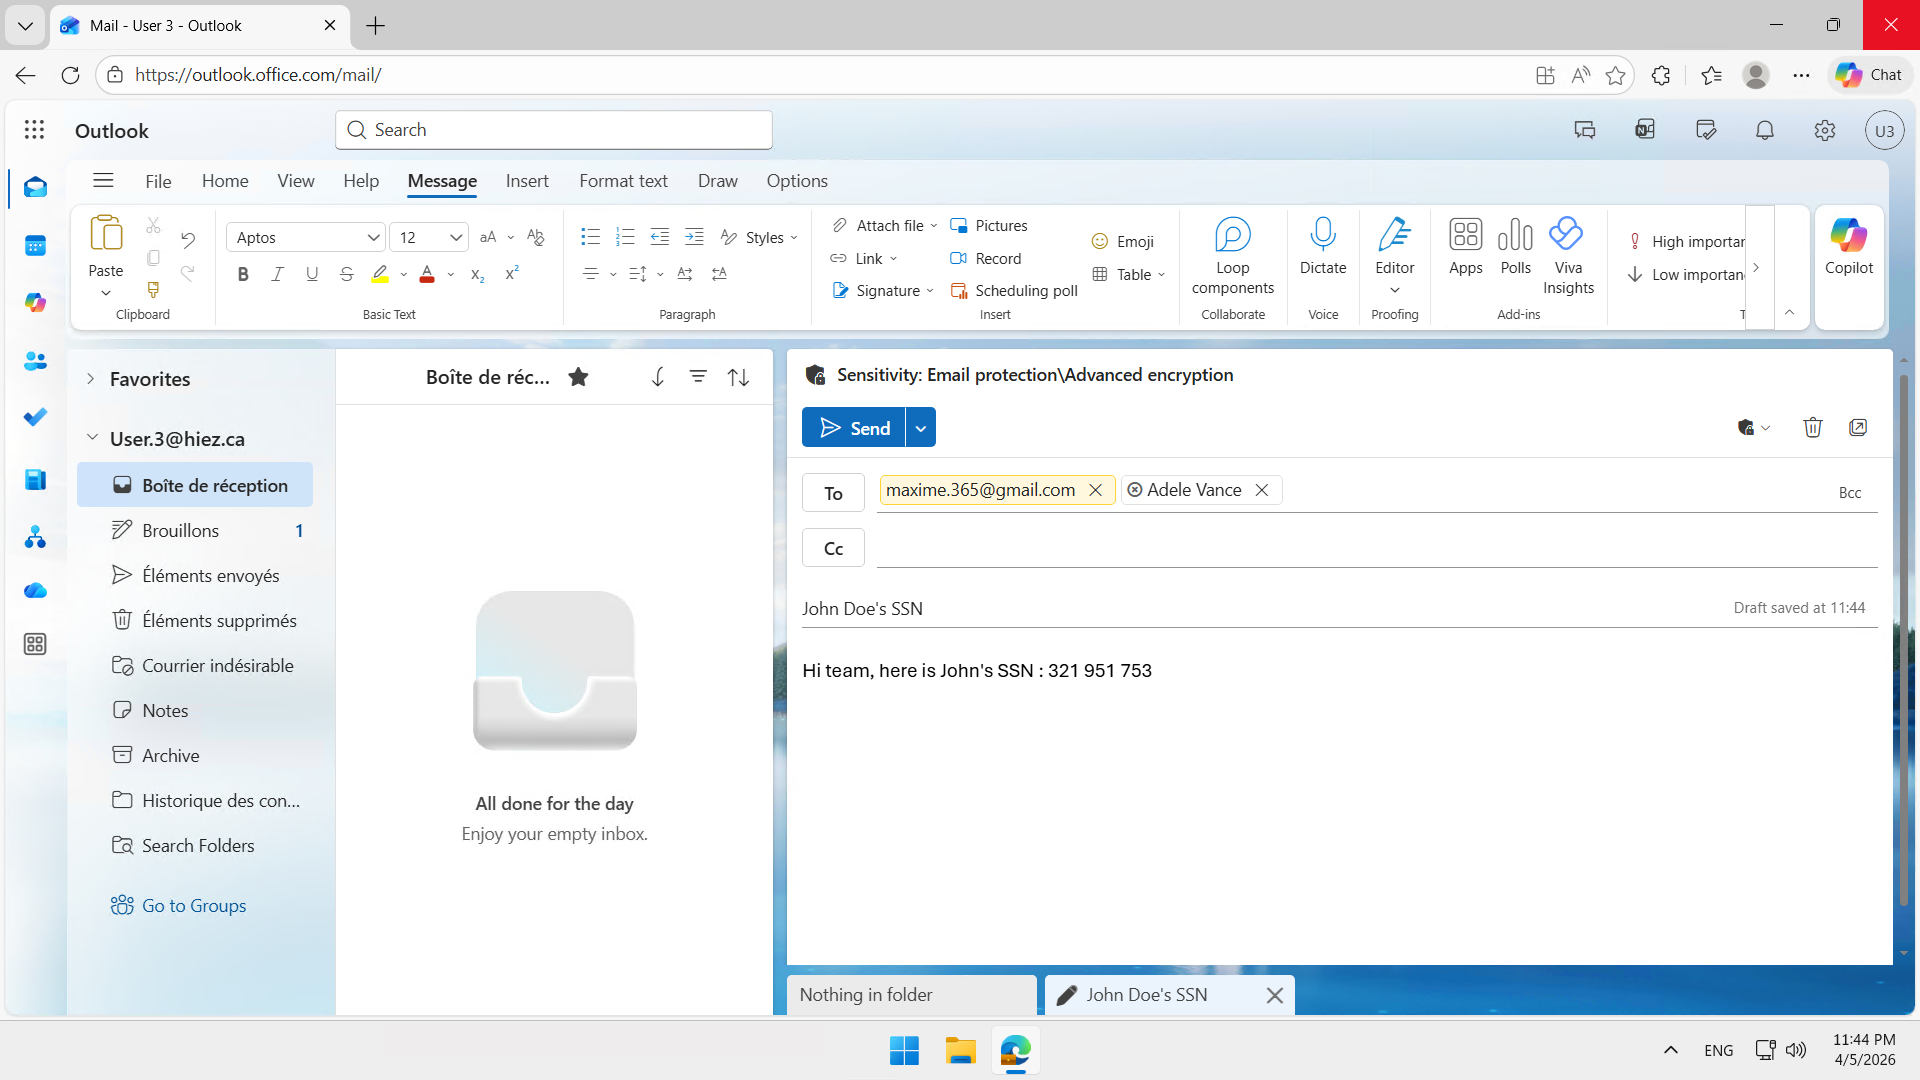
Create your first email and apply the Sensitivity Label Advanced encryption to it. For my example, I’m sending sensitive content (social security number) to a Gmail account and a Microsoft 365 user, two people outside to my organization.

We can see in the header that the Sensitivity Label is applied.
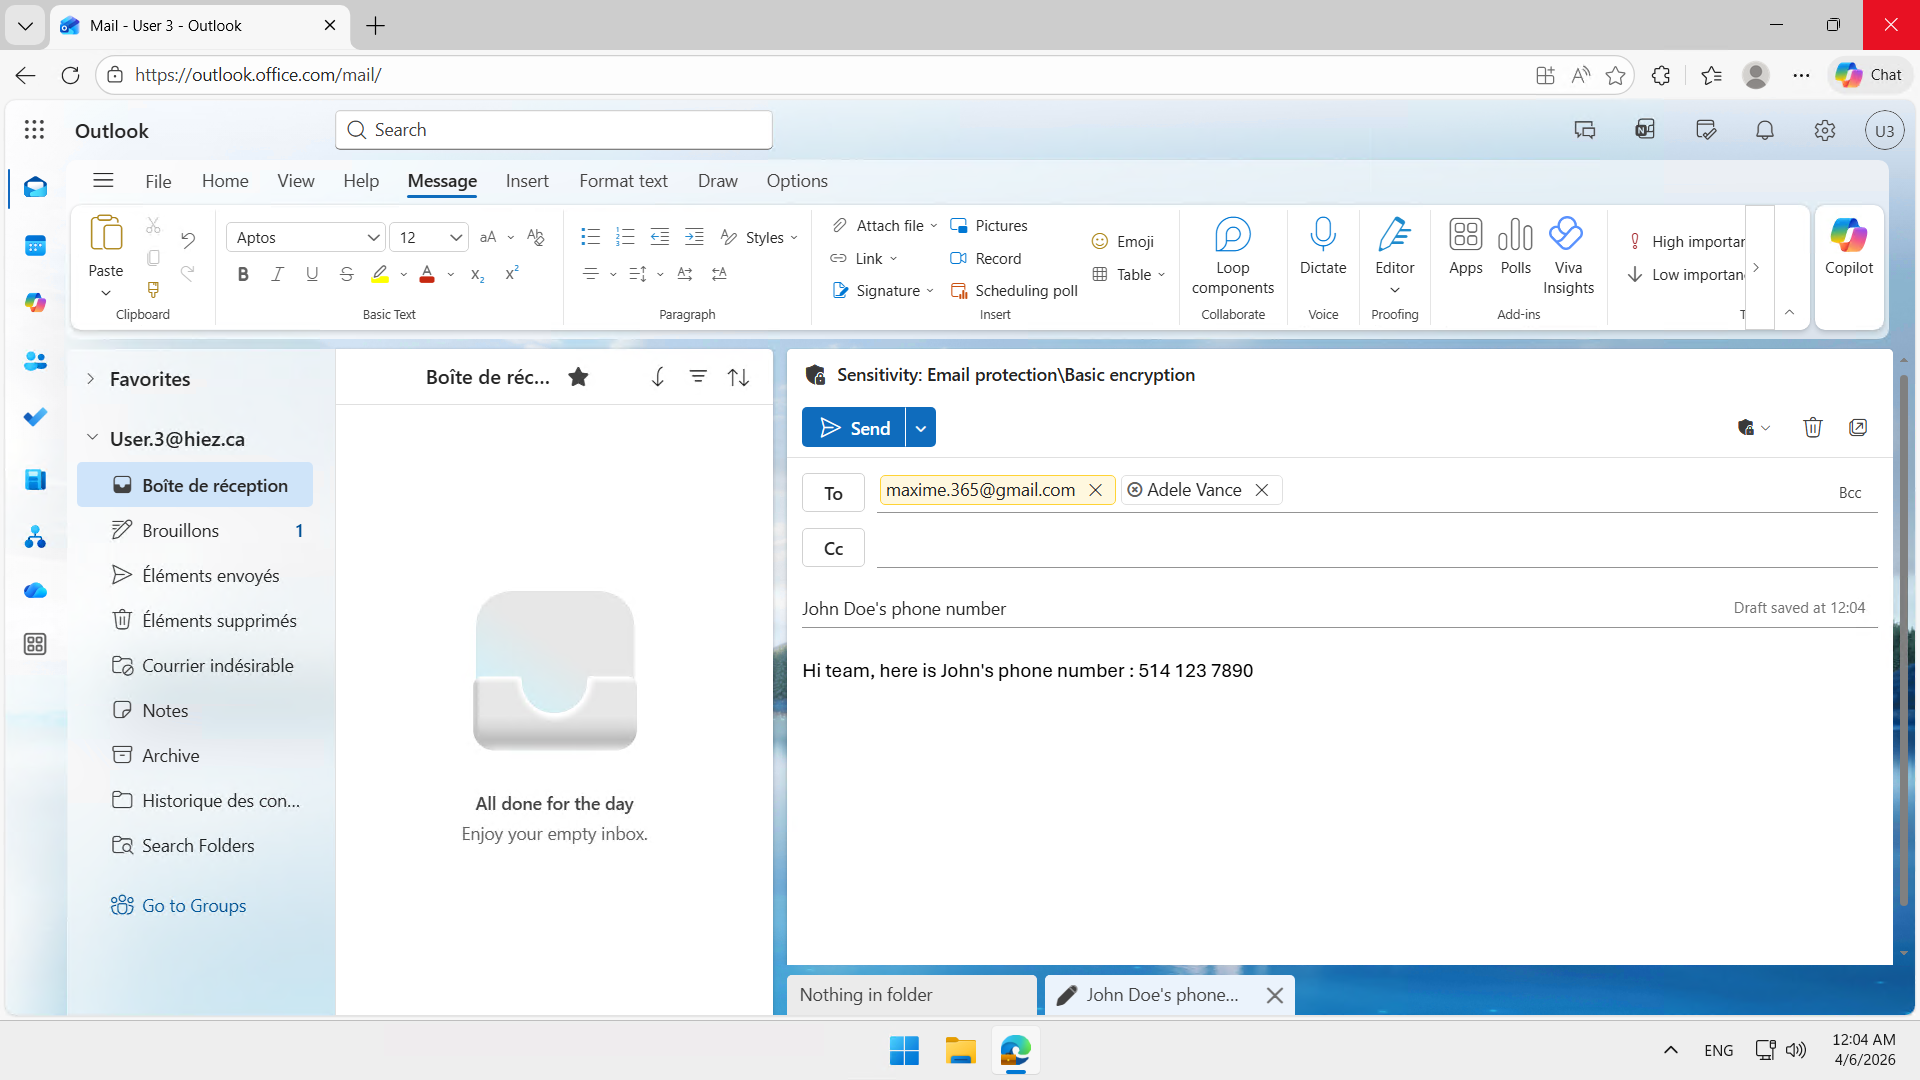
Send a second email and apply the sensitivity label Basic encryption to it.
This time, I’m sending less sensitive content (a phone number) to the same two people.
Step 2 : Validate the result in Outlook
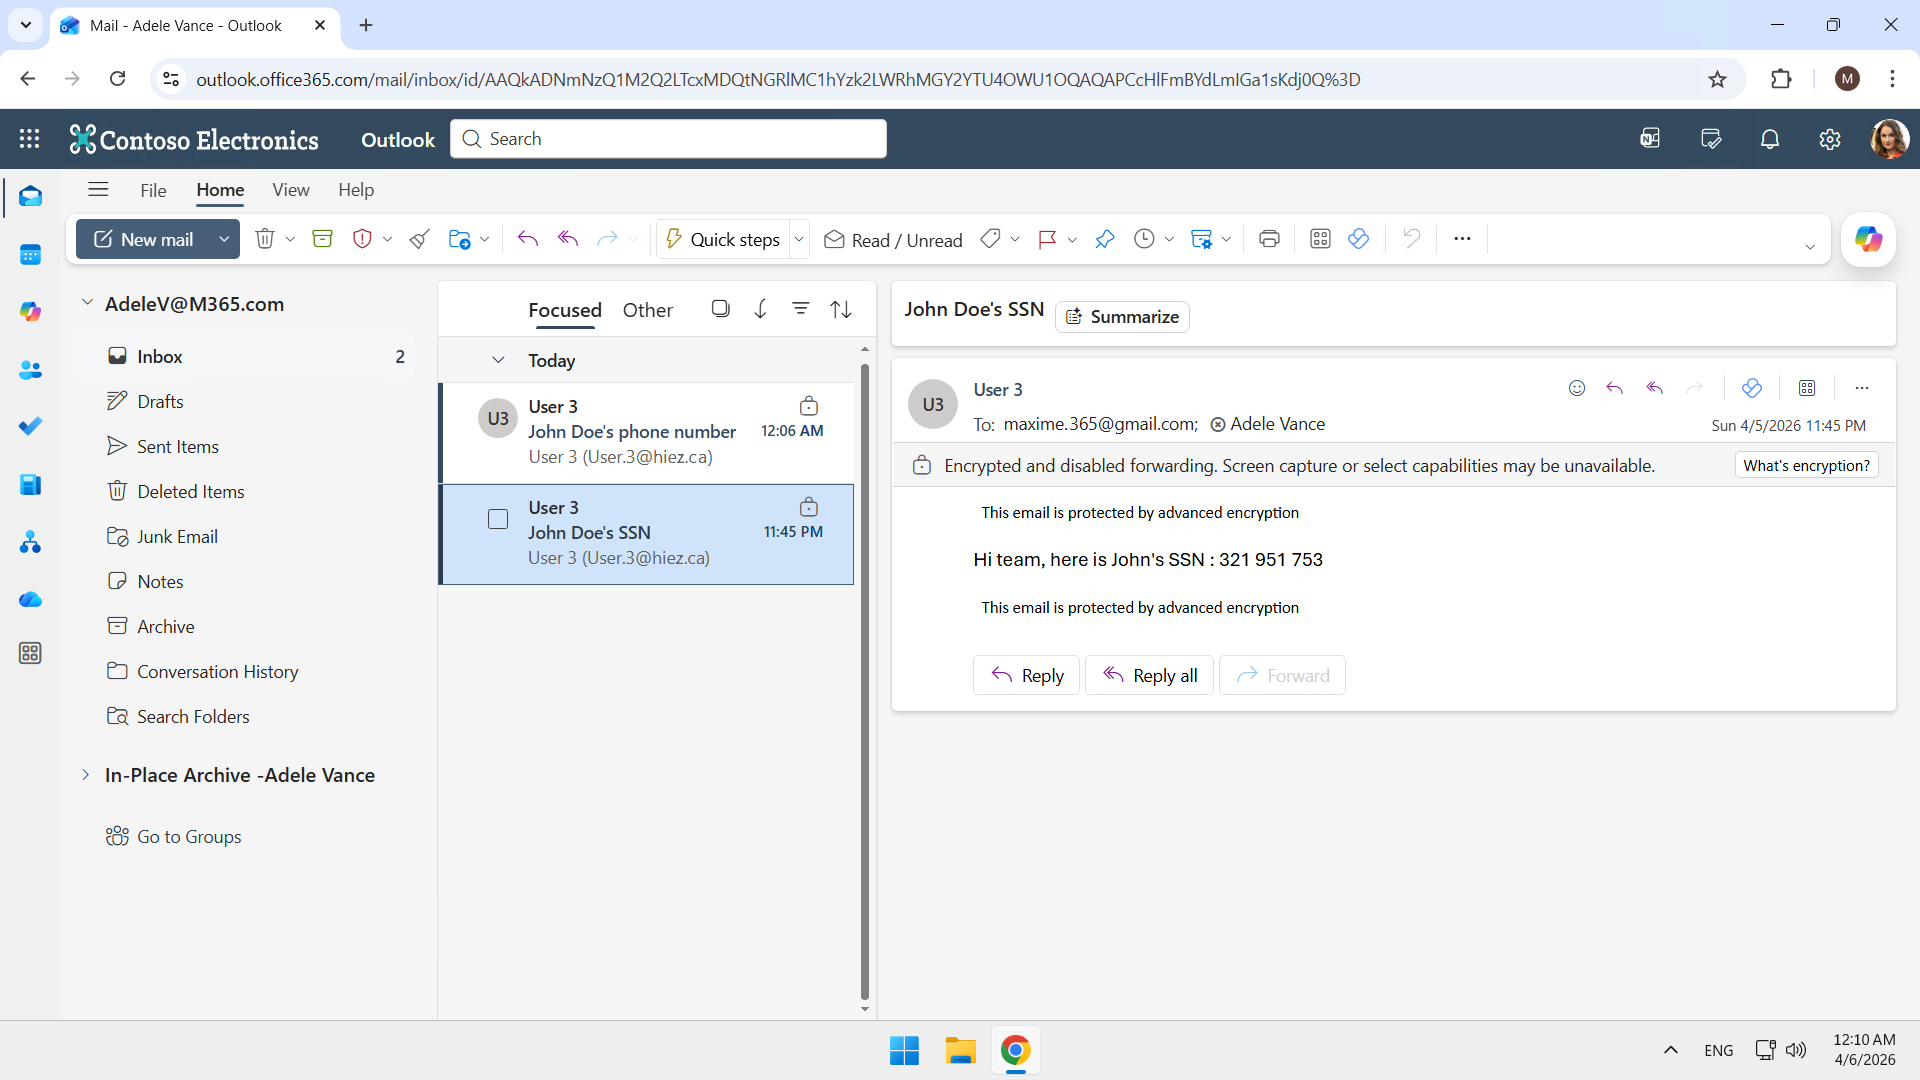
The Microsoft 365 user receives both emails with a padlock icon.
The email with the Sensitivity Label Advanced encryption containing the social security number indicates that it is encrypted and that forwarding is disabled (the grayed-out icon is clearly visible).
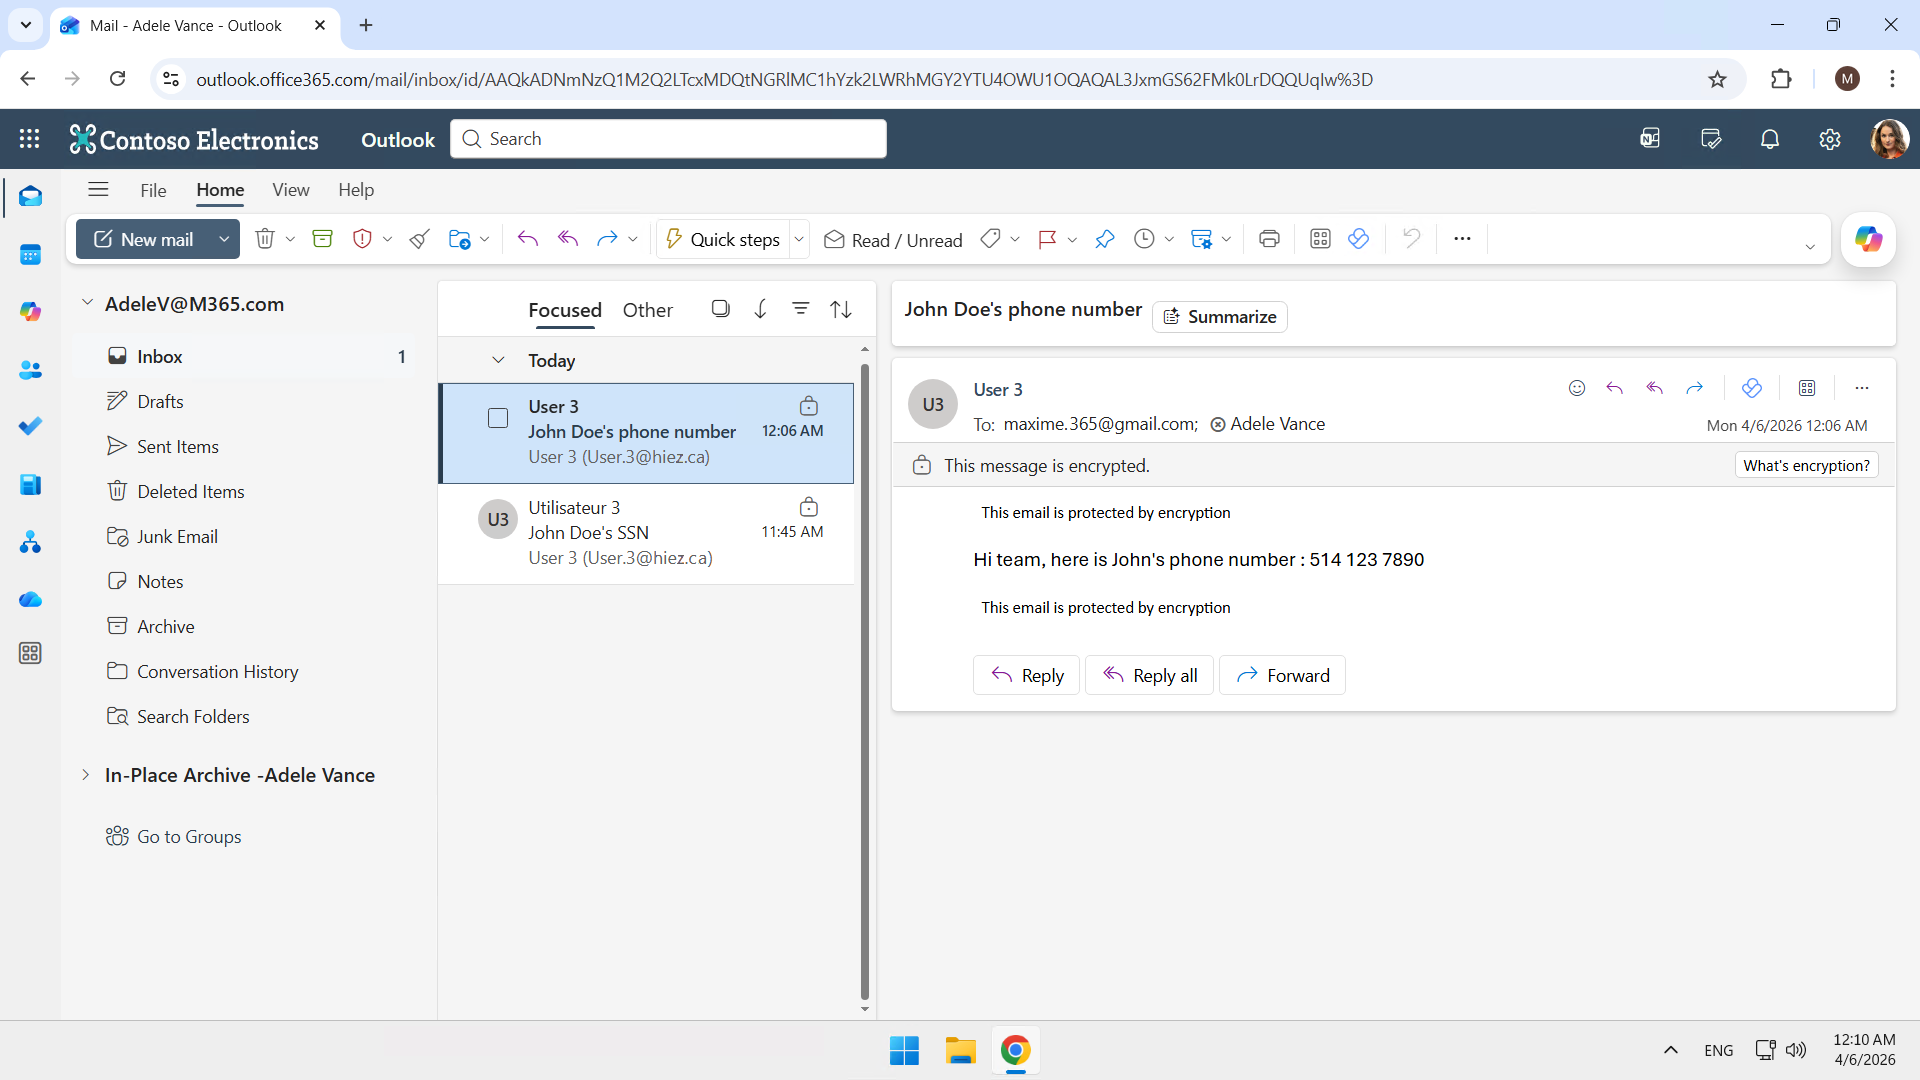
The one with the Sensitivity Label Basic encryption containing the phone number indicates that it is encrypted. Transfer is permitted on this one.
Step 3 : Validate the result on Gmail
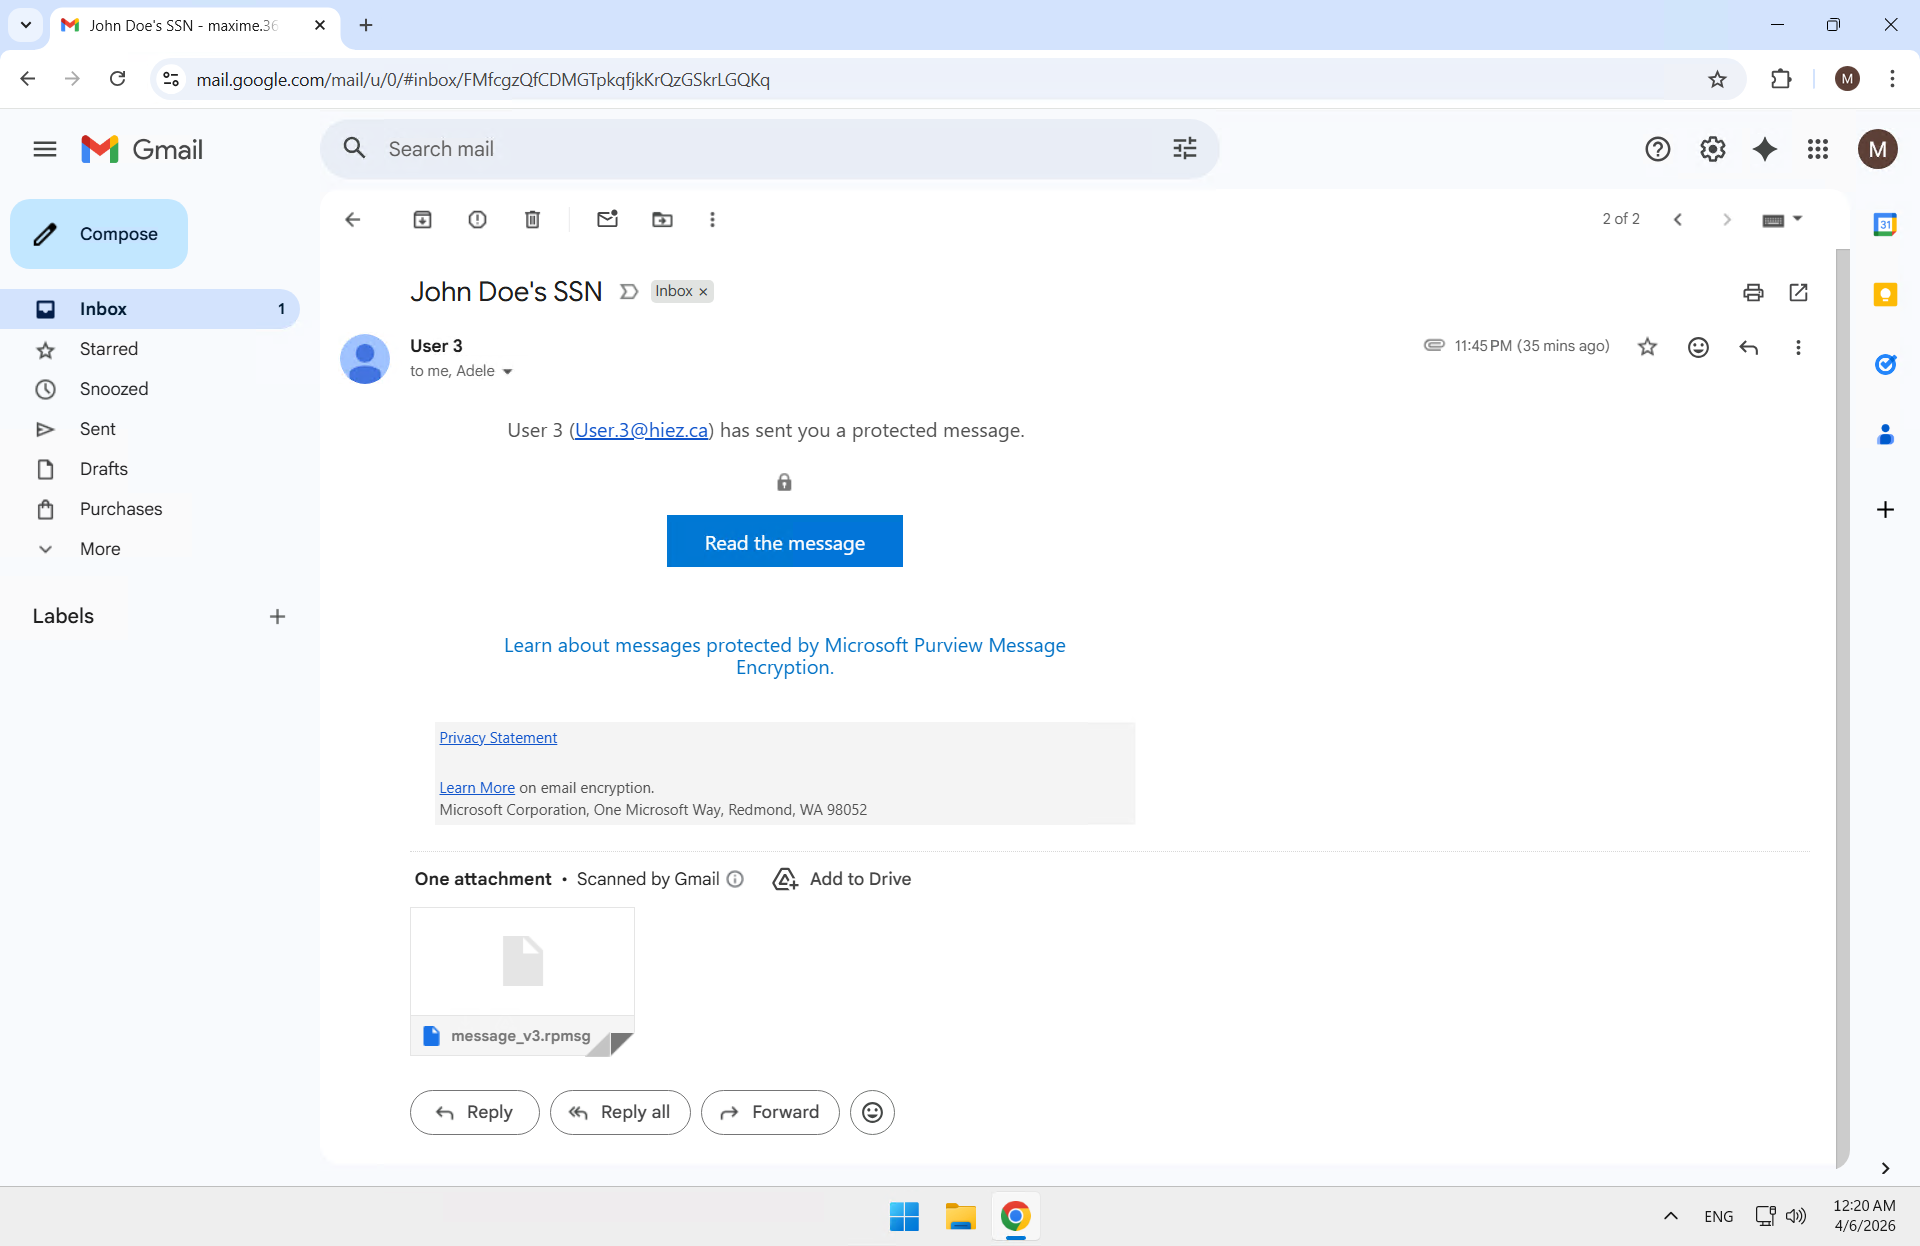
The Gmail user receives the same 2 emails.

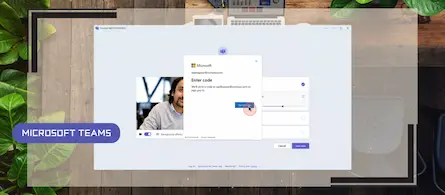
The one with the Sensitivity Label Advanced encryption indicates that it is protected and a Read the message button is displayed to access the message.
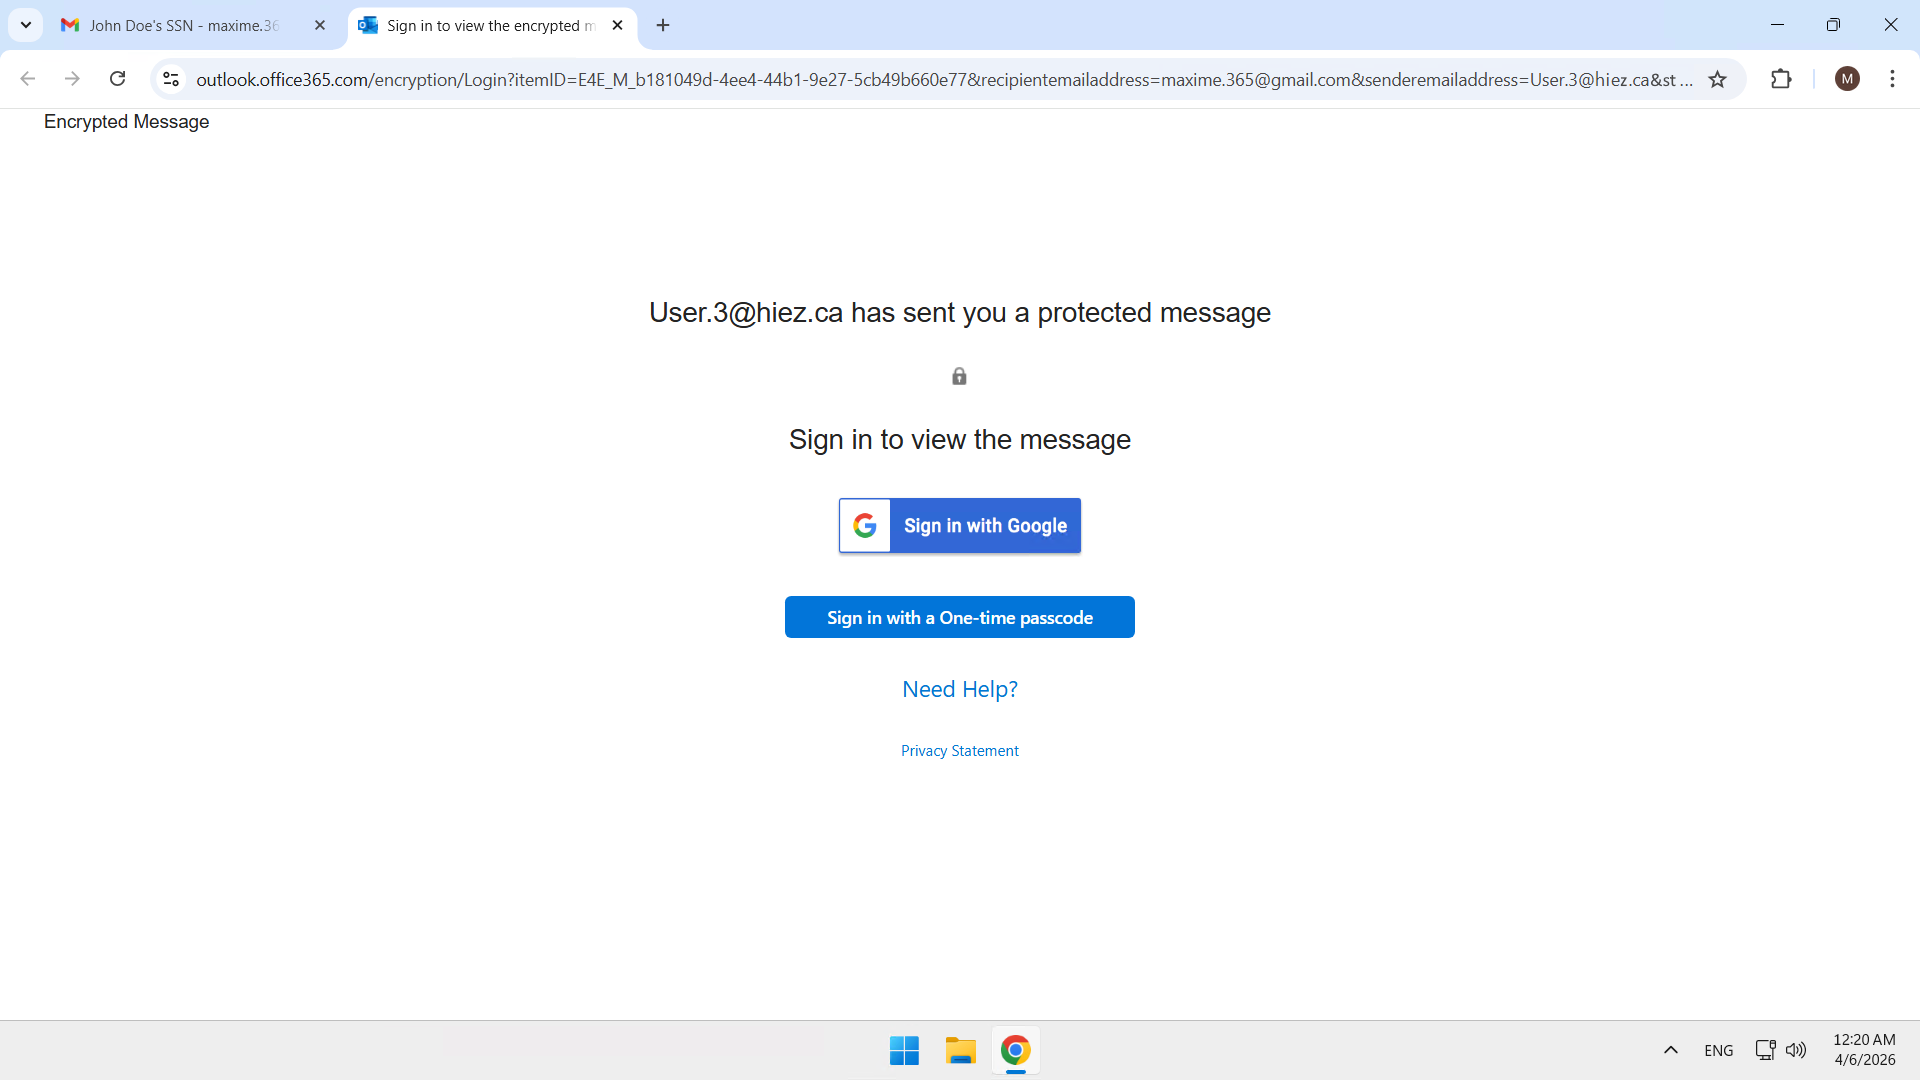
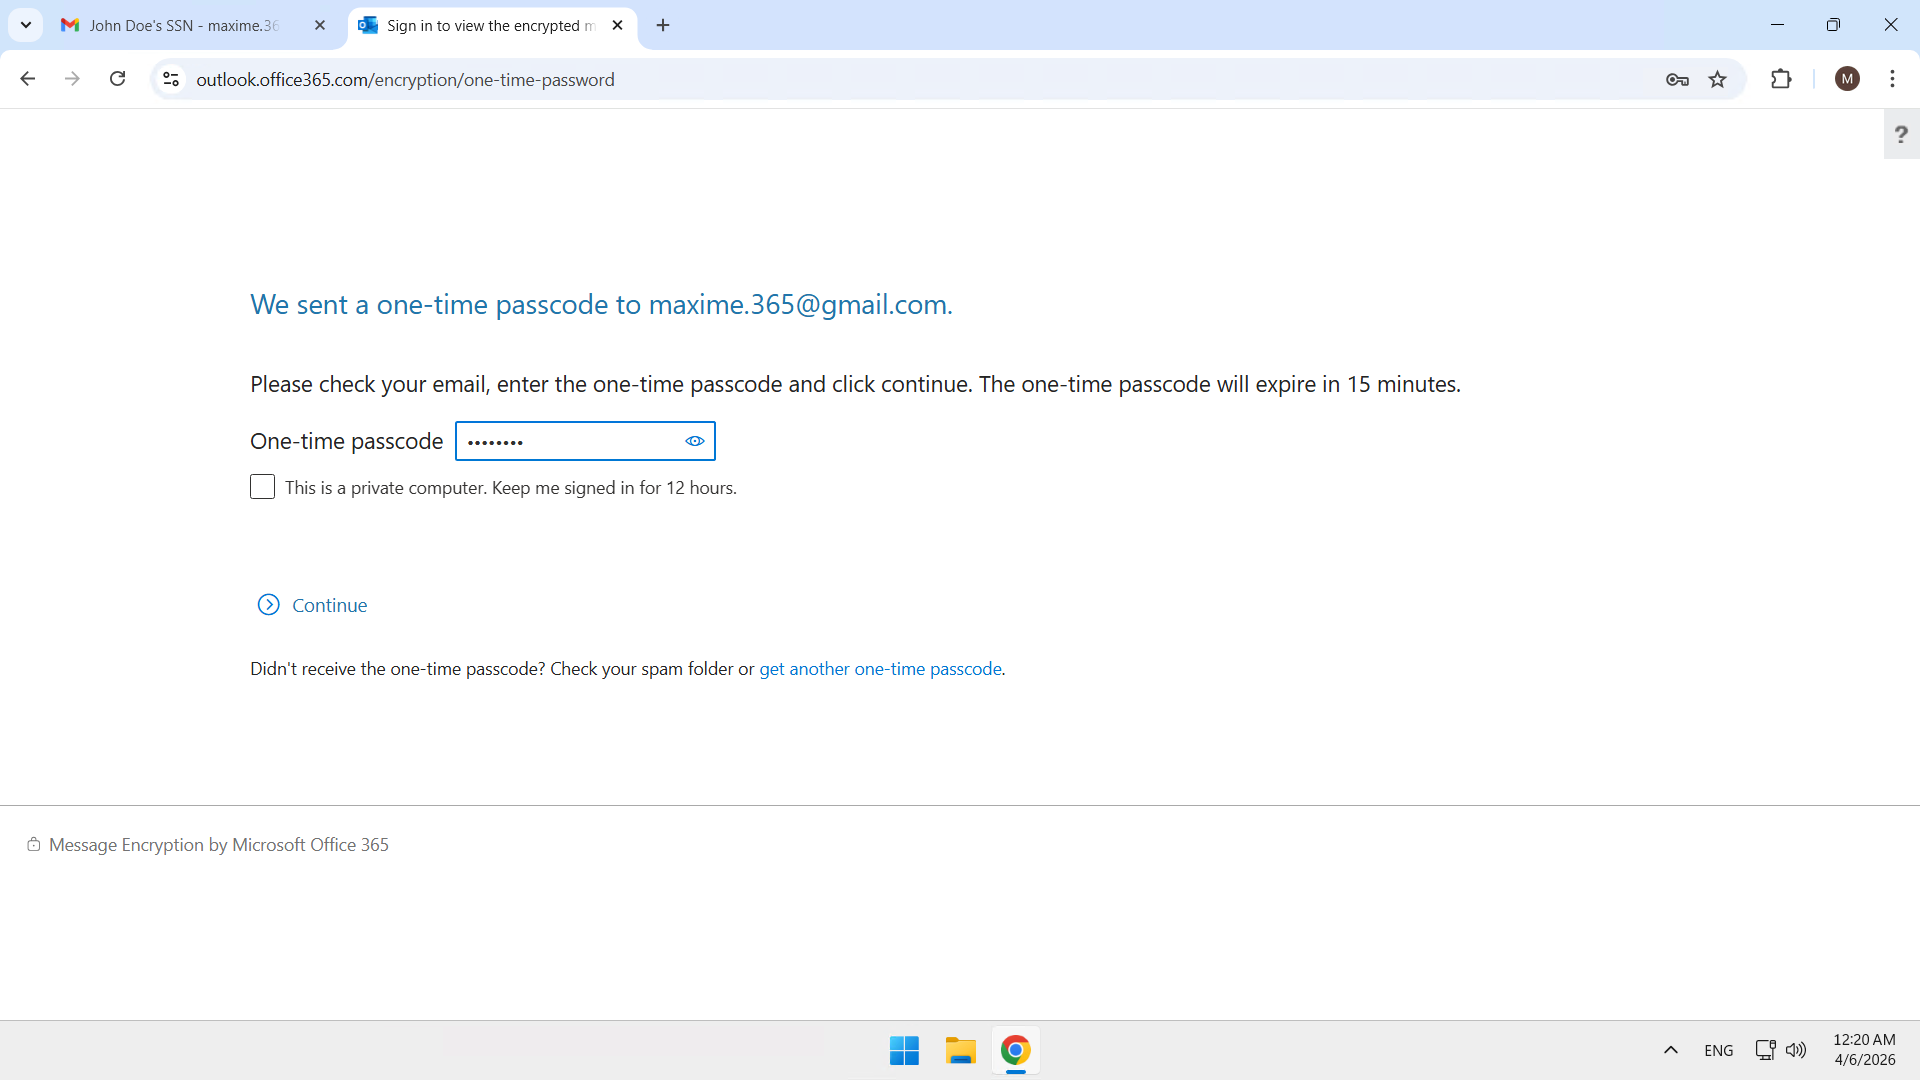
Since Gmail is not a native Microsoft system, the user must sign in. Here, I choose to do so via a One-time passcode.
An 8-digit code is sent …
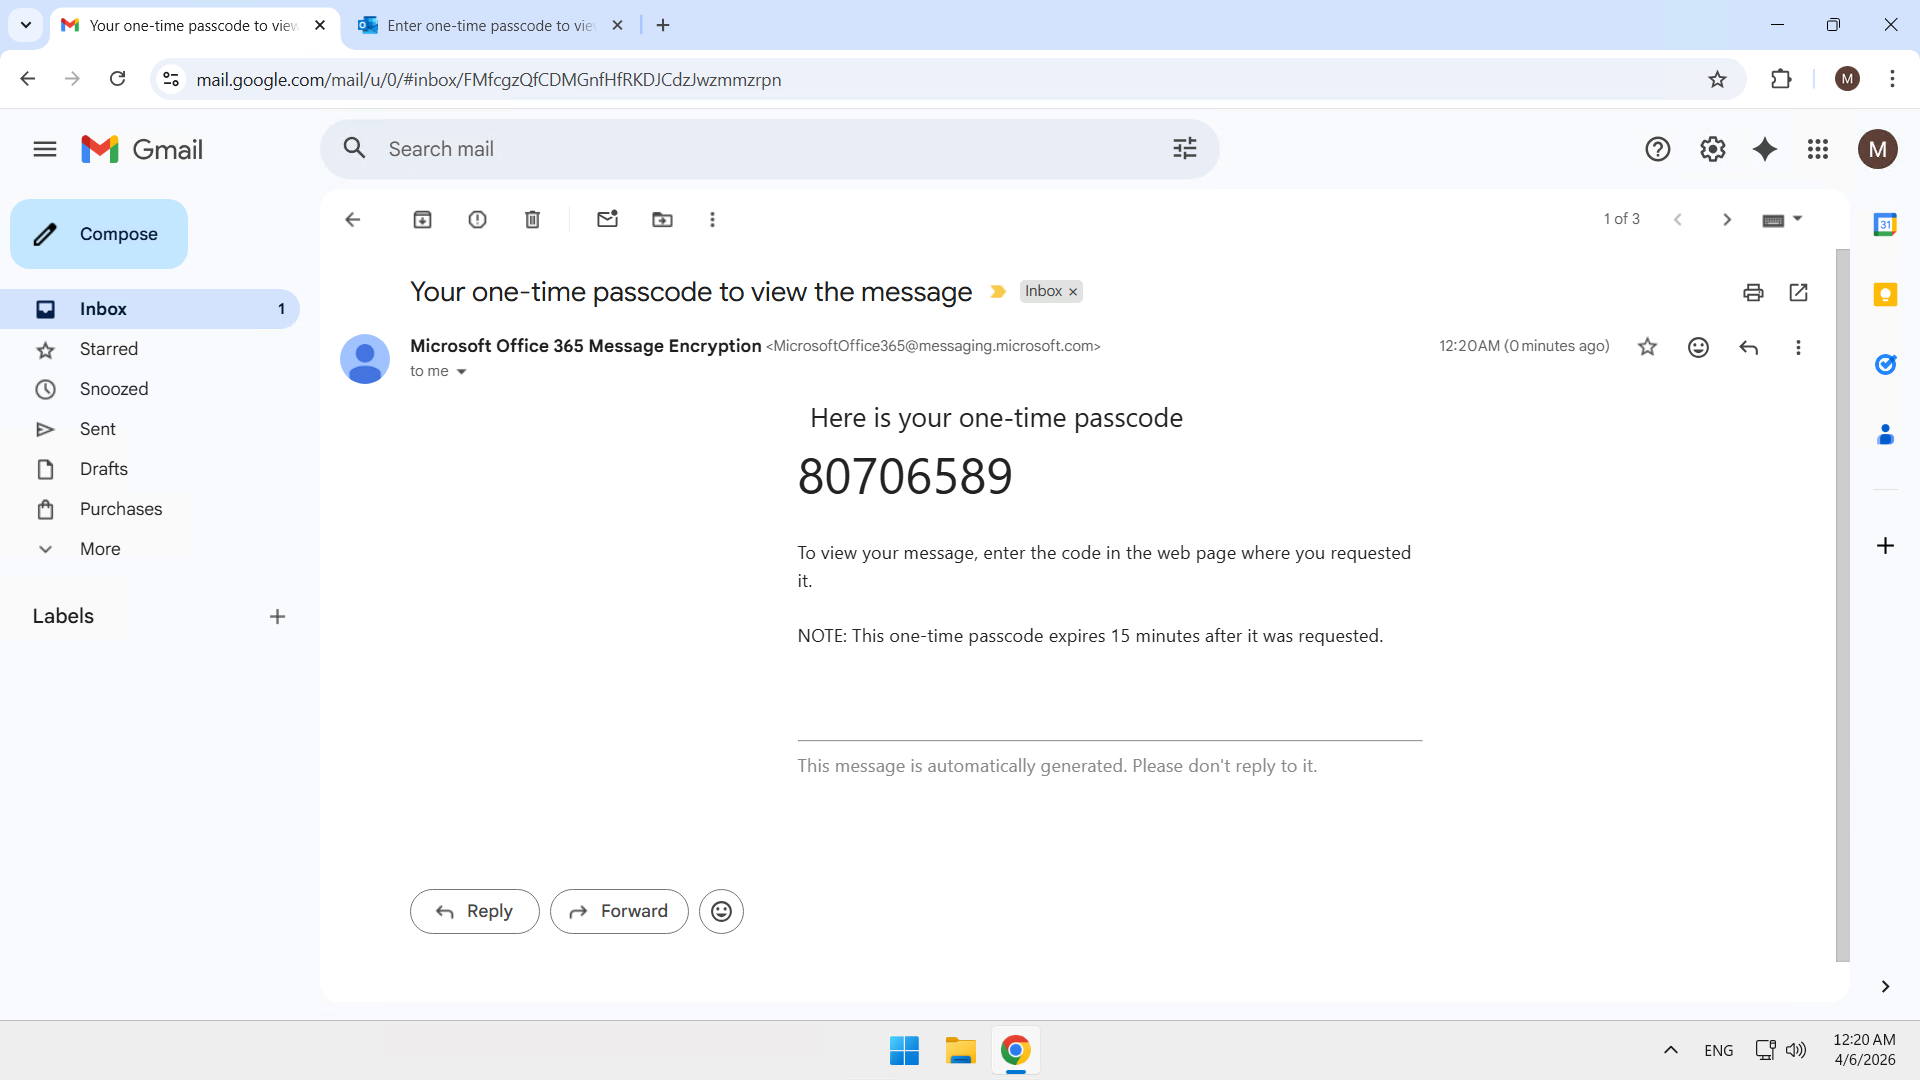
… and I use it to sign in.
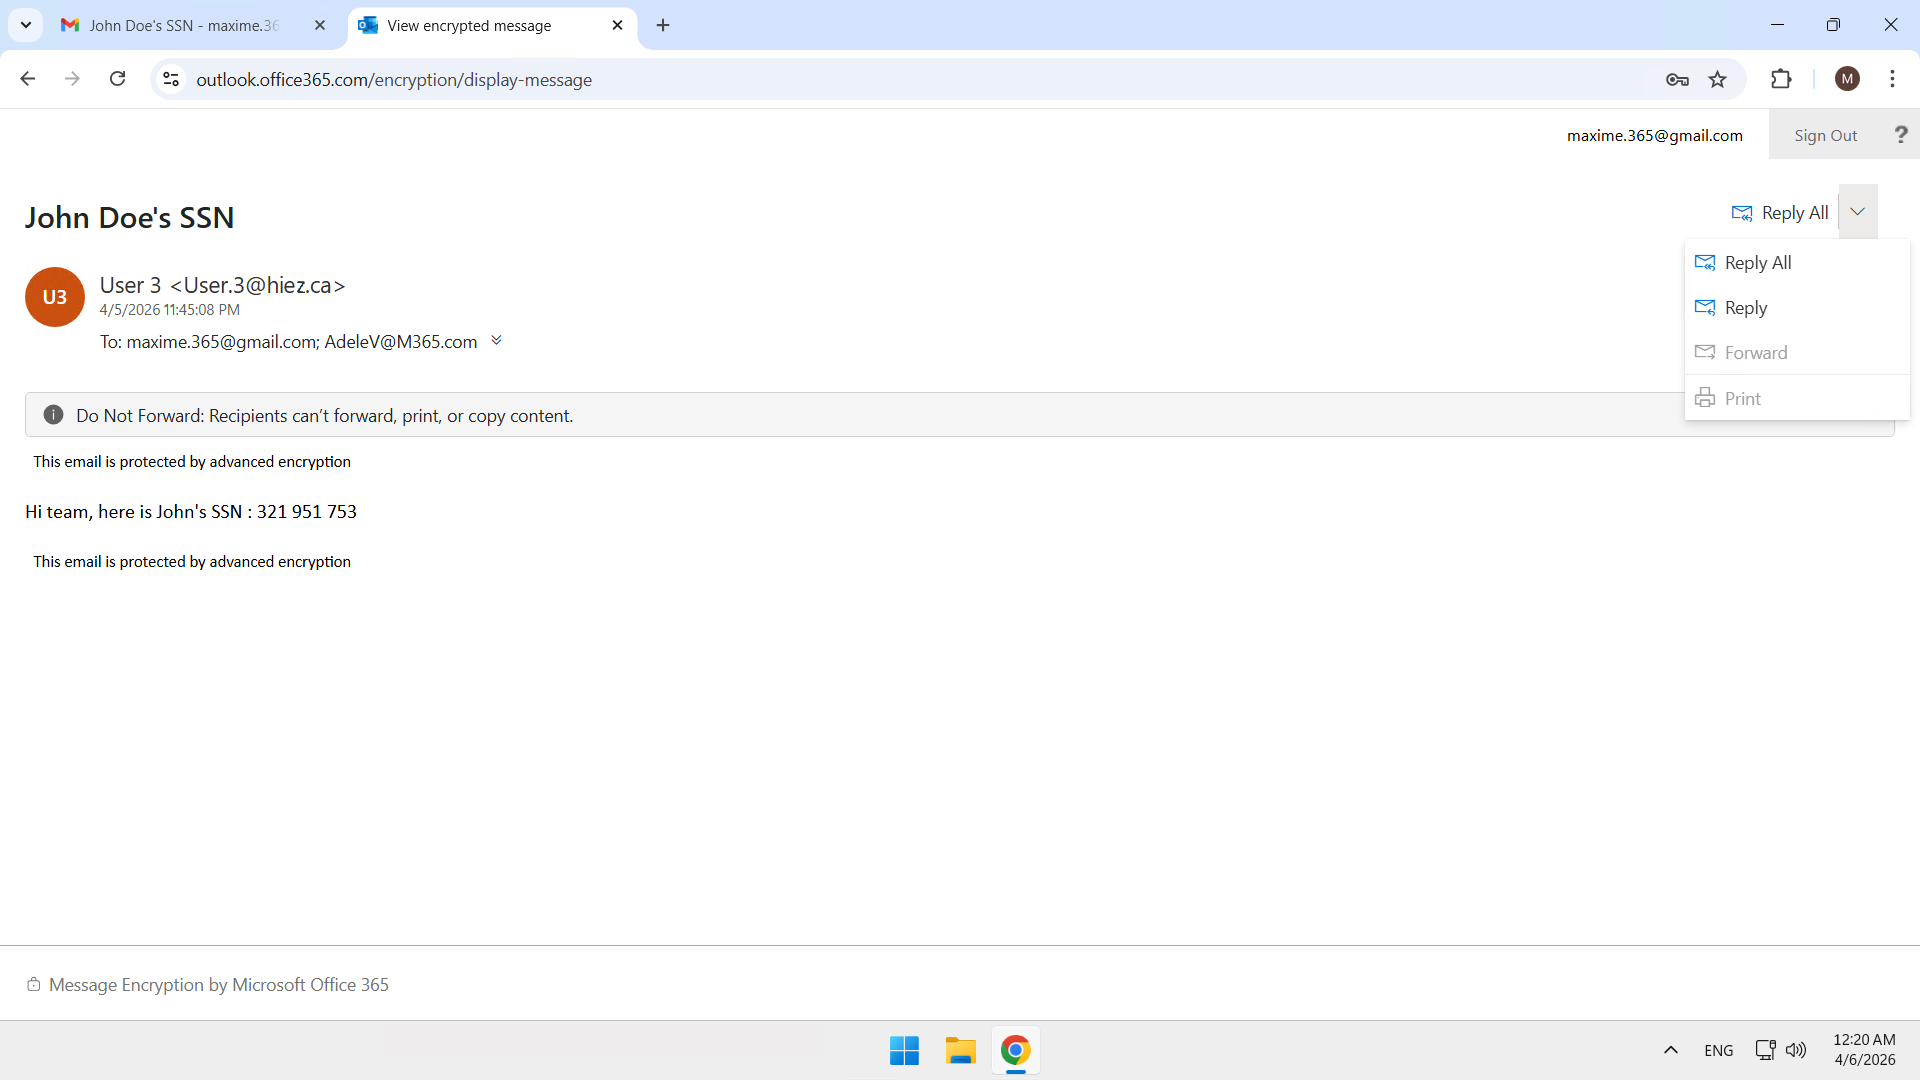
I now have access to the encrypted email, and as with the Microsoft 365 user, it is encrypted and forwarding is disabled.
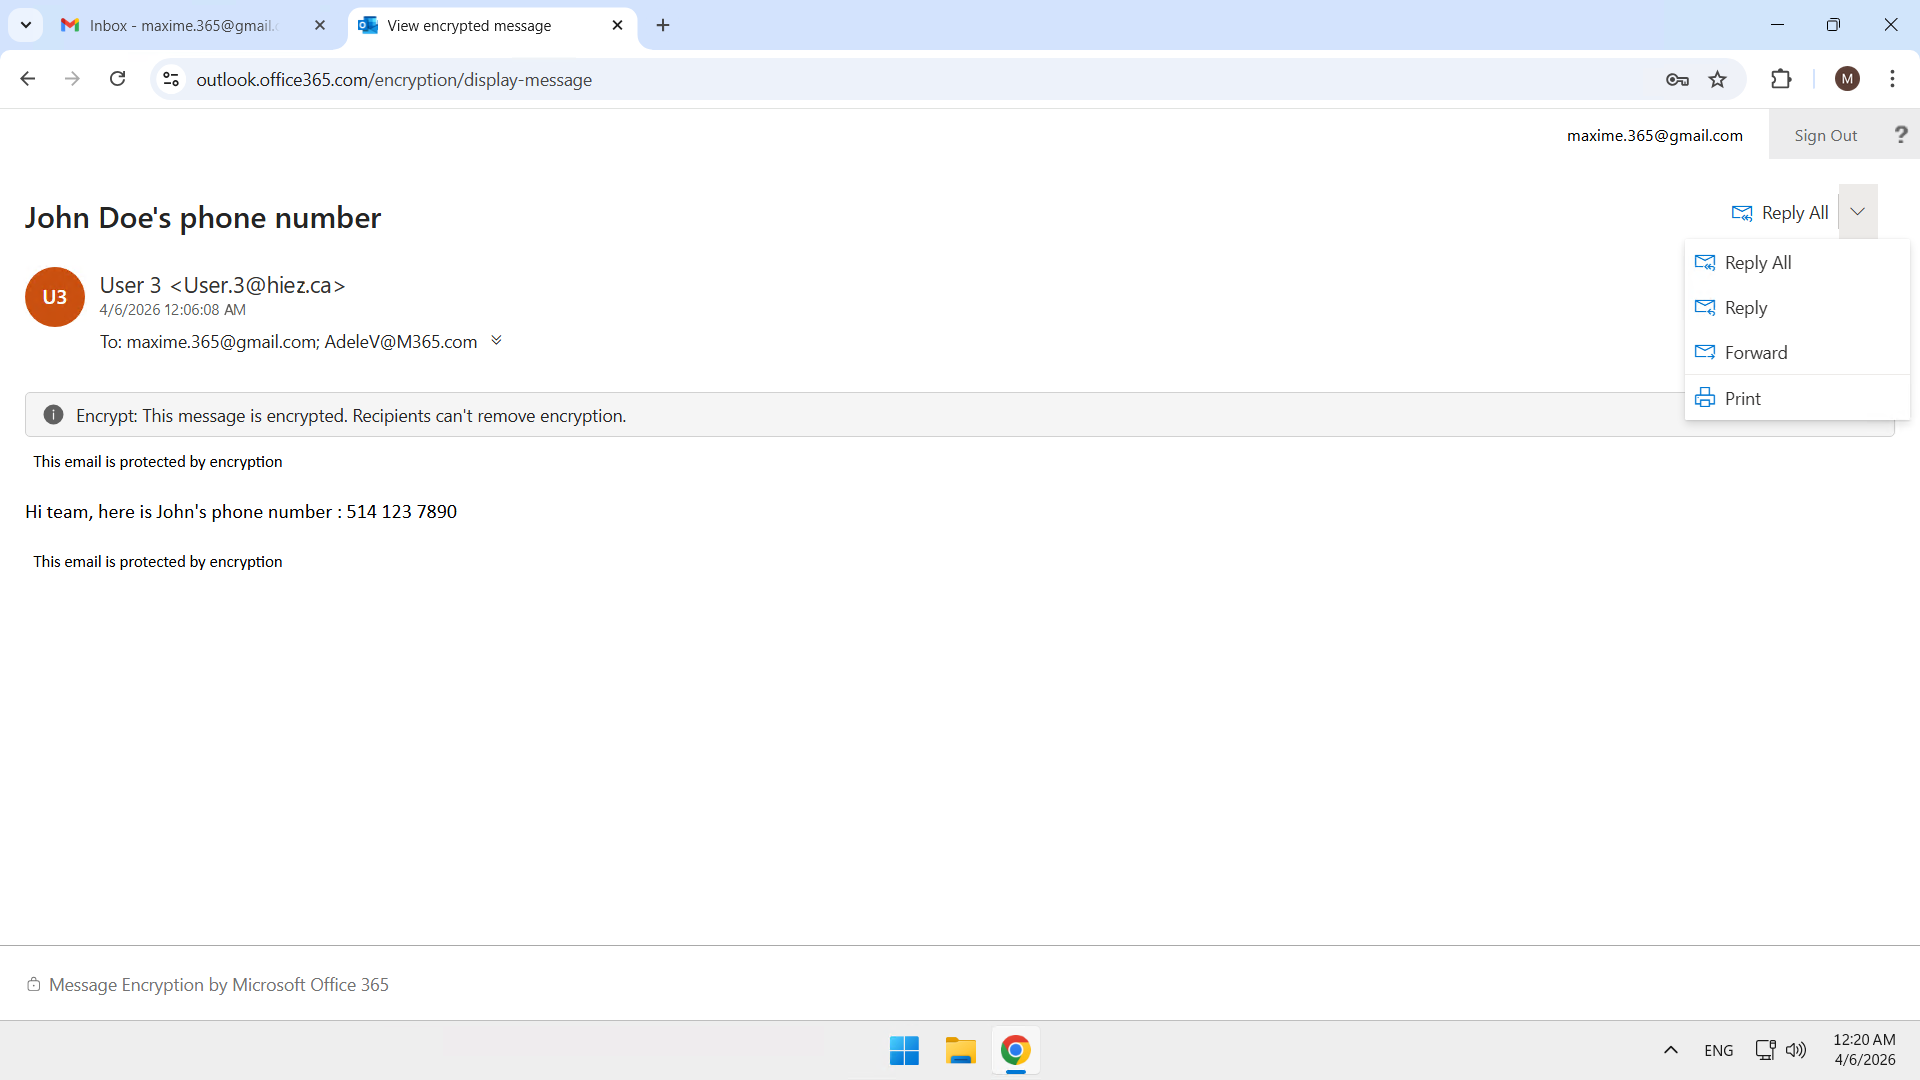
Following the same logic, I access the second email. It is encrypted and the transfer is permitted.
Let’s go further
Applying a Sensitivity Label to an email secures its content during sending, but what if I want to encrypt an existing document in OneDrive or SharePoint ? Or even apply other types of security with Copilot ?
There are several other scenarios we can work with. I’ll be writing several articles soon to demonstrate what’s possible.
Conclusion
You now know how to secure your emails with Sensitivity Labels in Purview.
Sources
Microsoft Learn - Sensitivity Labels
Did you enjoy this post ? If you have any questions, comments or suggestions, please feel free to send me a message from the contact form.
Don’t forget to follow us and share this post.