
How to create a NAT Gateway in Azure
- Maxime Hiez
- Azure , Tutorial
- 19 May, 2026
Introduction
I told you last March about the end of implicit Internet access for new Virtual Networks (VNets) in Azure and the need to configure an explicit Internet outbound solution (Azure NAT Gateway, firewall, or load balancer with egress rules).
Check the article from March 2026 HERE.
Prerequisites
Required licenses
- An Azure subscription.
Azure resources
- A public IP address of type Standard.
- A resource group.
- Virtual Networks (VNets).
Administrator role
- An account with the Contributor or Owner role on the Azure subscription.
Step 1 : Sign in to the Microsoft Azure portal
Sign in to the Microsoft Azure portal by opening your web browser to https://portal.azure.com.
Step 2 : Create the Azure NAT Gateway
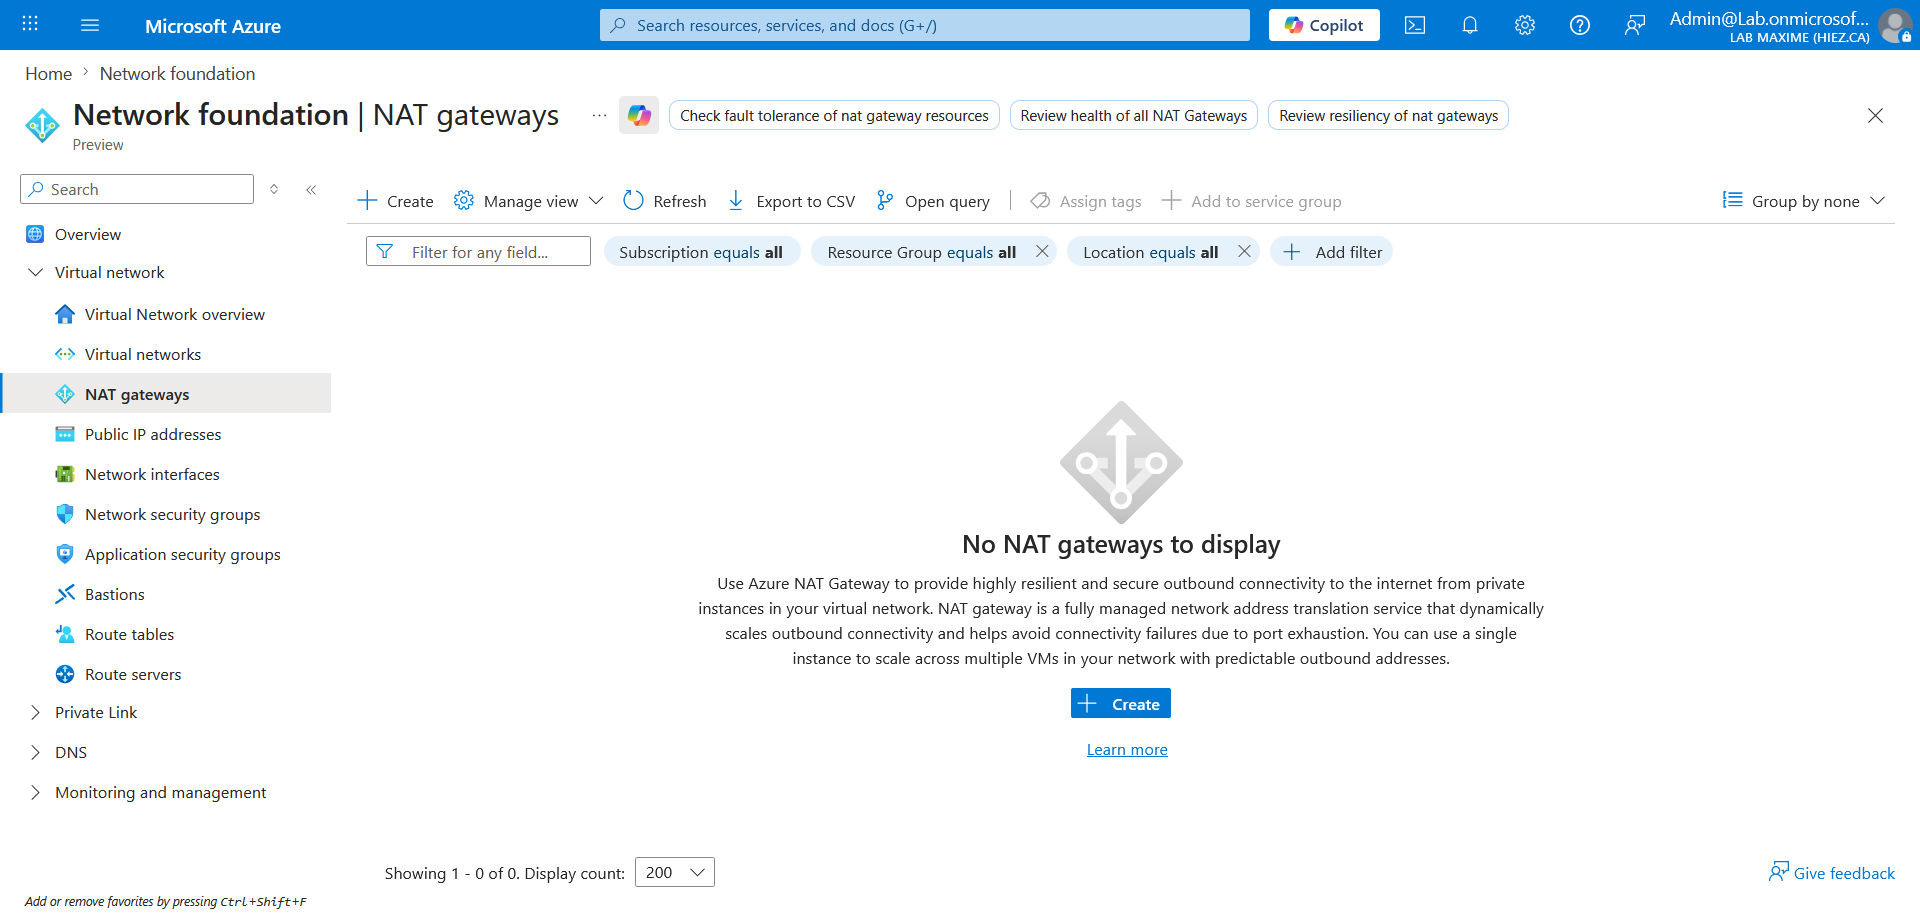
In the search bar at the top of the screen, type NAT gateways, and click the proposed menu.
Click Create to create the NAT gateway.
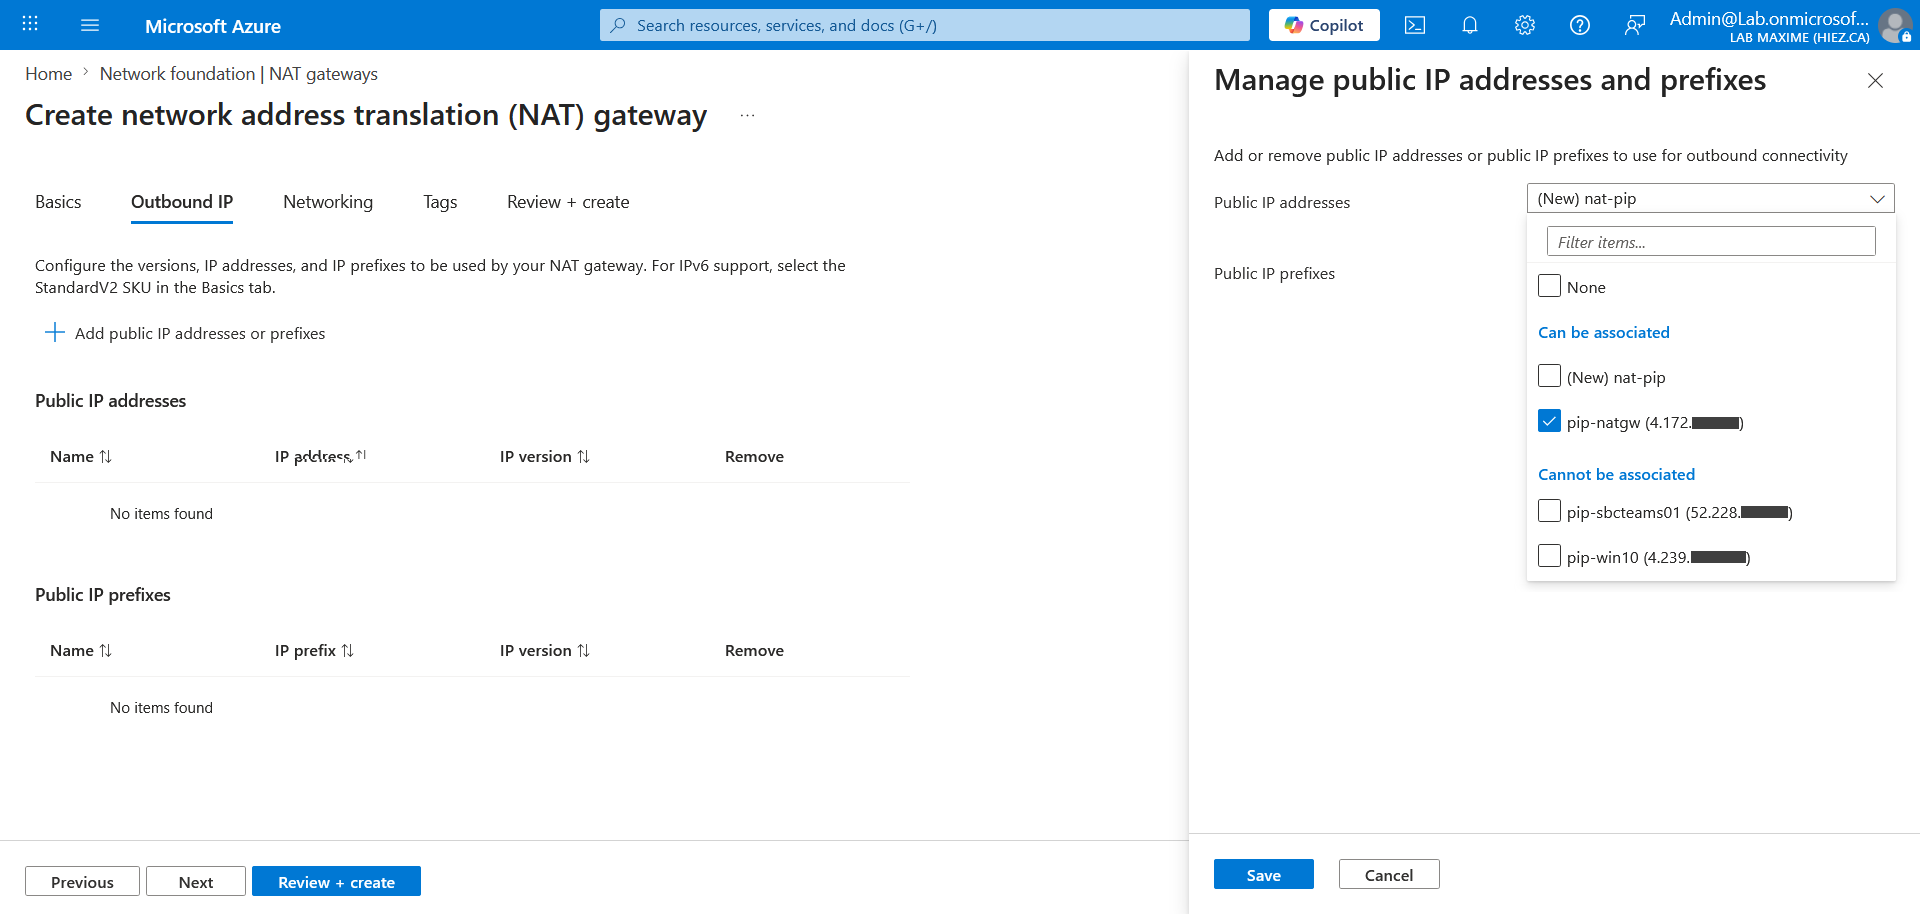
Click Add public IP addresses or prefixes to assign an available public IP address or use a new one that is automatically created.
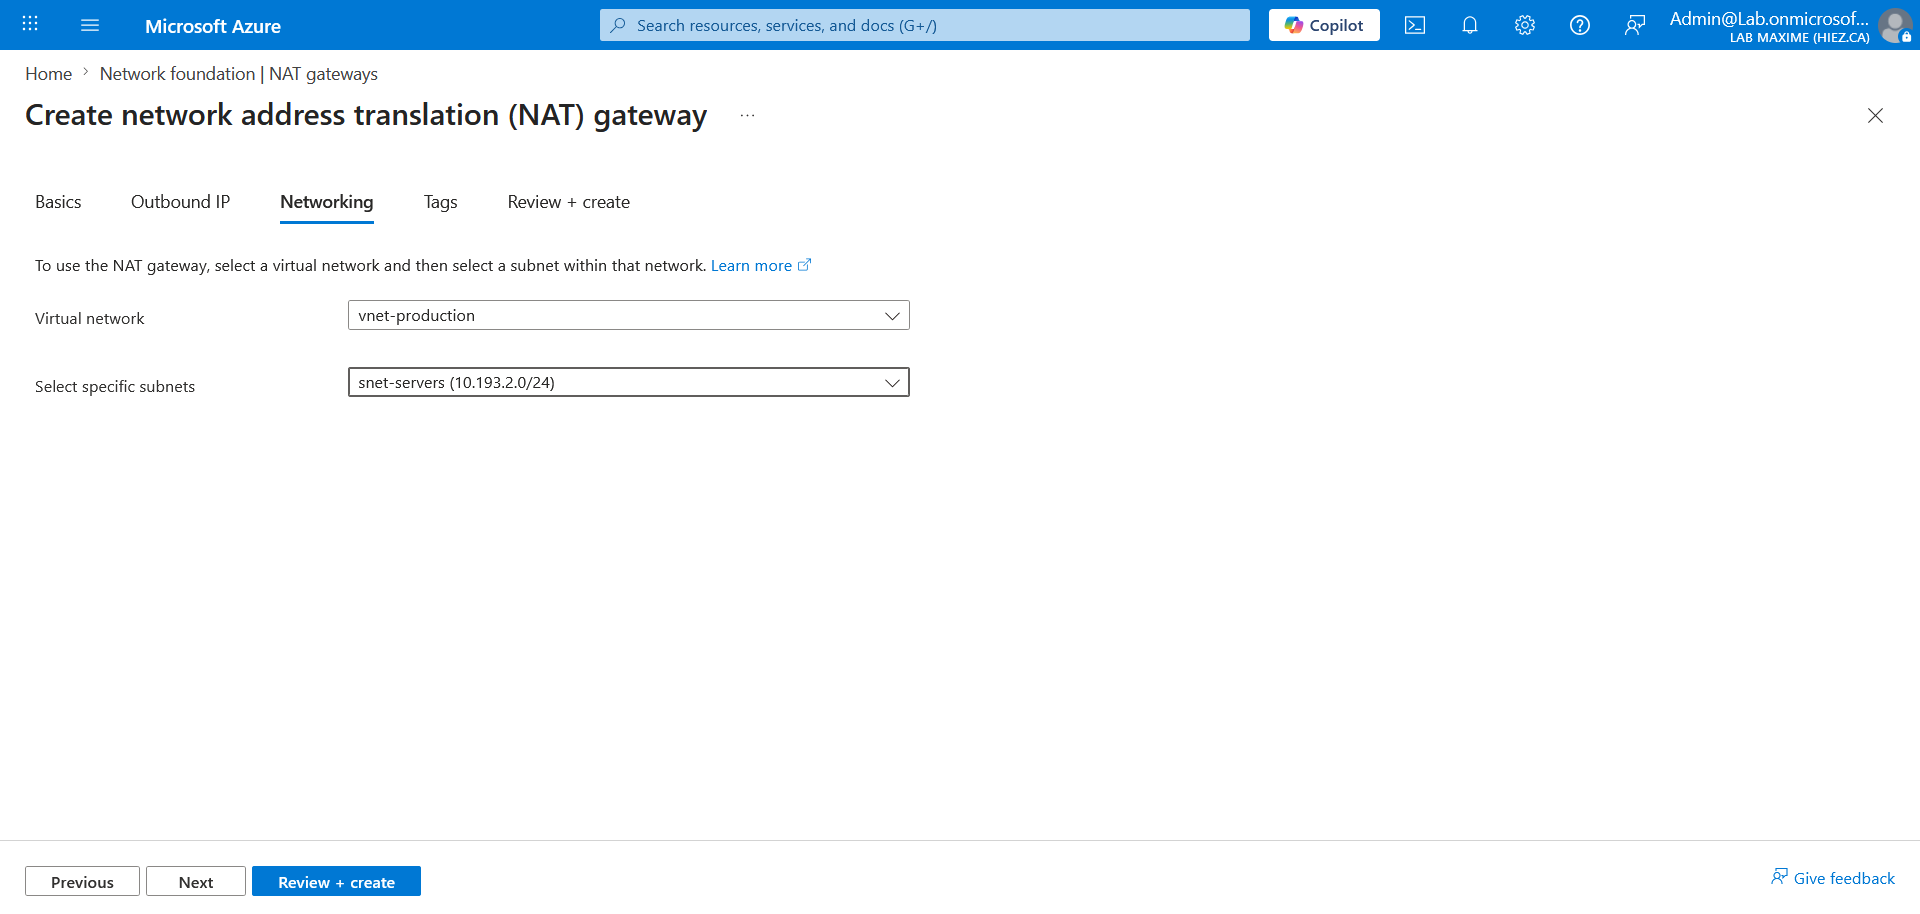
Assign the Virtual Network(s) you wish to route through the NAT Gateway.
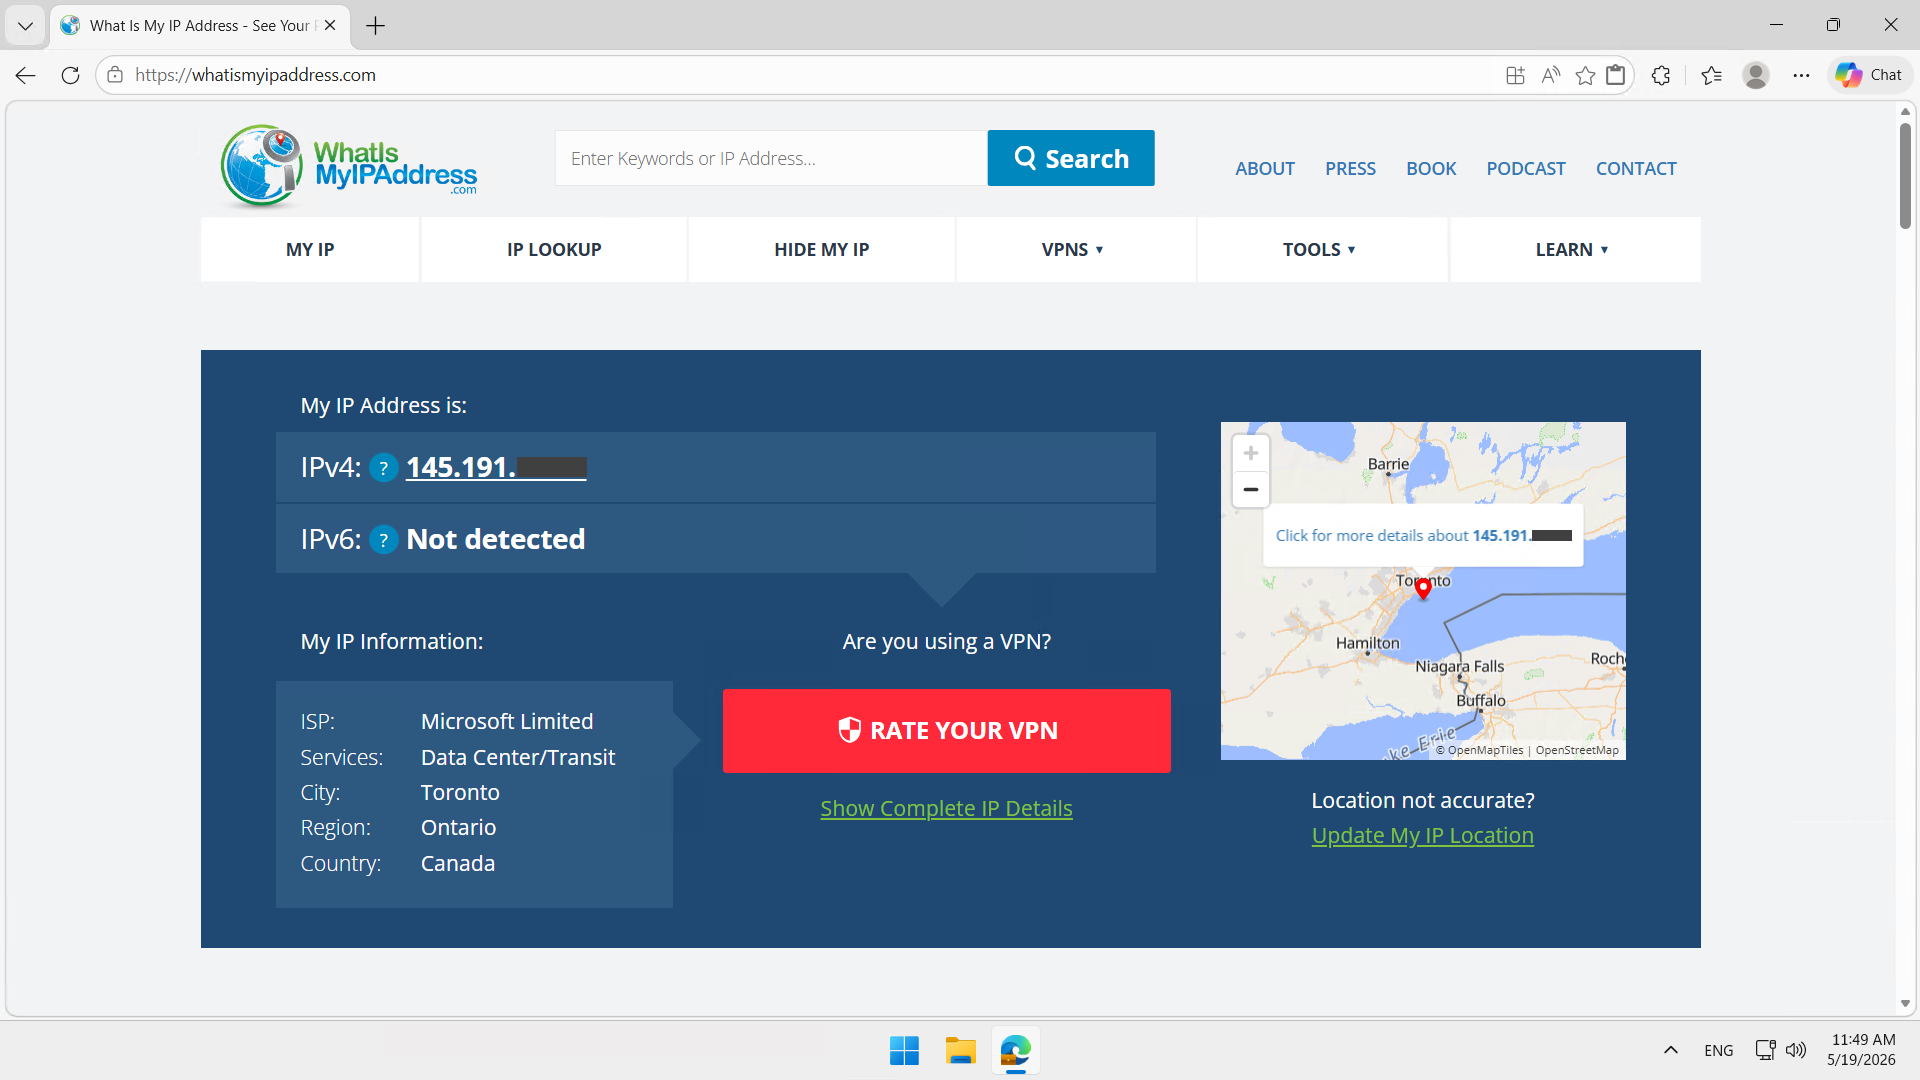
Validate the result
From a server / computer connected to the relevant subnet, navigate to https://whatismyip.com. The displayed IP address should be the one you assigned to the NAT Gateway.
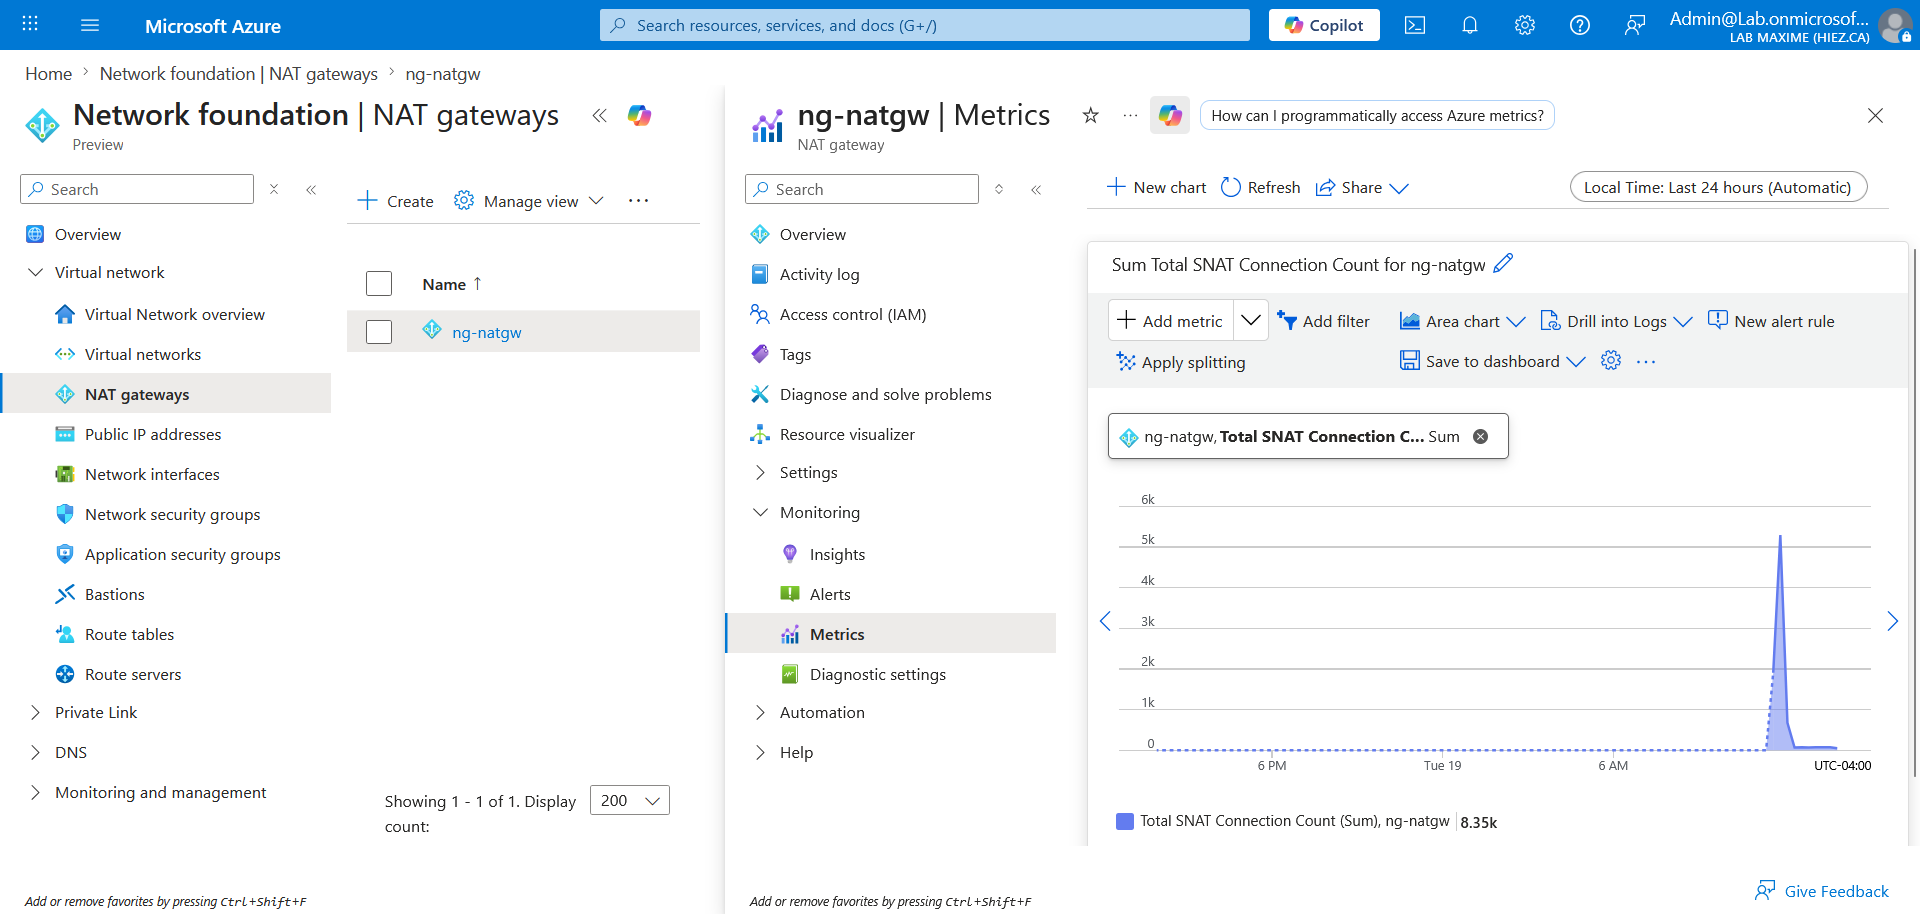
Also, we can see in the Azure statistics that traffic has been collected.
Conclusion
You now know how to create a NAT Gateway in Azure.
Sources
Microsoft Learn - Default outbound access in Azure
Microsoft Learn - Azure NAT Gateway
Microsoft - Azure NAT Gateway pricing
Did you enjoy this post ? If you have any questions, comments or suggestions, please feel free to send me a message from the contact form.
Don’t forget to follow us and share this post.