How to announce your visitors in Teams with Power Automate
- Maxime Hiez
- Power Automate , Tutorial
- 29 Jul, 2026
Introduction
Announcing a visitor from the reception desk is a key step of the welcome process in a company. For a smooth handling, the reception must identify the visitor, notify the host (by phone, chat, …), ask them to come and pick them up and, if necessary, provide an access badge. Solutions already exist on the market ; Vizito, Elia and others can be found. These solutions integrate directly with Microsoft 365 and give an excellent first impression, secure access to the premises and streamline the handling of your guests.
I built a simple solution in my environment using Power Automate combined with Teams, SharePoint, Outlook and Forms, which manages your visitors with the tools and licenses you already have.
Prerequisites
Required licenses
- Power Automate Free (included in all Microsoft 365 and Business licenses).
Step 1 : Sign in to the Microsoft SharePoint Portal
Sign in to Microsoft SharePoint Portal by opening your web browser to https://YOUR_TENANT.sharepoint.com/_layouts/15/sharepoint.aspx.
Step 2 : Create a SharePoint site
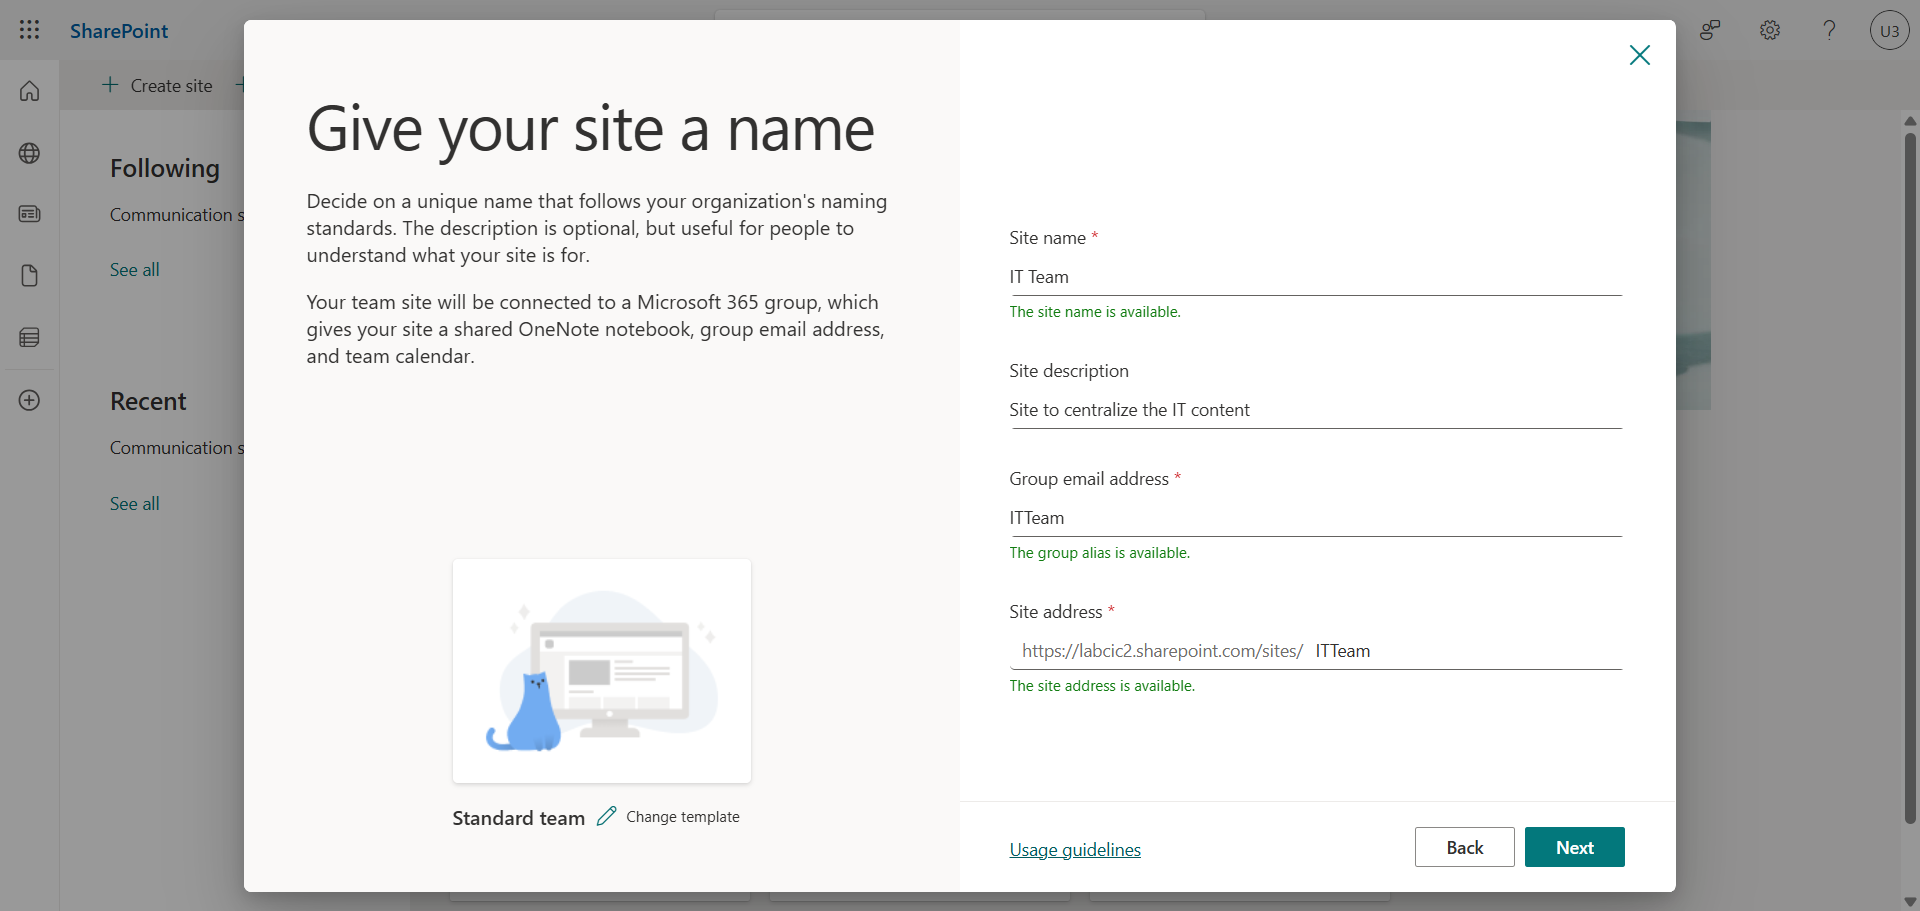
In the left menu, click Create site, then Teams site, and give a relevant name and site address.
Step 3 : Create 2 SharePoint lists
In the left menu, click New, then List.
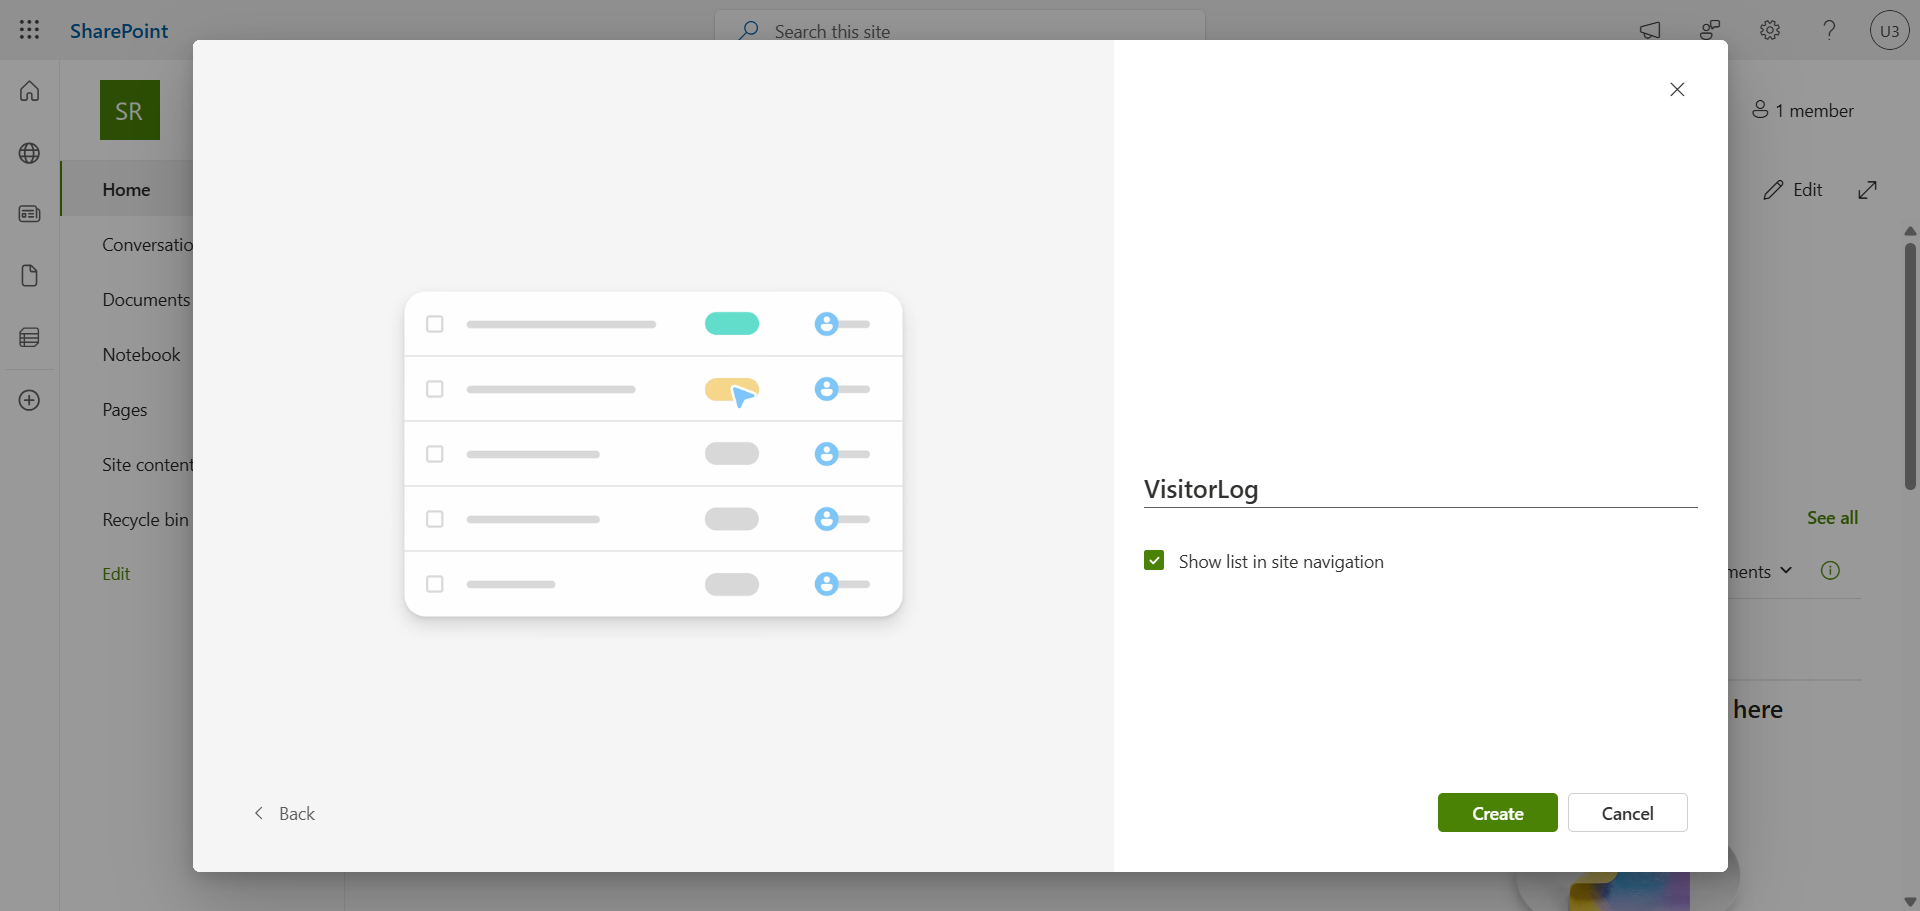
Add columns to your 2 lists with necessary information such as :
VisitorLog
- VisitorCompany
- HostEmail
- VisitDate
- Purpose
- Status
- ArrivedAt
- …
FlowErrorLog
- RunUrl
- FailedAction
- ErrorMessage
- ErrorTime
- …
Step 4 : Sign in to Microsoft Forms
Sign in to Microsoft Forms by opening your web browser to https://forms.cloud.microsoft.
Step 5 : Create 1 Forms form
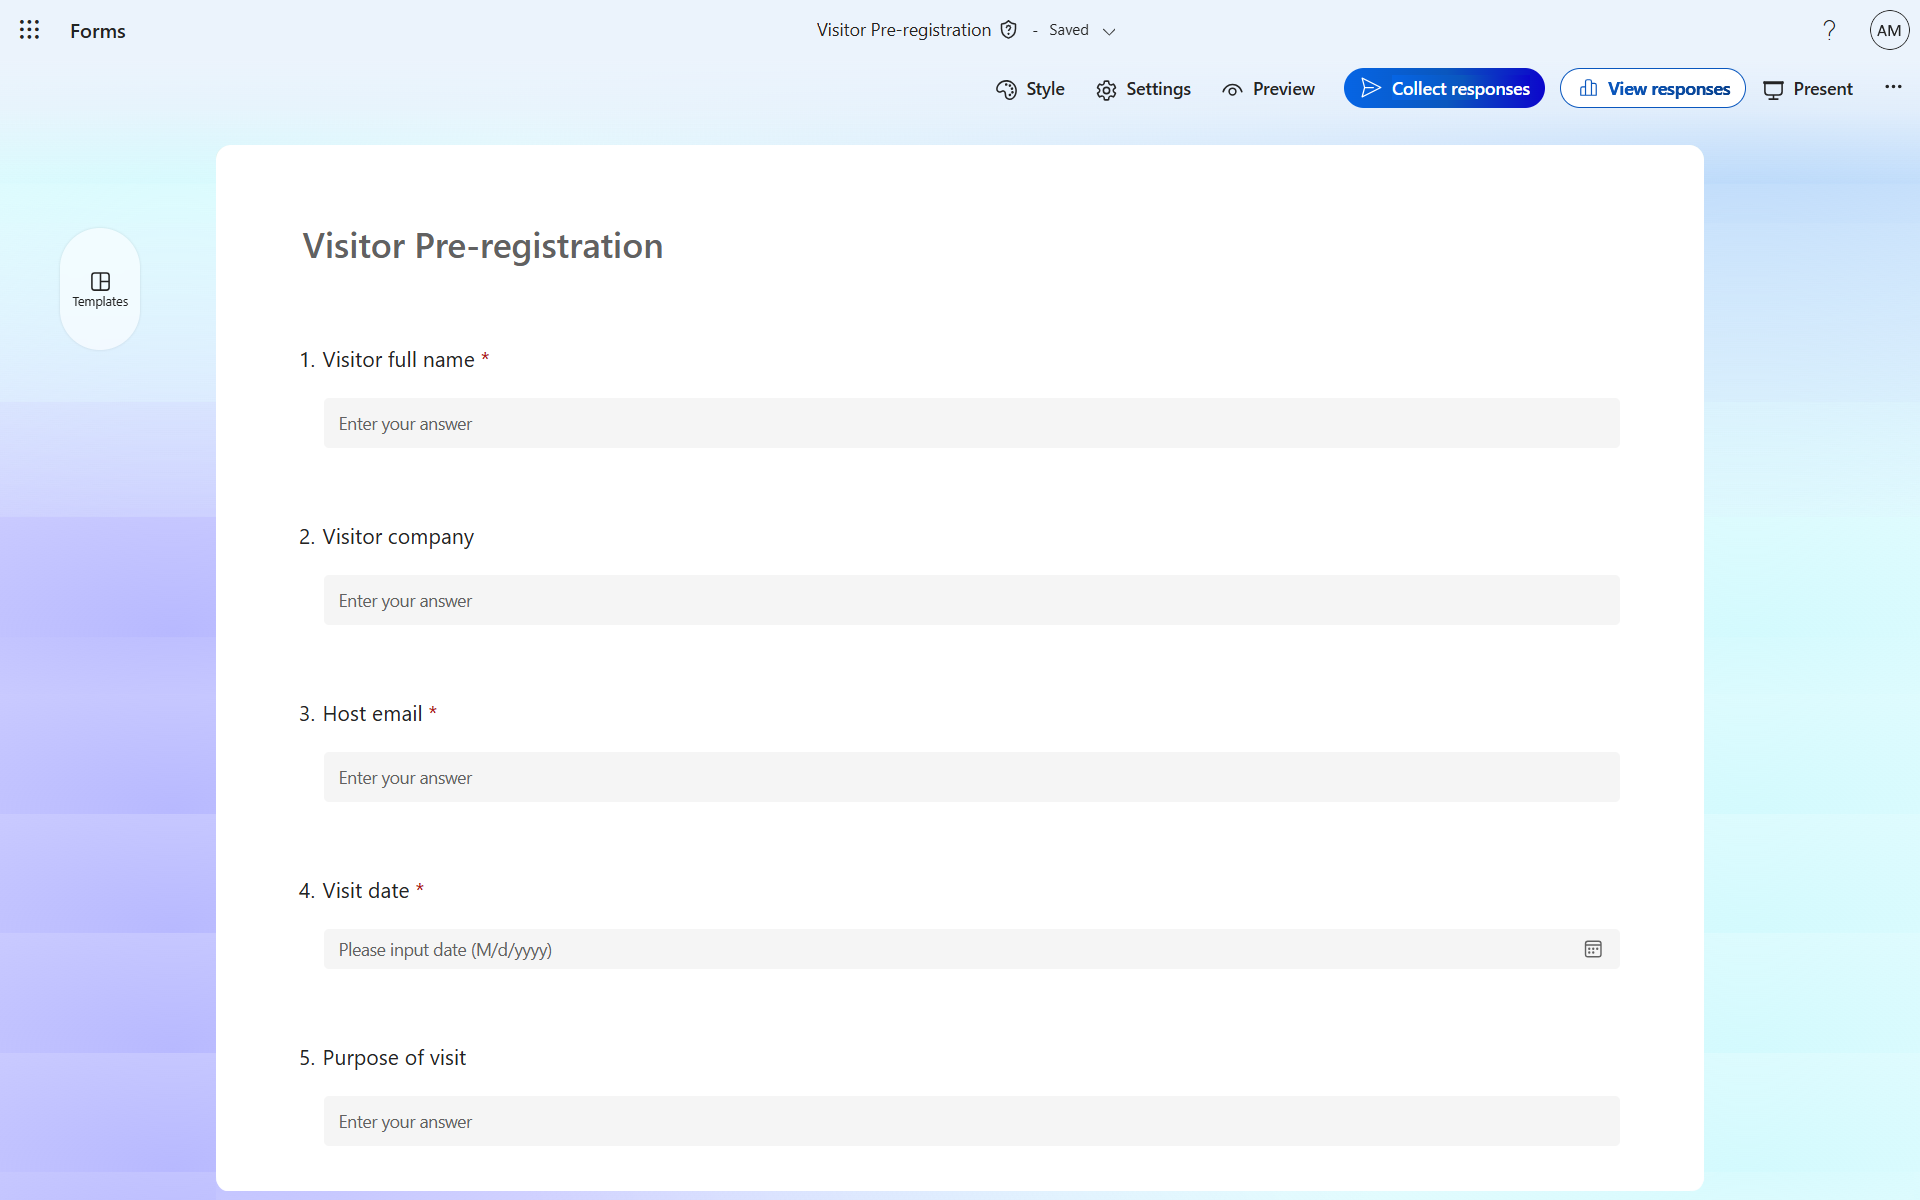
Add questions to your form with necessary information such as :
Visitor Pre-registration
- Visitor full name
- Visitor company
- Host email
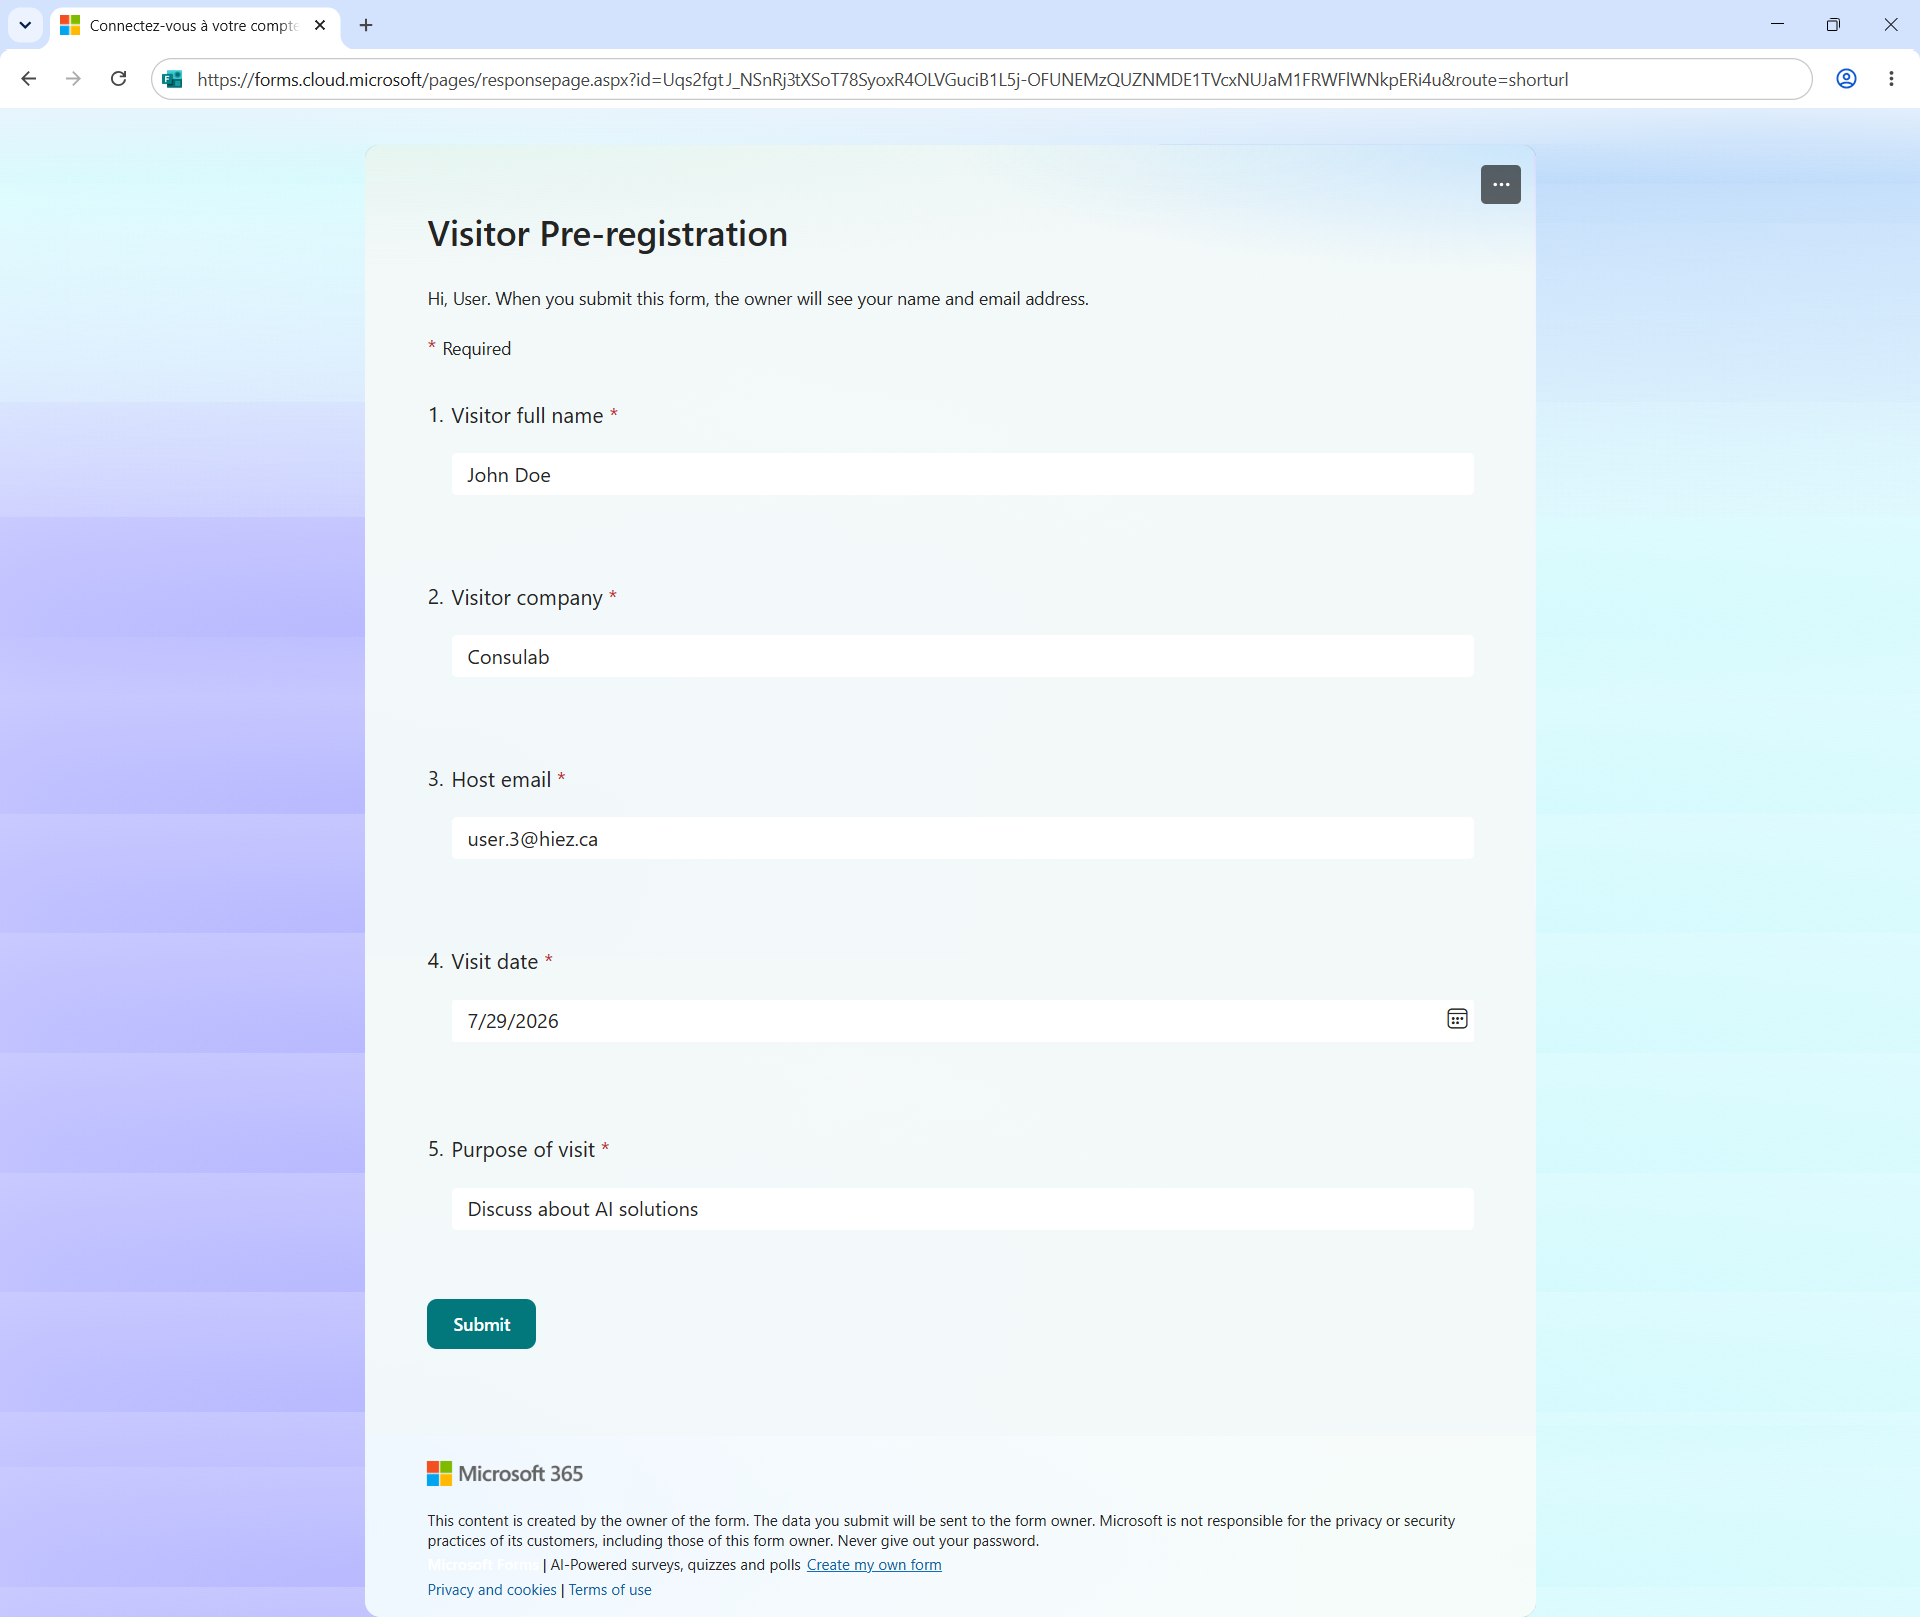
- Visit date
- Purpose of visit
Step 6 : Sign in to Microsoft Power Automate
Sign in to Microsoft Power Automate by opening your web browser to https://make.powerautomate.com.
Step 7 : Create a first flow to retrieve the scheduled visit
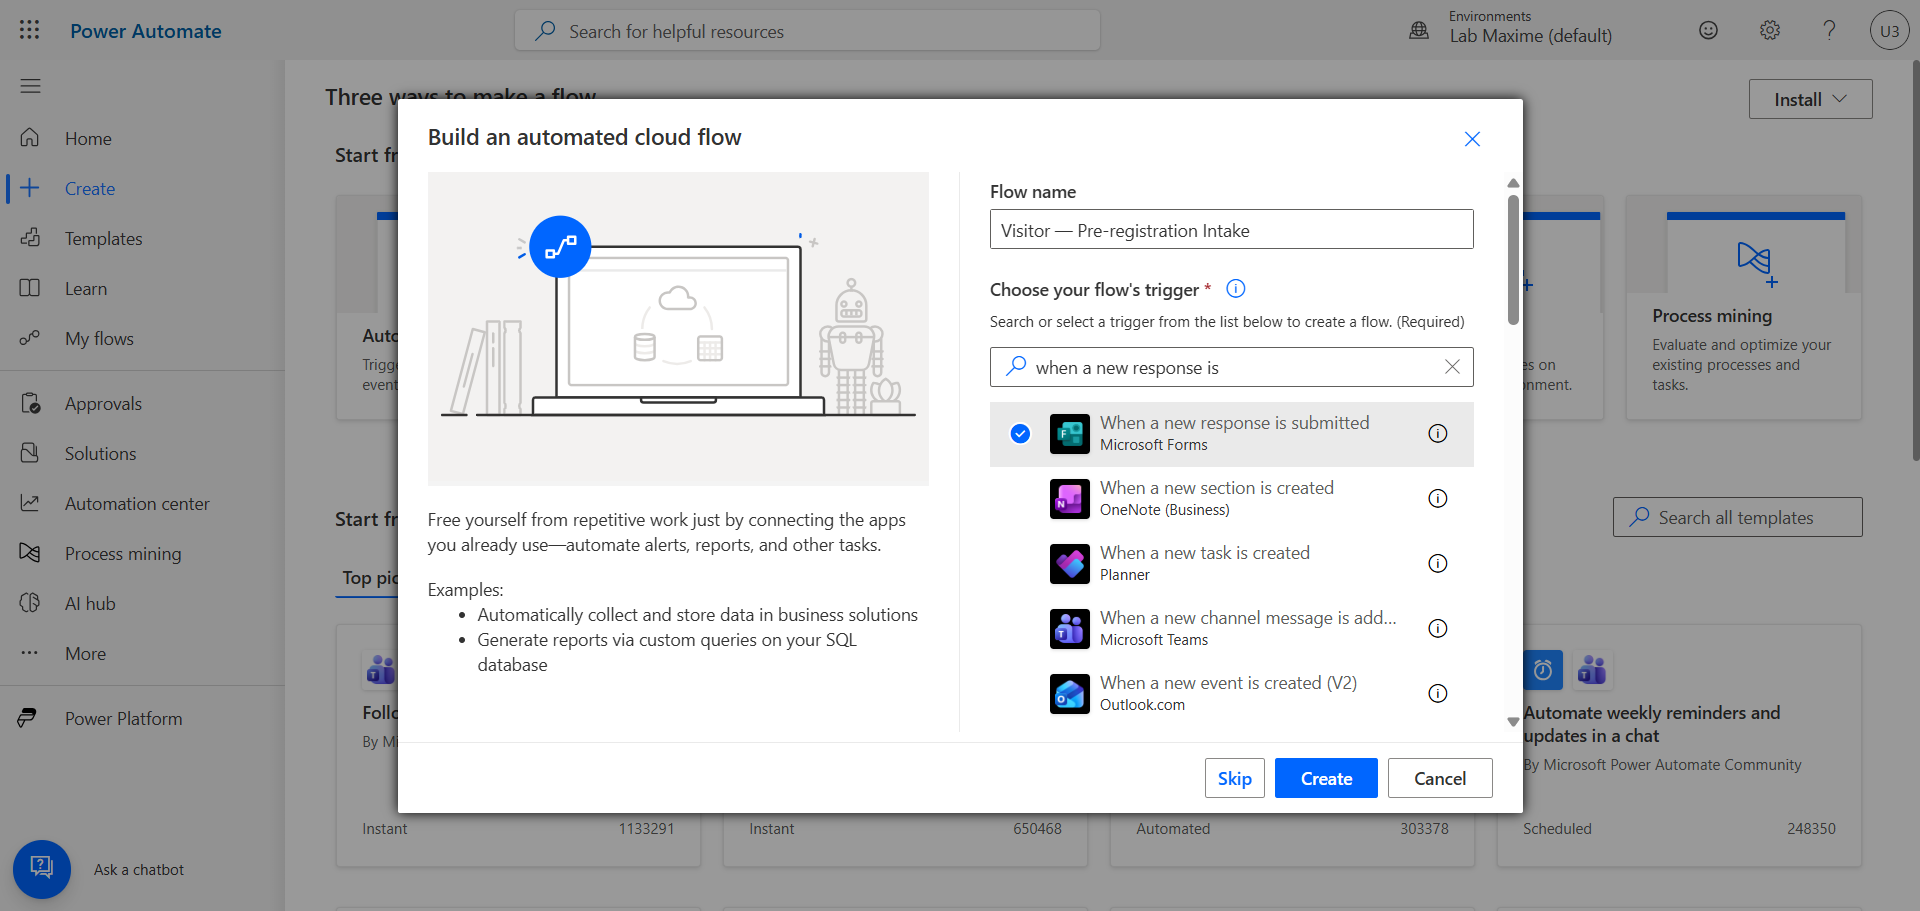
In the left menu, click Create, then Automate cloud flow and choose When a new response is submitted.
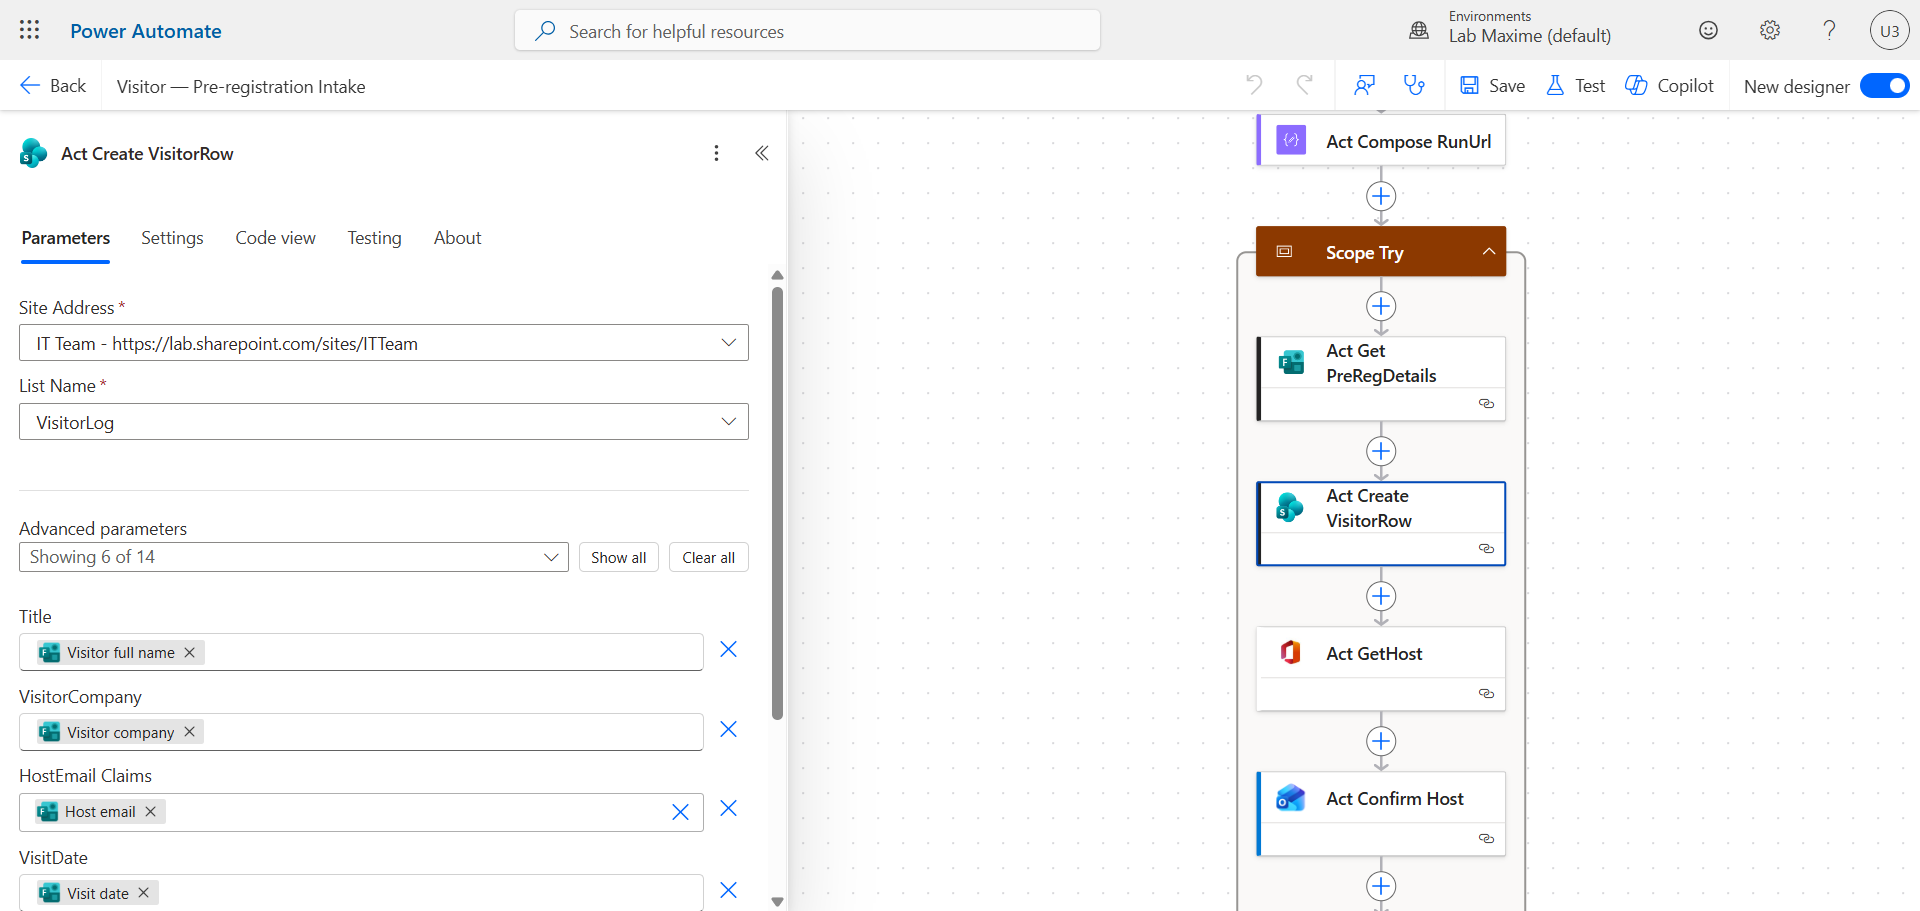
Chain actions and variables to retrieve the Forms form submitted by the user. Use the retrieved variables to send them to the VisitorLog SharePoint list.
Step 8 : Create a second flow to confirm the visitor arrival
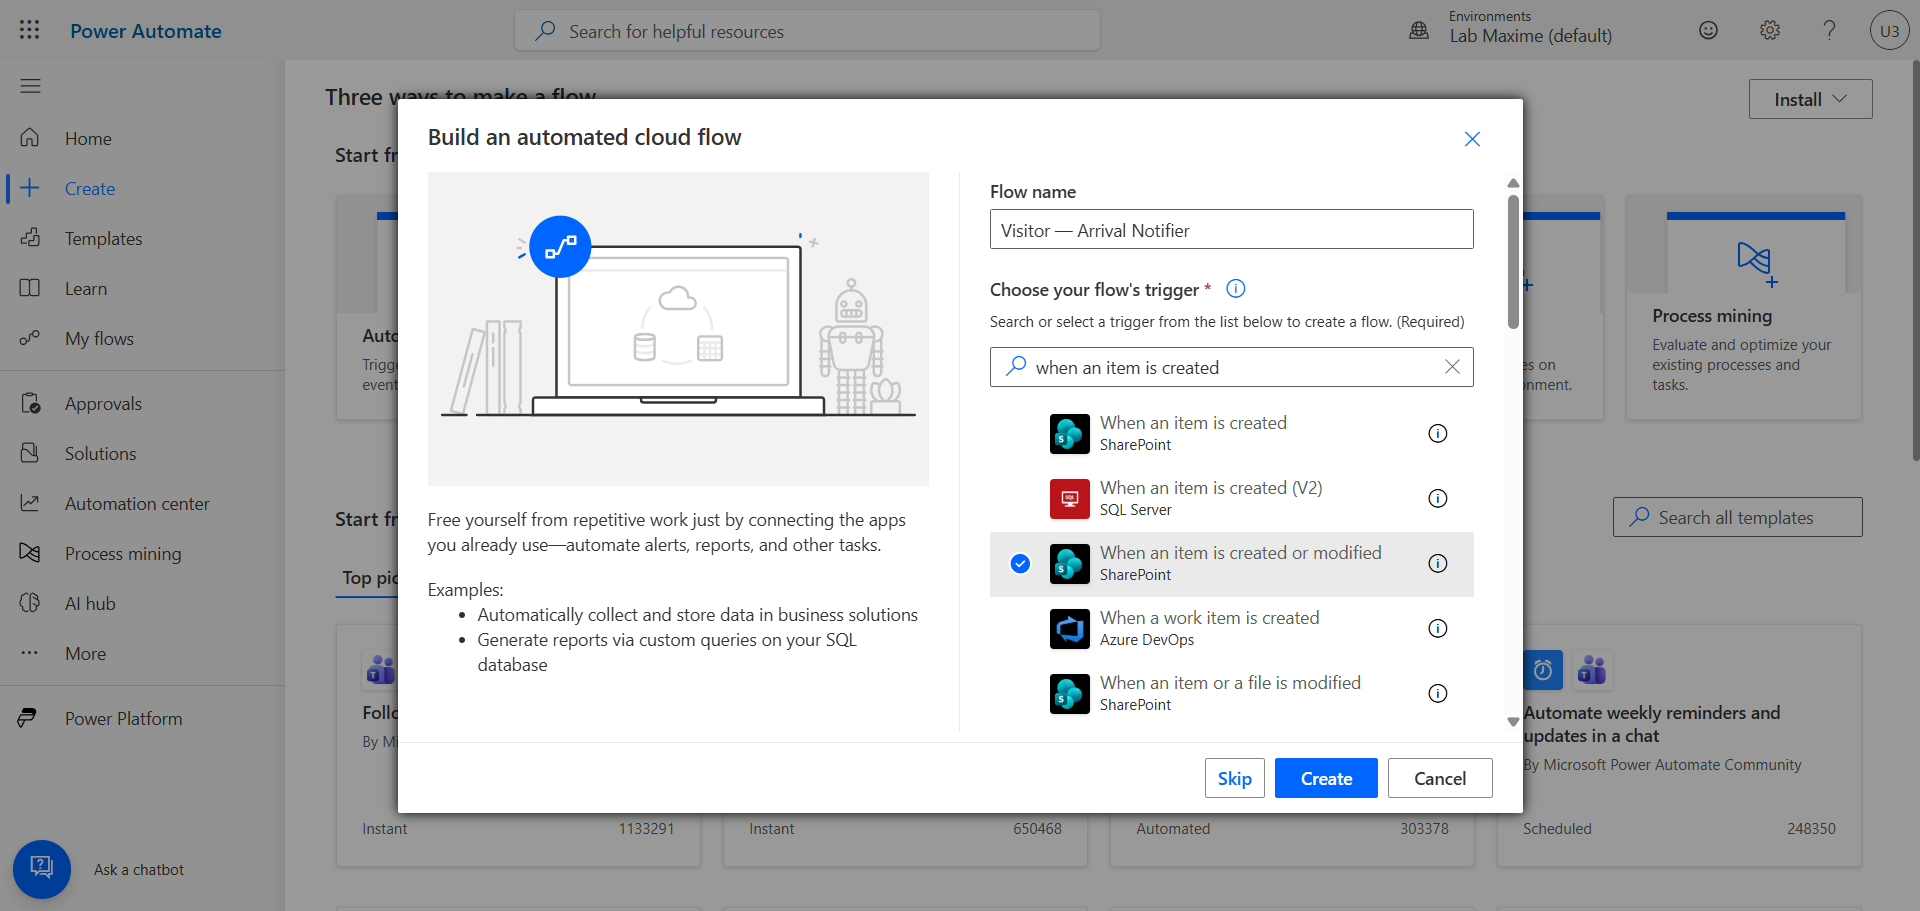
In the left menu, click Create, then Automate cloud flow and choose When an item is created or modified.
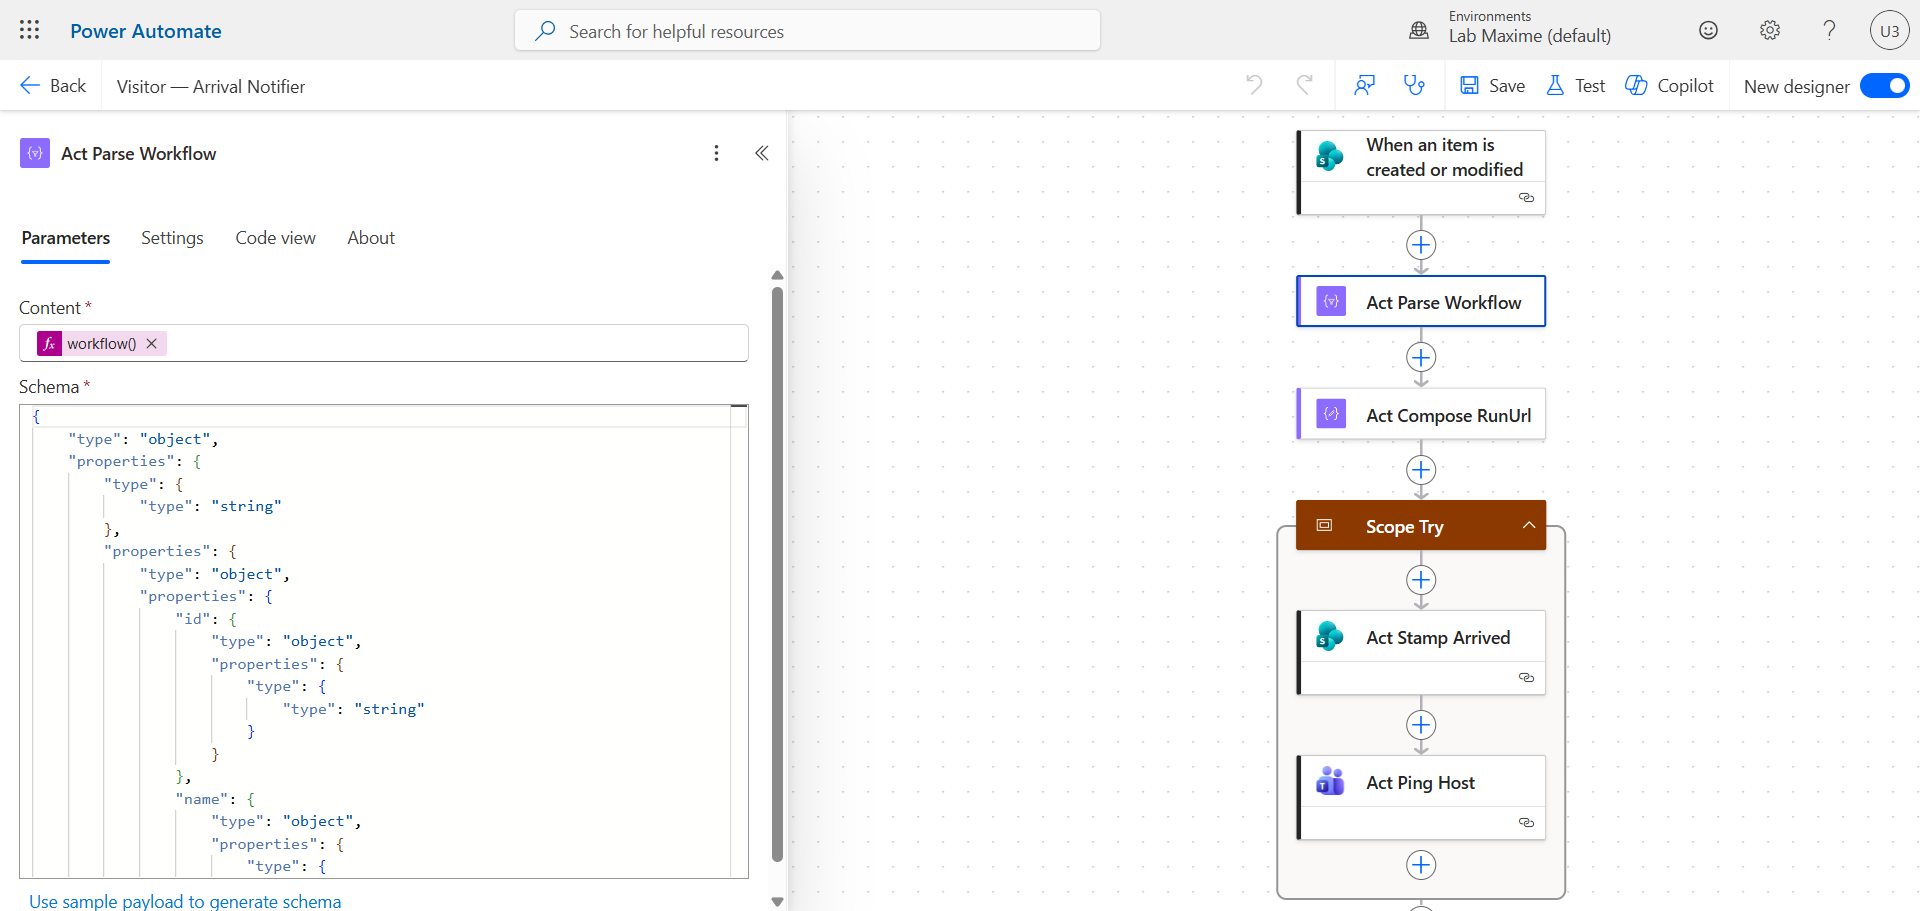
Update the visit status to trigger a notification to the visited person and inform them of the visitor arrival.
Step 9 : Create a third flow to retrieve unscheduled visits
In the left menu, click Create, then Instant cloud flow and choose Manually trigger a flow.
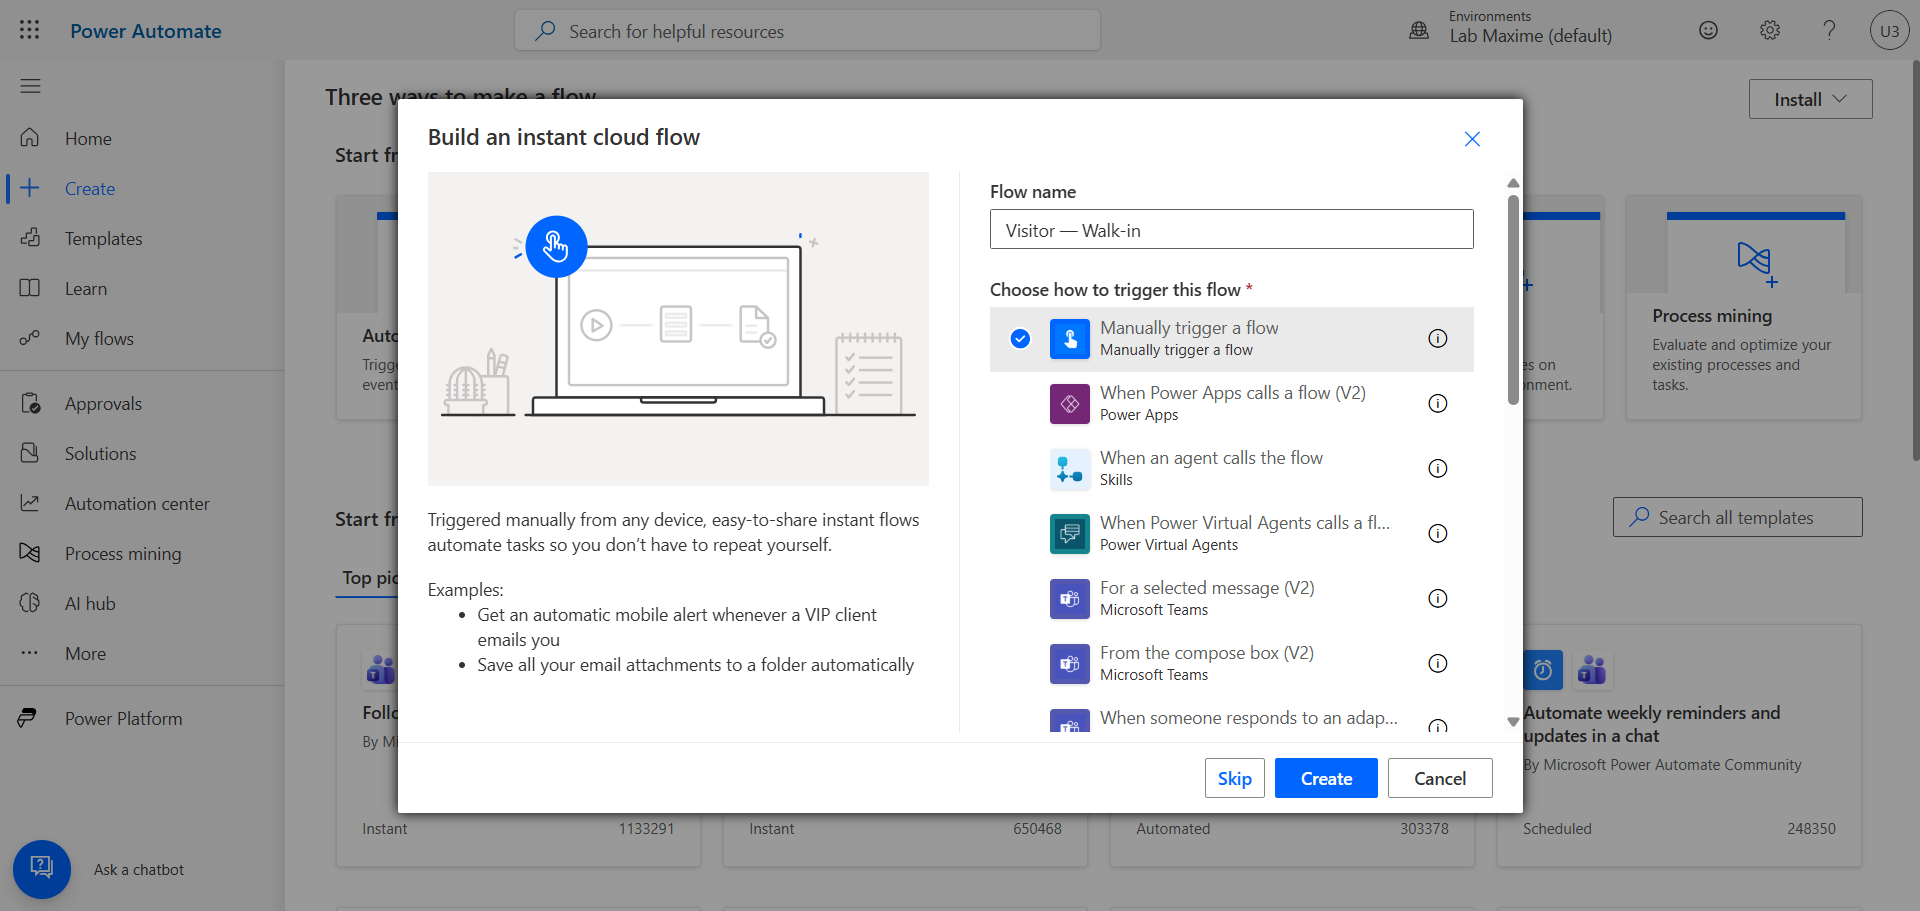
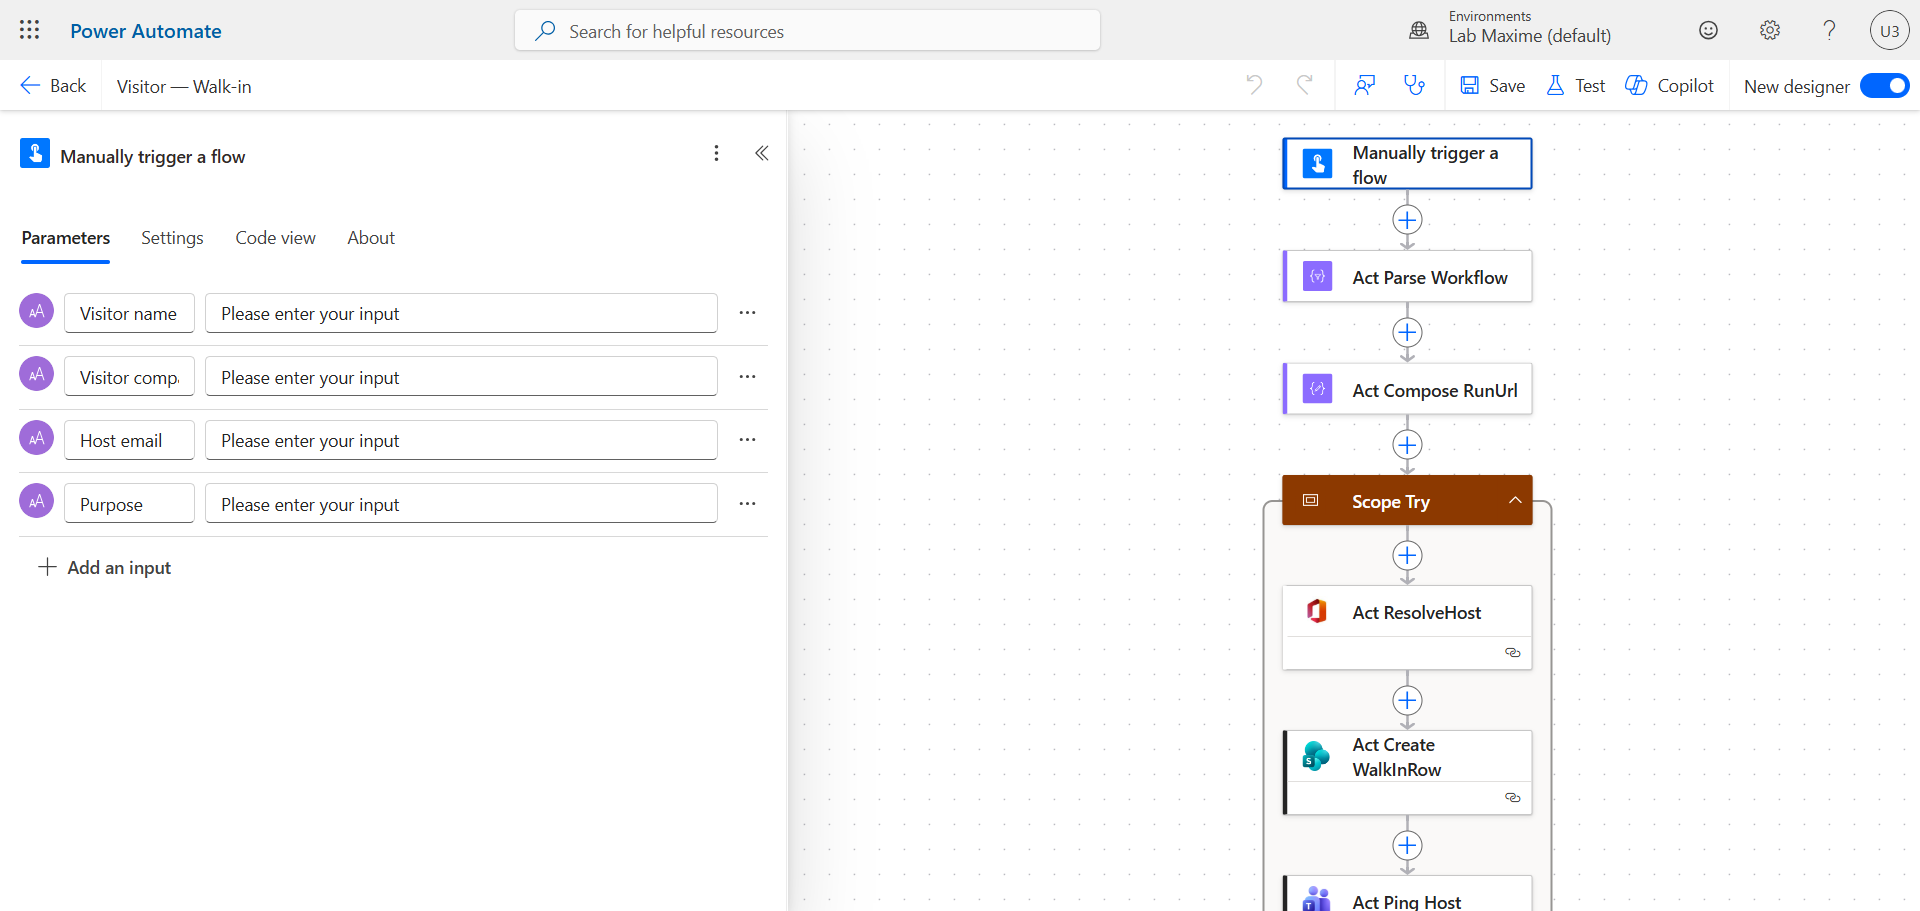
Retrieve the information entered manually by the receptionist to notify the visited person. Use the retrieved variables to create an entry in the VisitorLog SharePoint list.
Results
The visitor registers their visit themselves via the published form. The responses will be saved in SharePoint.
The visited person receives an email…
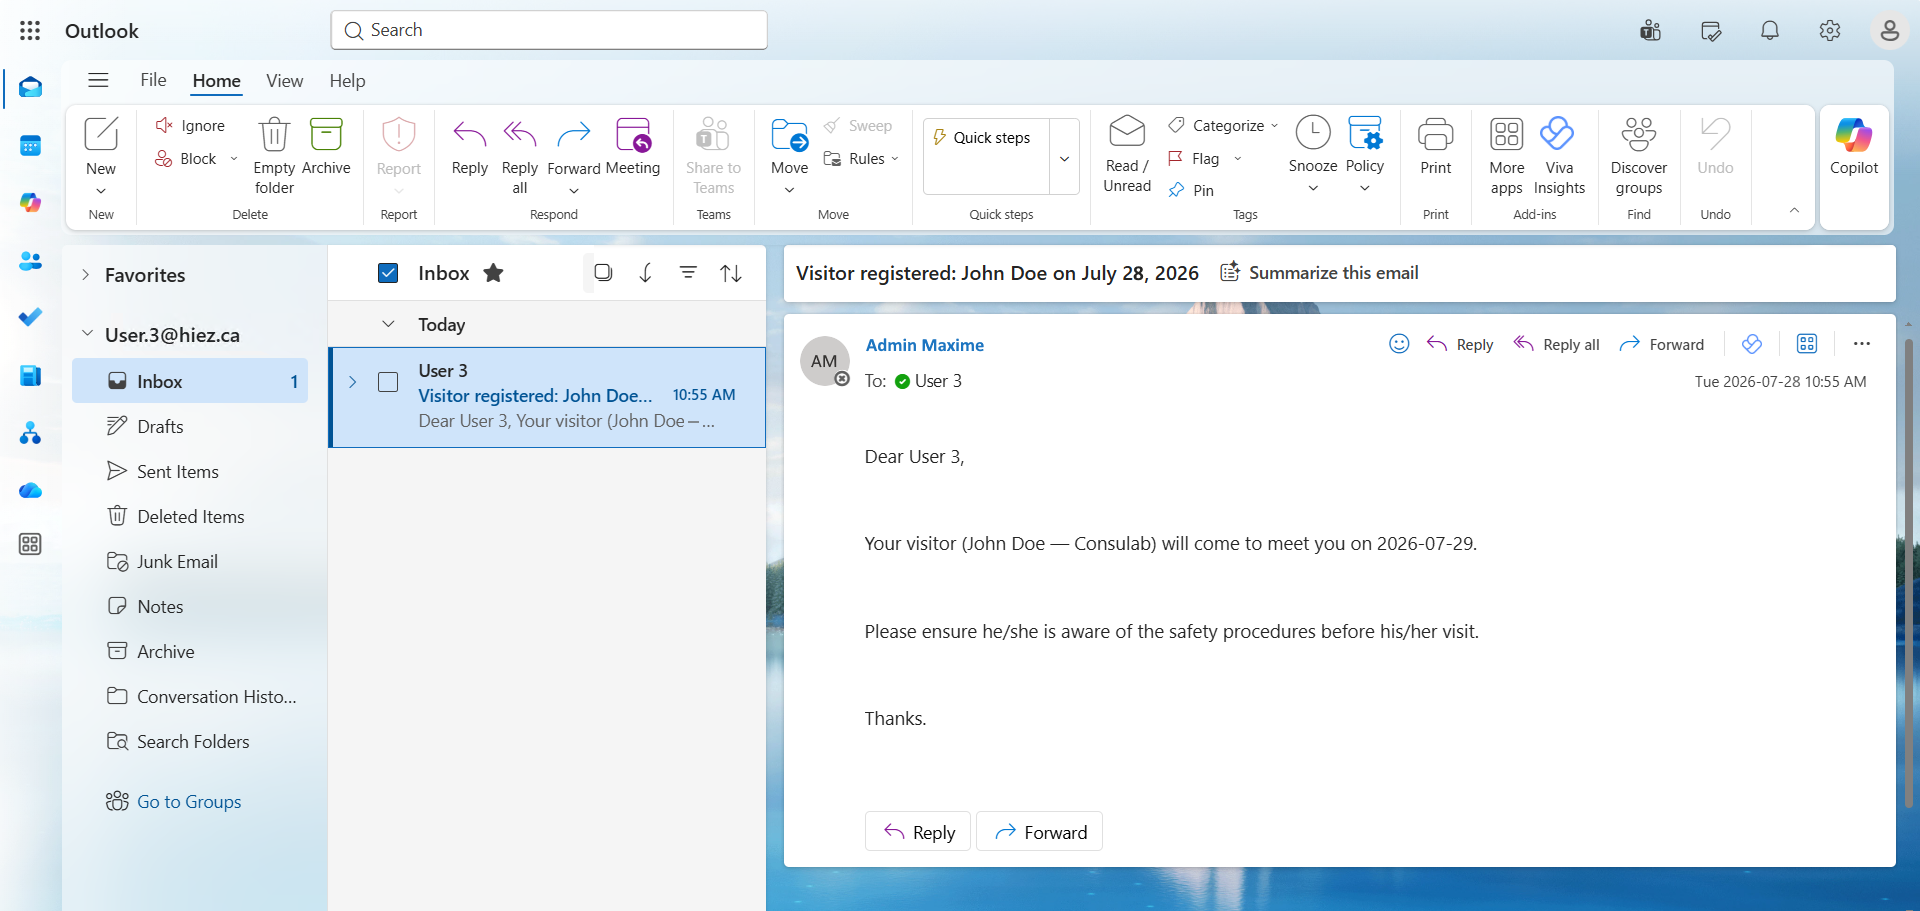
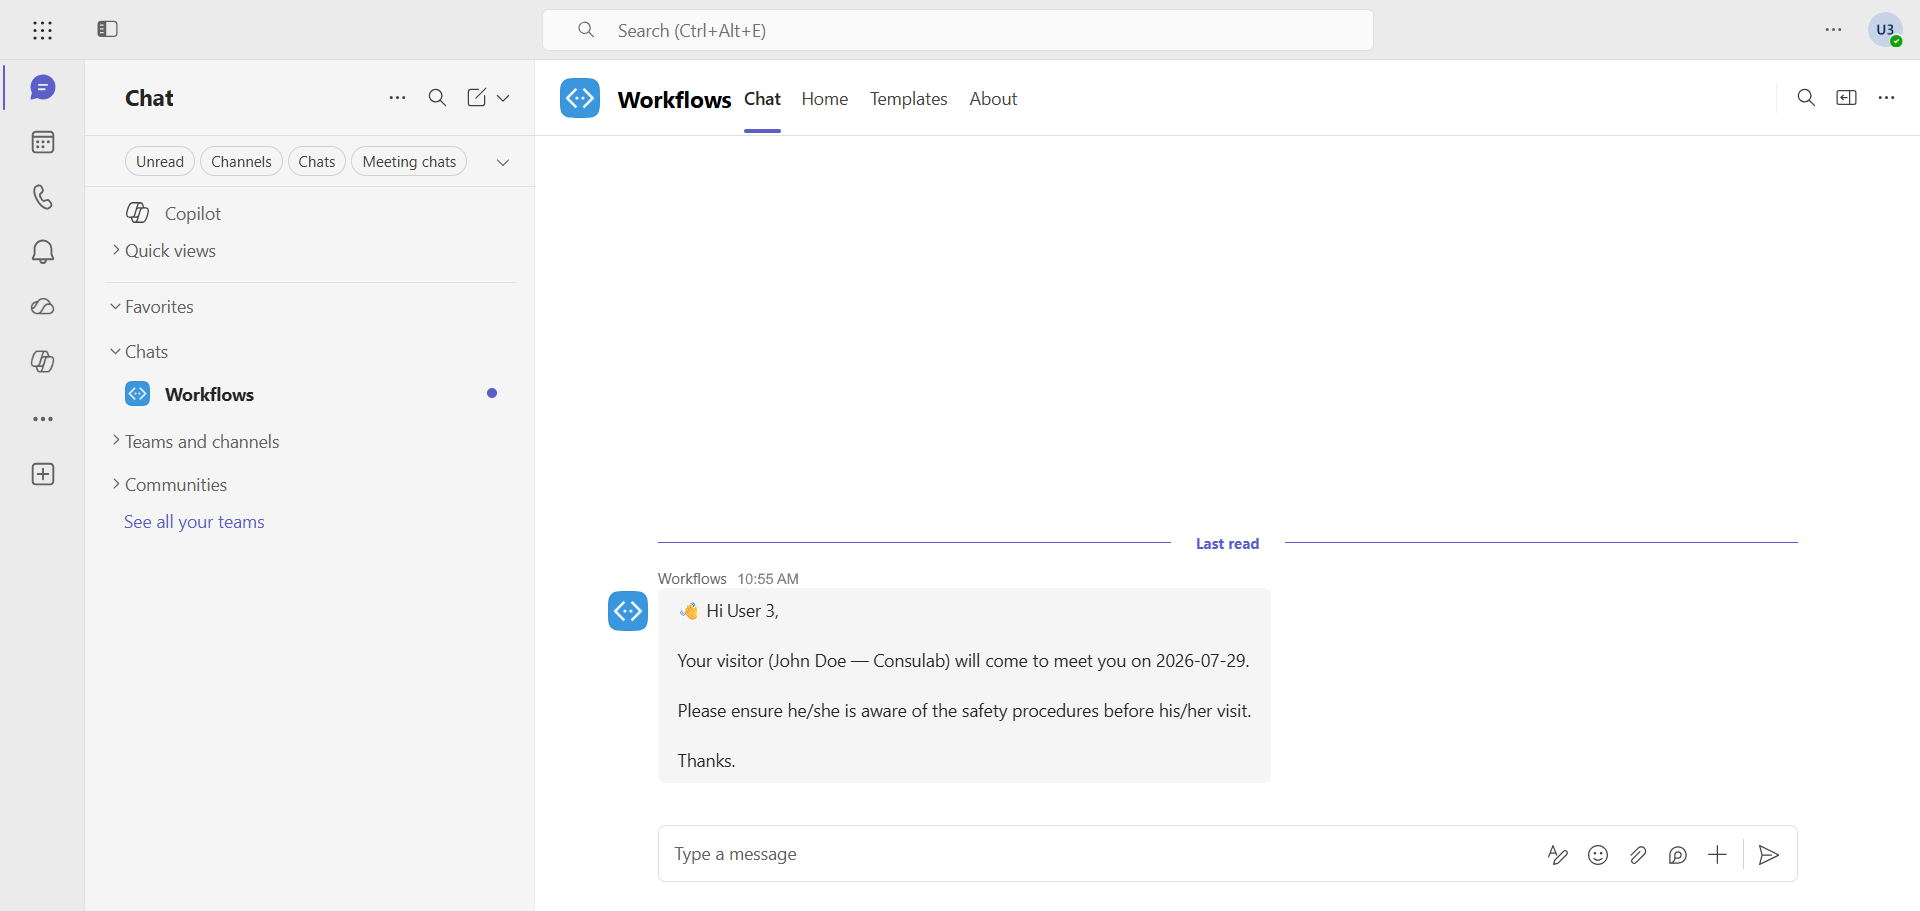
… and a message in Teams confirming the visit.
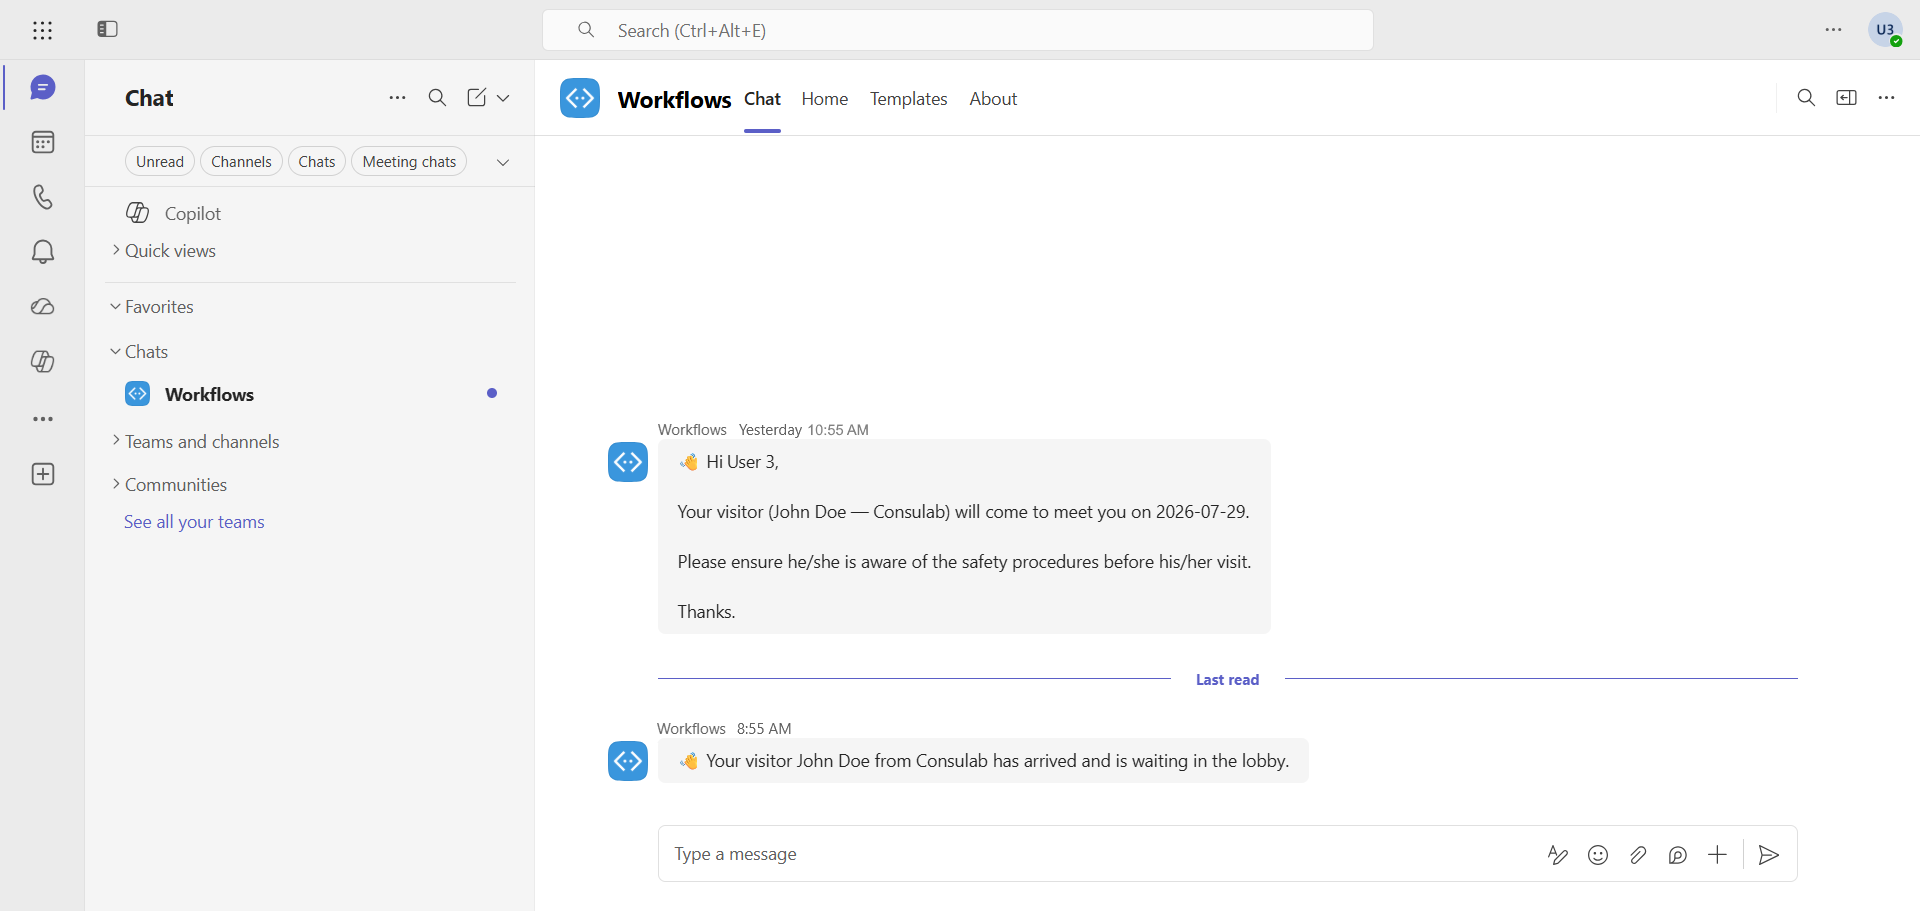
When the visitor arrives on site, their arrival is confirmed by the receptionist, and a Teams message is sent to the visited person.
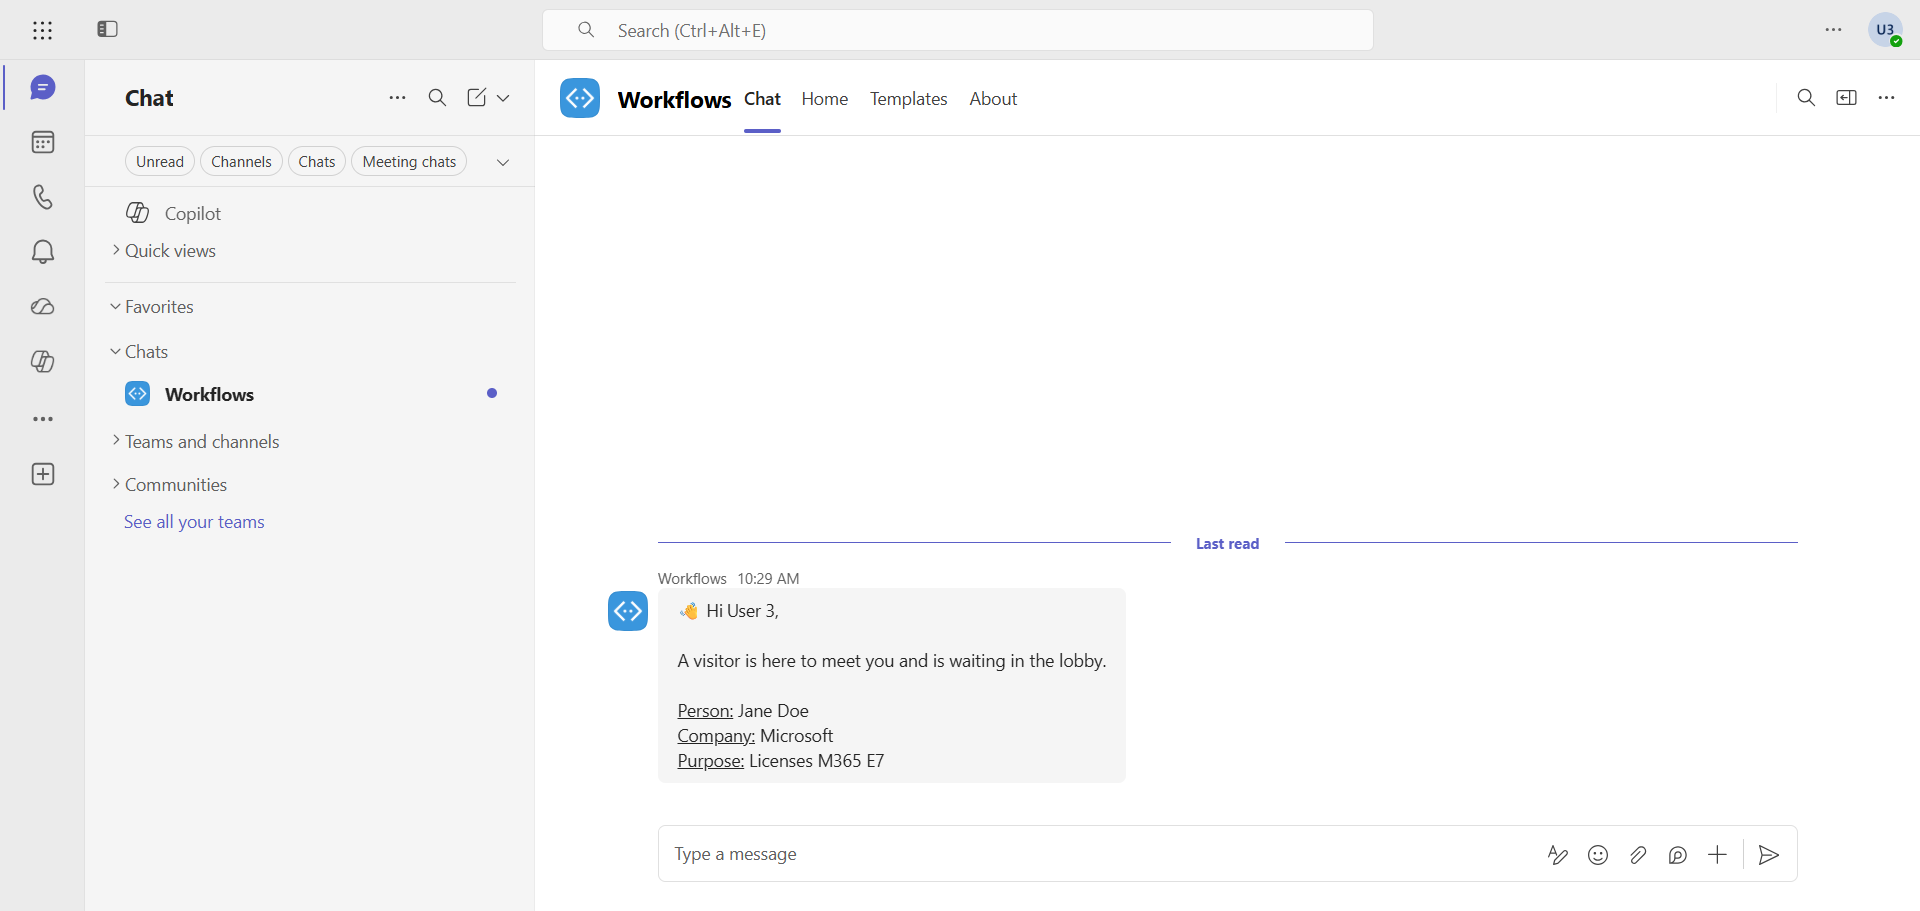
If a visitor shows up at the reception desk without having registered in advance, the receptionist can fill a form to announce their arrival with a message in Teams.
Let’s go further
I have a few ideas worth exploring that I will test when I have the time :
- Create a PowerApps application and display it on a tablet at the entrance so visitors can confirm their arrival themselves
- Add the “Walk-in” option in that same application
- Send a daily report to the reception desk with the list of visits scheduled for the next day
- Add options such as :
- Signature of the safety rules
- Printing of a temporary badge
- Time of departure from the premises
- …
Conclusion
You now know how to create a tool to announce visitors in Teams with Power Automate.
Sources
Microsoft Learn - Power Automate
Did you enjoy this post ? If you have any questions, comments or suggestions, please feel free to send me a message from the contact form.
Don’t forget to follow us and share this post.