
How to enable MTO between two Microsoft 365 organizations
- Maxime Hiez
- Entra ID , Tutorial
- 19 Jan, 2026
Introduction
A few weeks ago, I showed you how to configure calendar sharing in Exchange to enable calendar sharing between two organizations using Microsoft 365. This configuration allows you to see the availability of an external person’s Outlook calendar. I explained in conclusion that for more complex needs (B2B collaboration), the Multi-Tenant Organization (MTO) concept was the preferred option.
Implementing an MTO in Microsoft 365 allows two organizations to collaborate as one, without merging tenants. It unifies the directory, streamlines Teams (chat, calls, meetings), and improves access to content across tenants, all while maintaining security and compliance boundaries specific to each entity.
Check the article from December 2025 HERE.
Prerequisites
Administrator role
- An account with the Global Administrator role to access the Microsoft Entra Admin Center and Microsoft 365 Admin Center.
Step 1 : Sign in to the Microsoft 365 Admin Center
Sign in to the Microsoft 365 Admin Center by opening your web browser to https://admin.cloud.microsoft.
Step 2 : Enable MTO on the 1st tenant
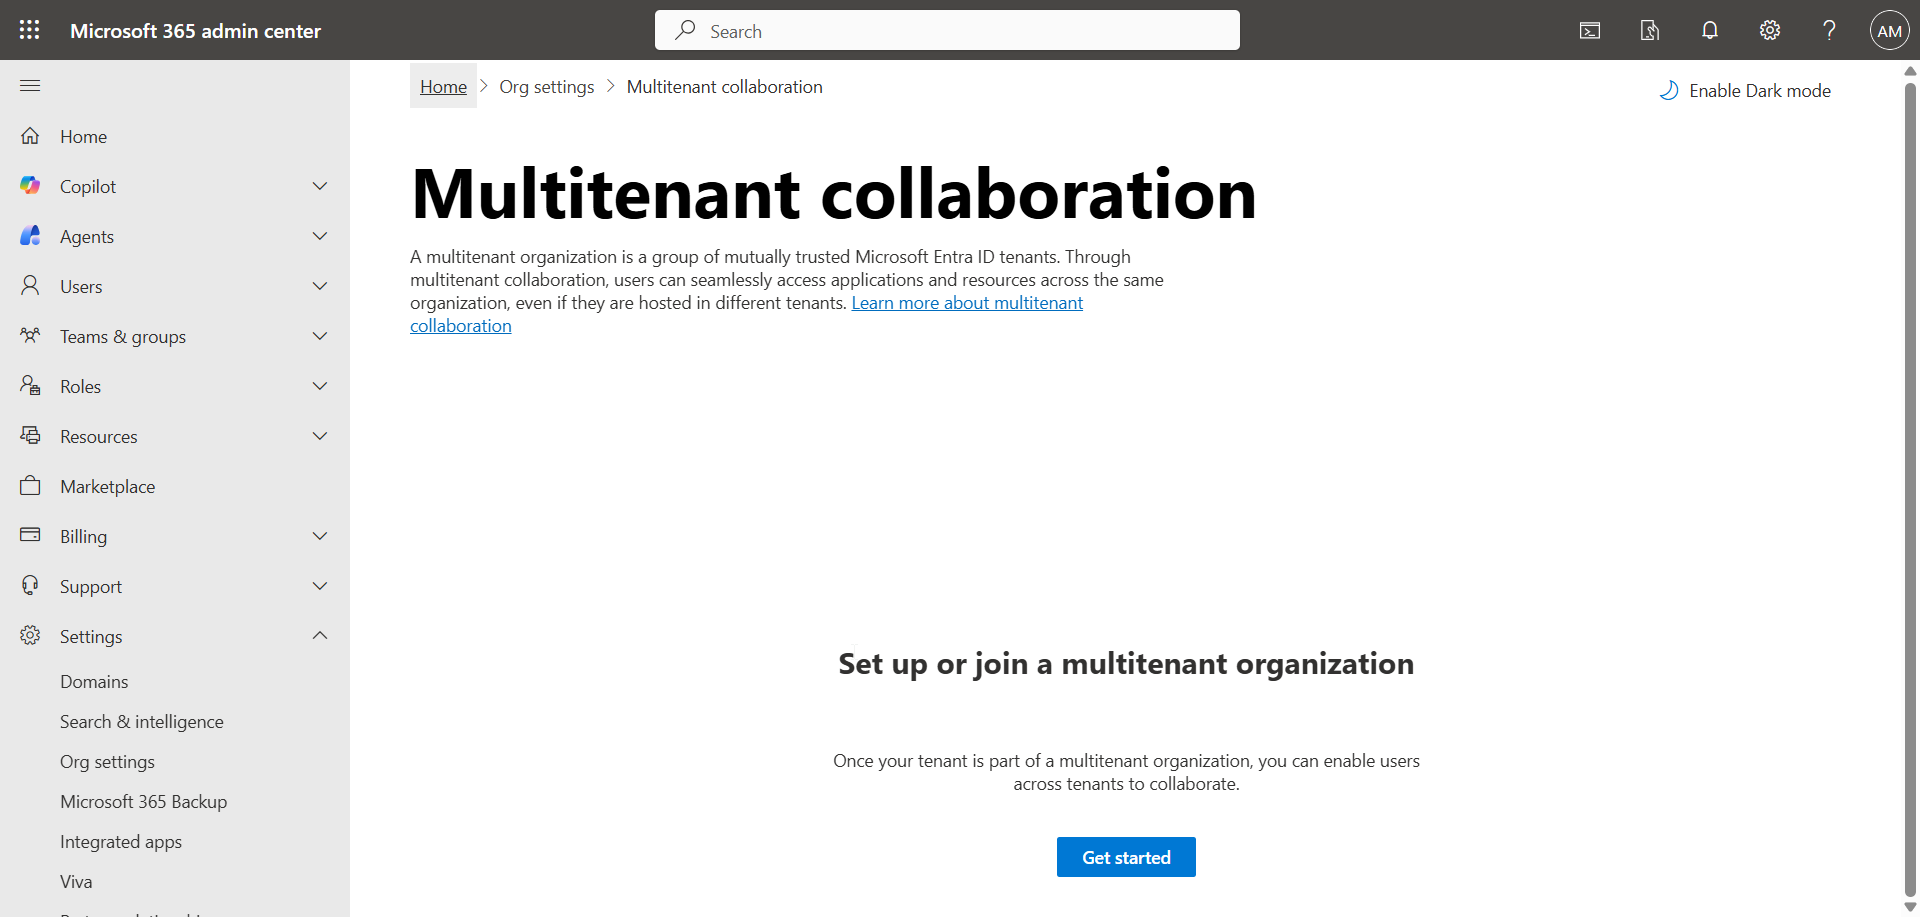
In the left menu, click Settings, then Org settings.
In the Organization profile tab, click Multitenant collaboration, and then click Get started.
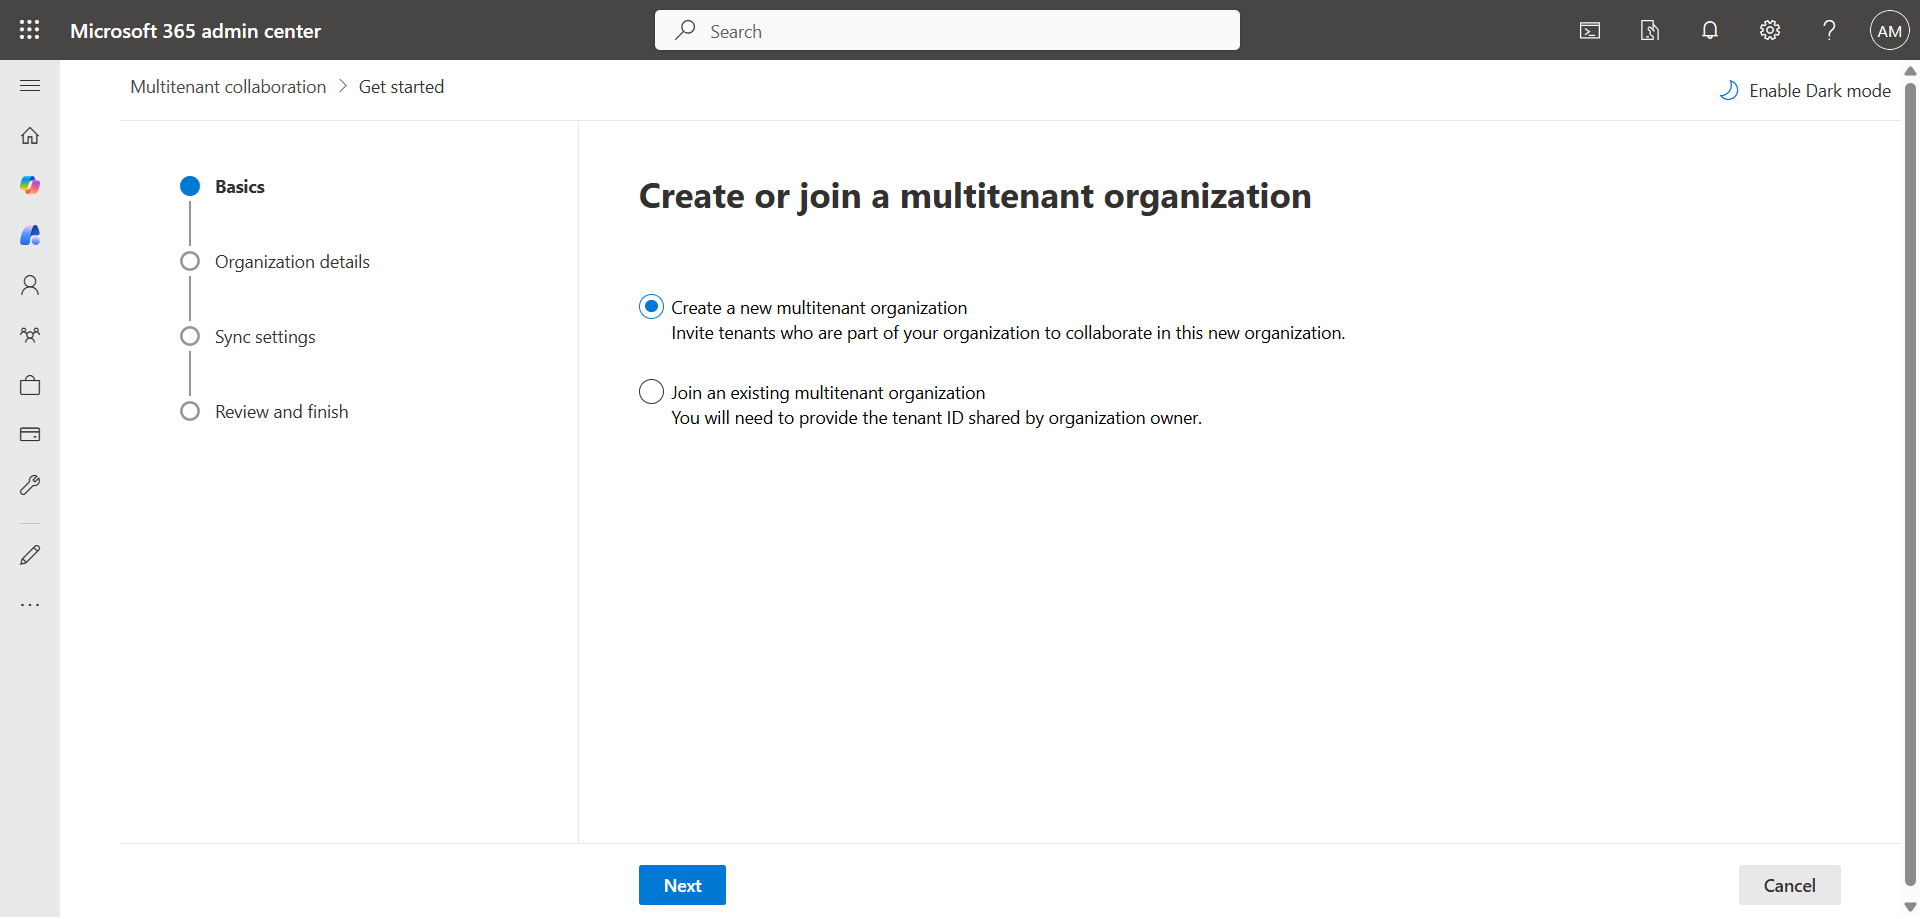
Click Create a new multitenant organization.
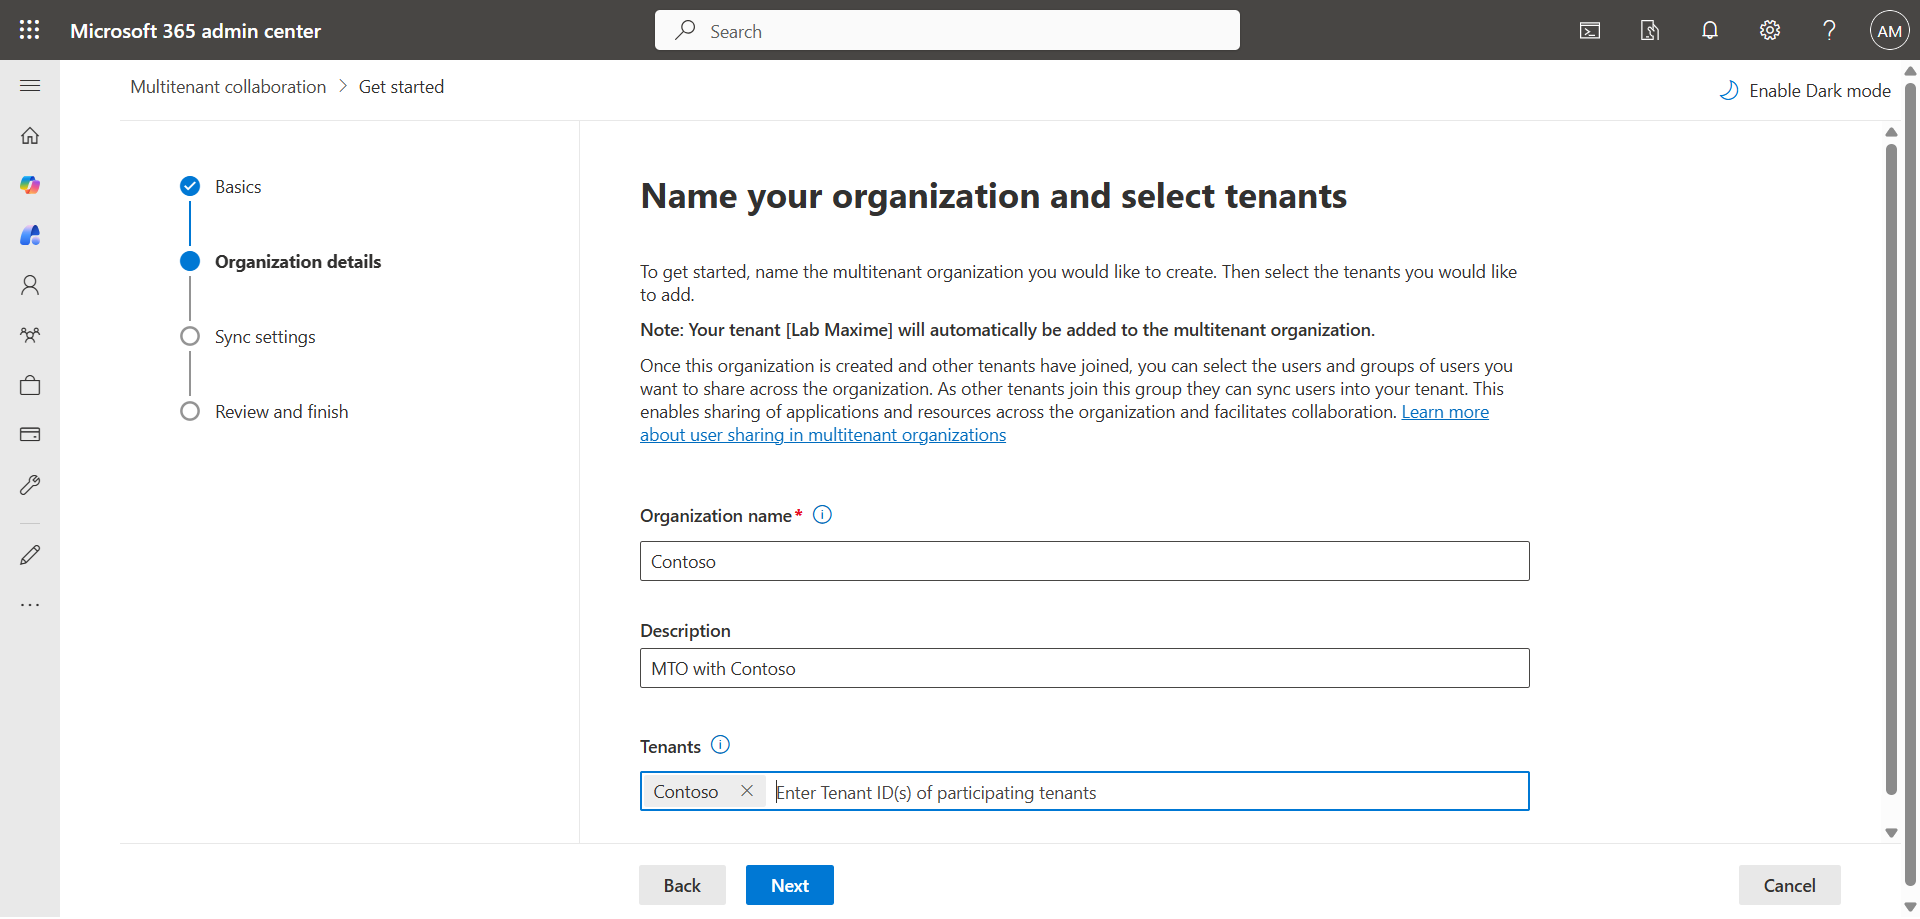
Enter the name of the organization with which the MTO will be mounted and its Tenant ID ; it will be automatically replaced by the name if the value is correct.
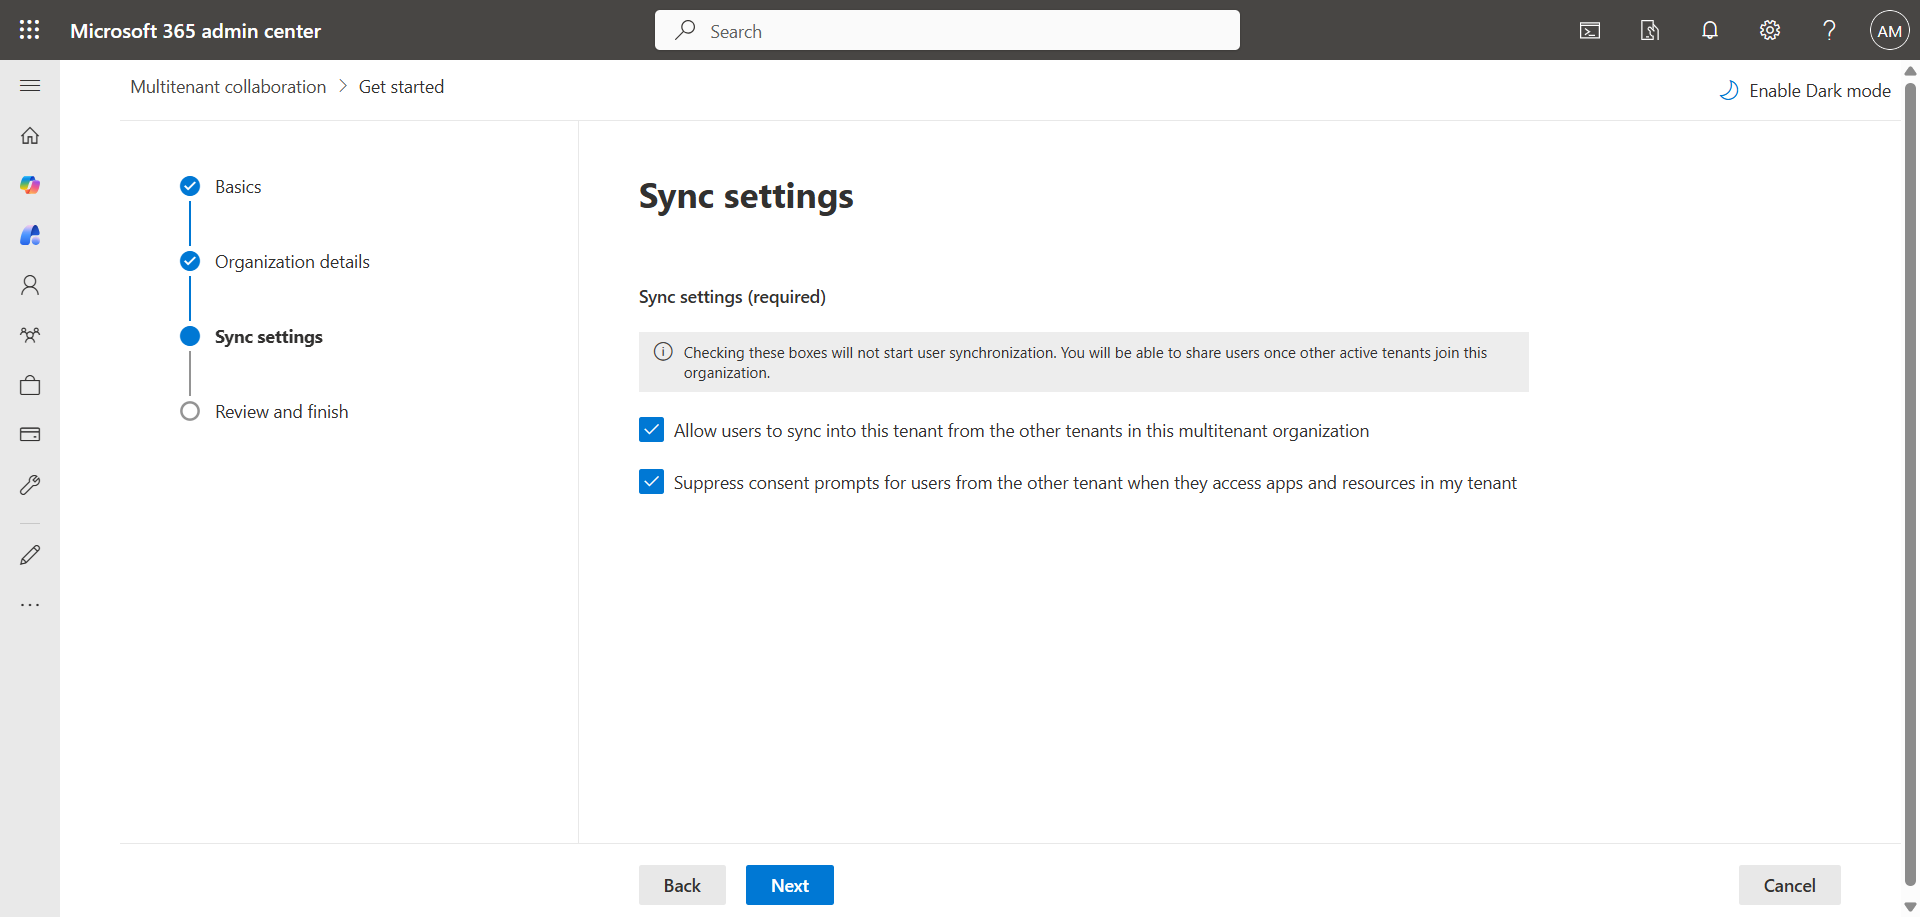
Check the 2 boxes Allow users … and Suppress consent … .
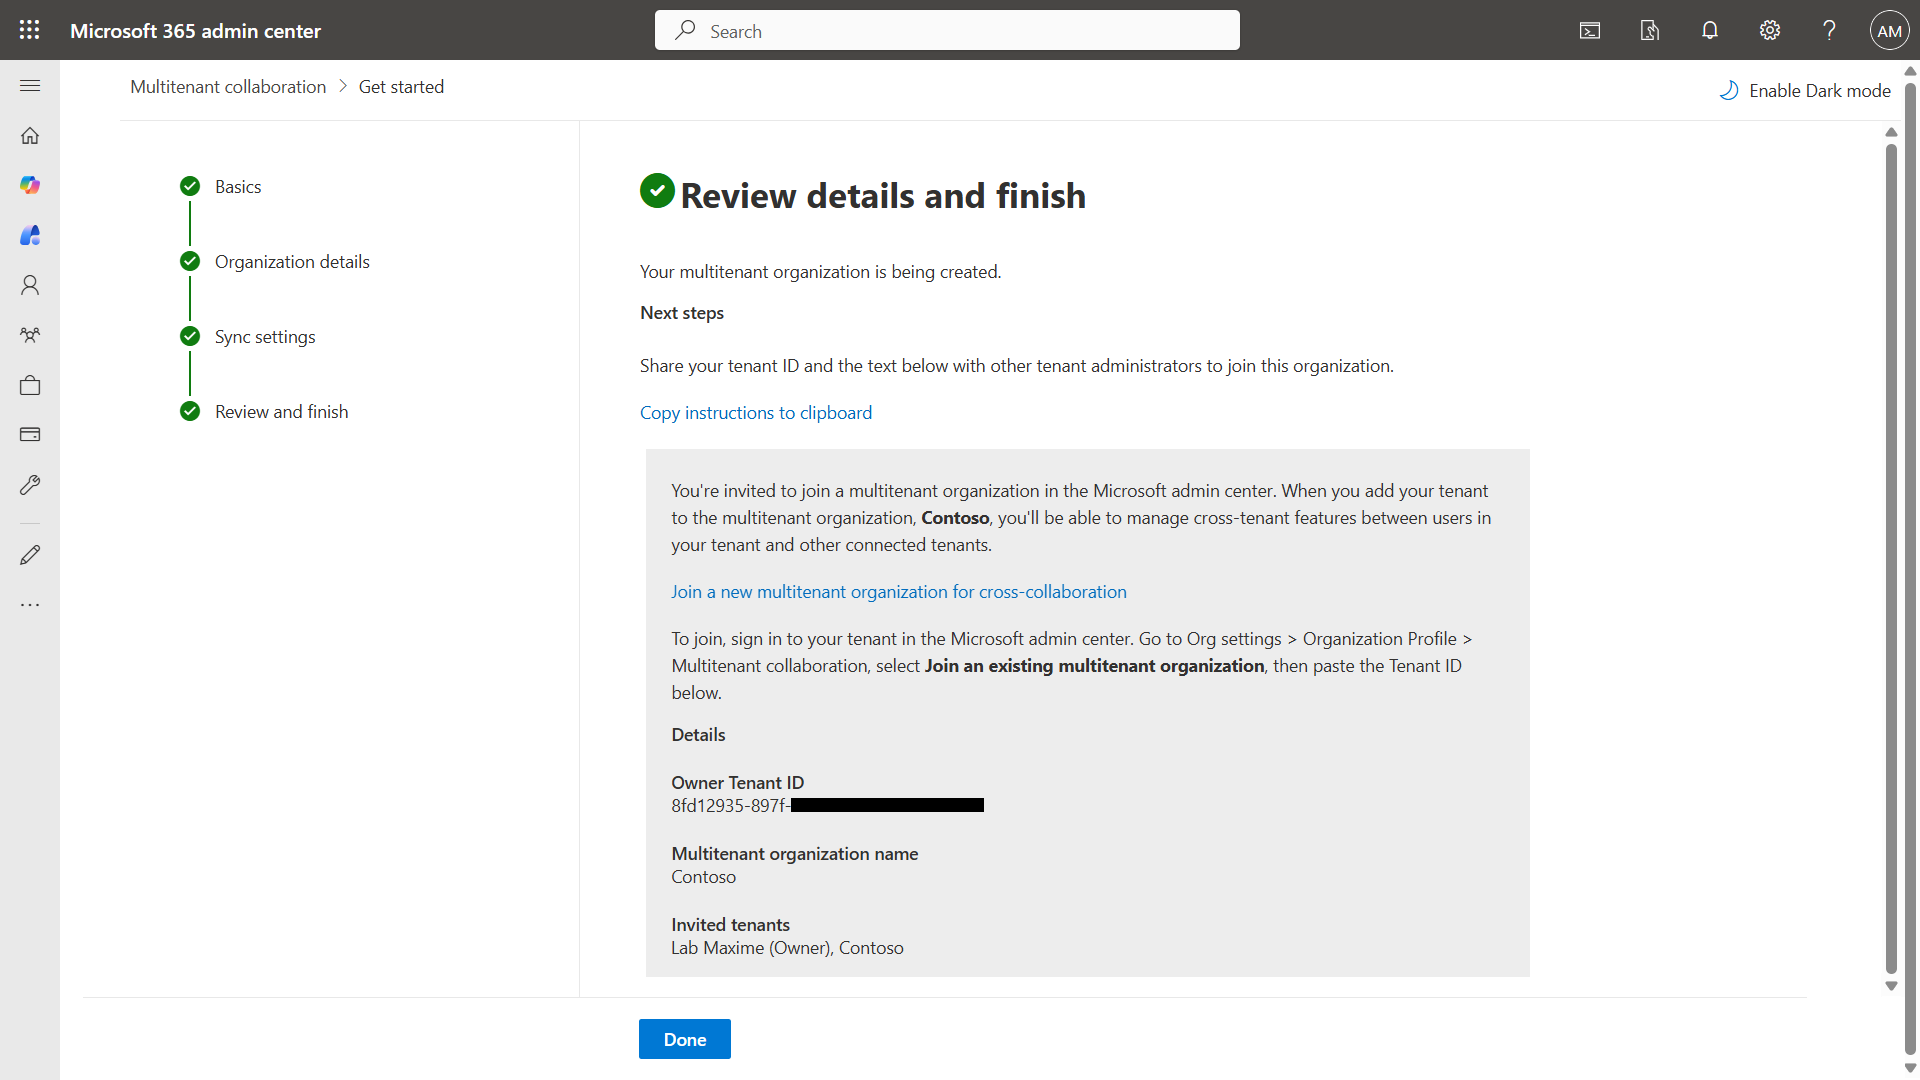
Click Create multitenant organization.
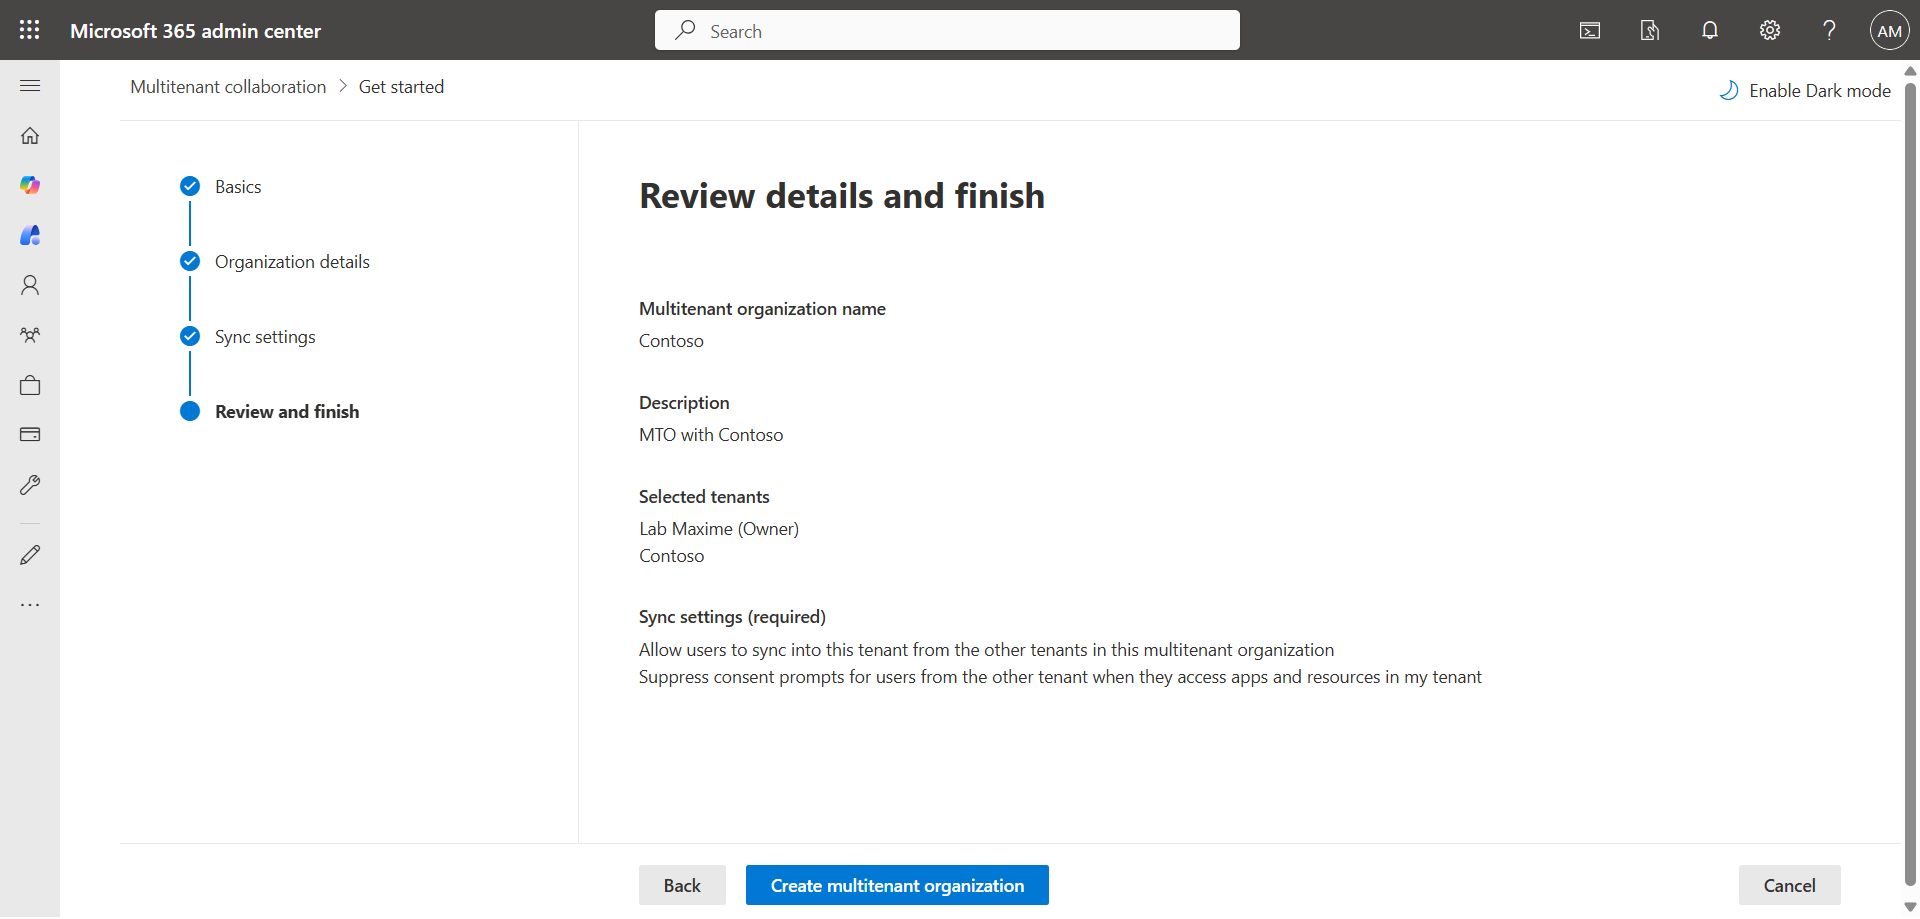
The MTO is created on the first tenant.
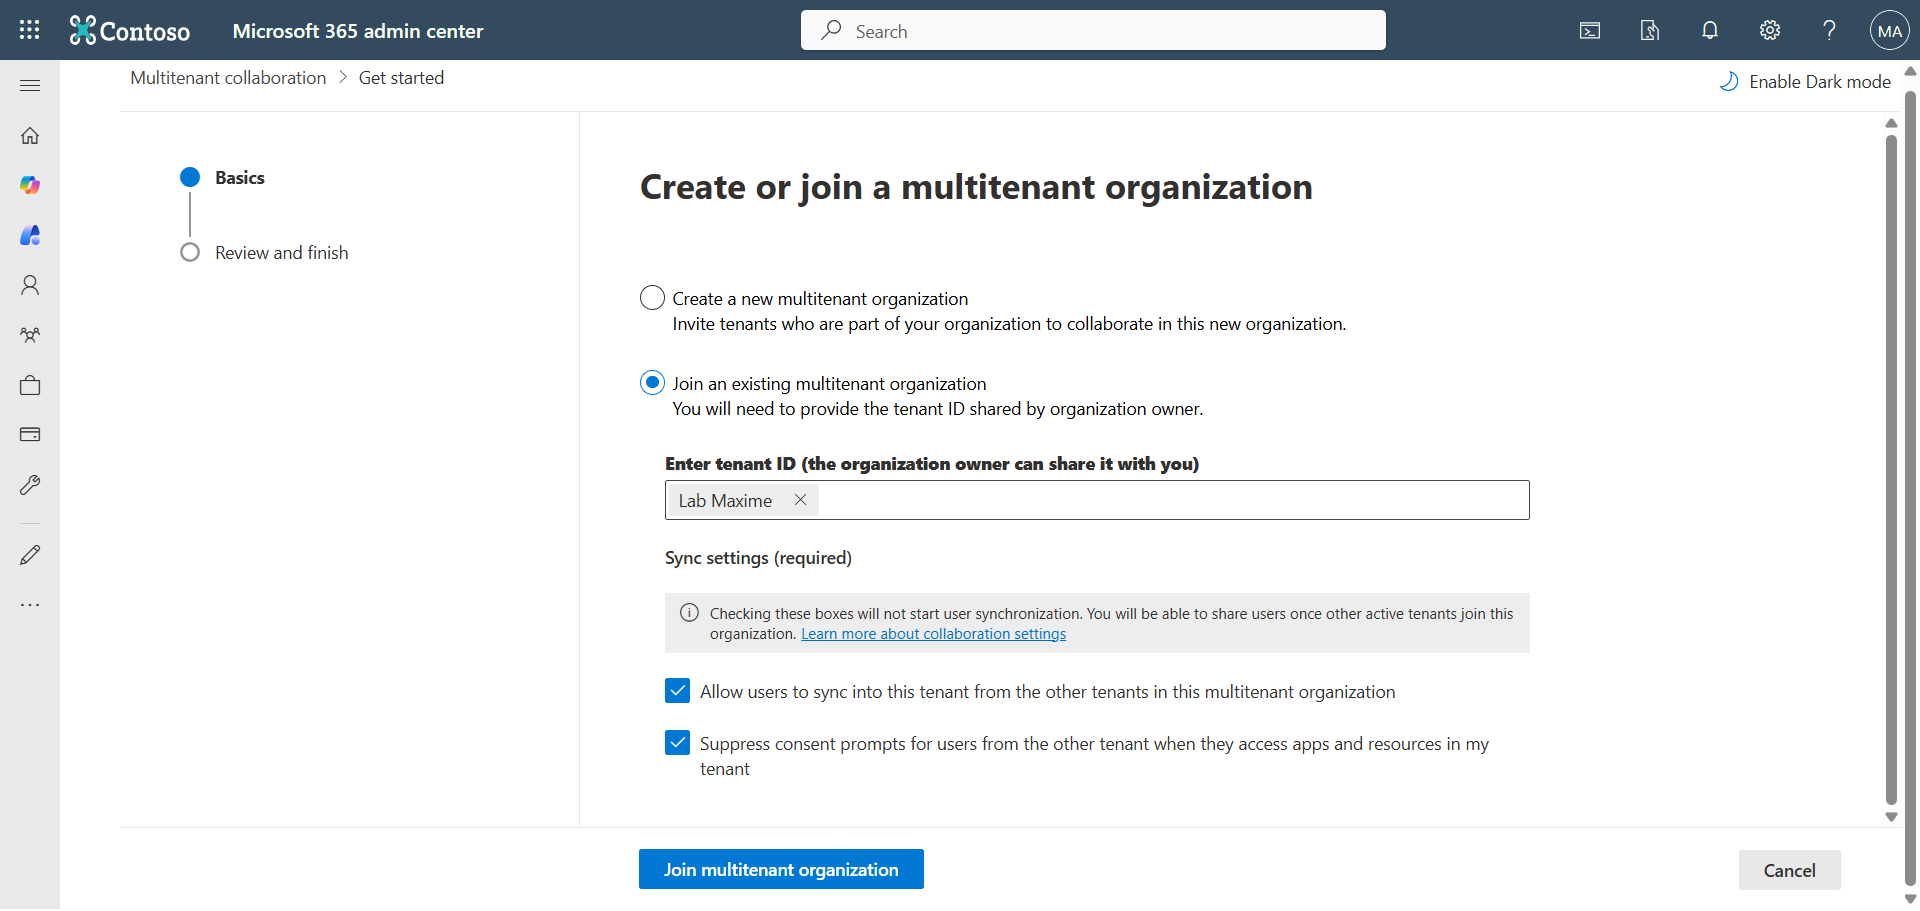
Step 3 : Enable MTO on the 2nd tenant
Perform the same configurations on the 2nd tenant, but choosing Join an existing multitenant organization, and reversing the values.
Step 4 : Activate the 1st synchronization
On each tenant, activate the 1st account to synchronize.
Step 5 : Sign in to the Microsoft Entra Admin Center
Sign in to the Microsoft Entra Admin Center by opening your web browser to https://entra.microsoft.com.
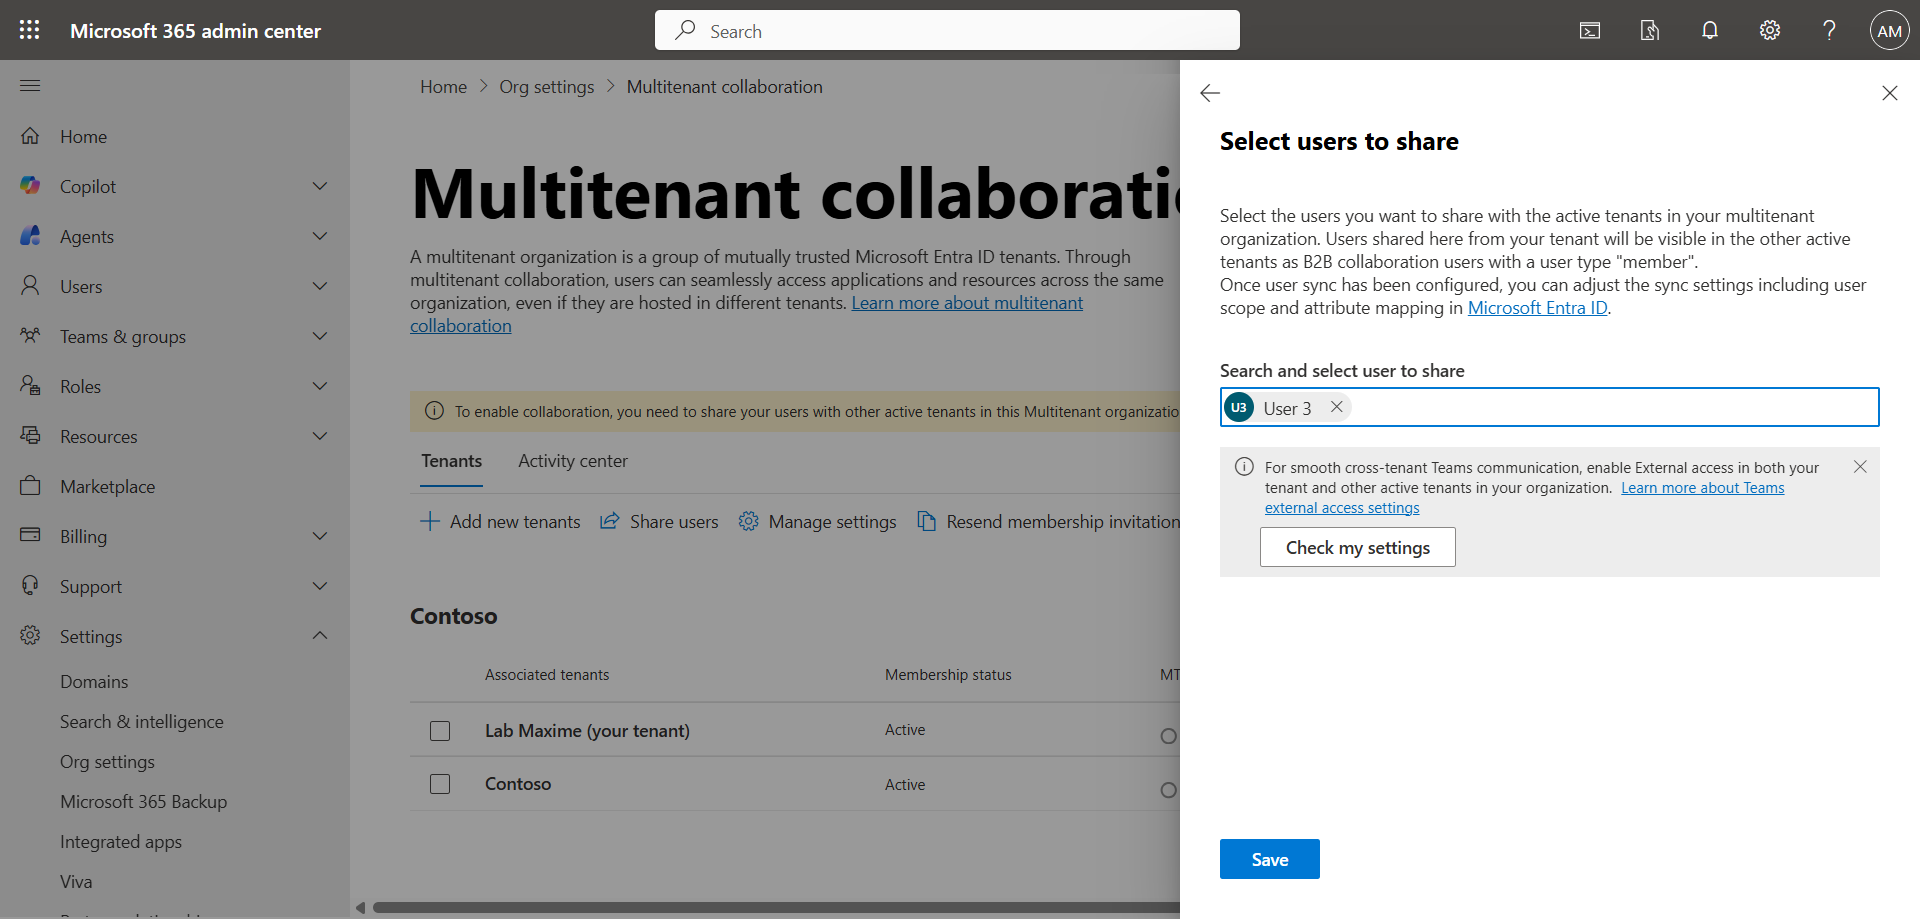
Step 6 : Add more accounts to synchronize
In the left menu, click Cross-tenant synchronization.
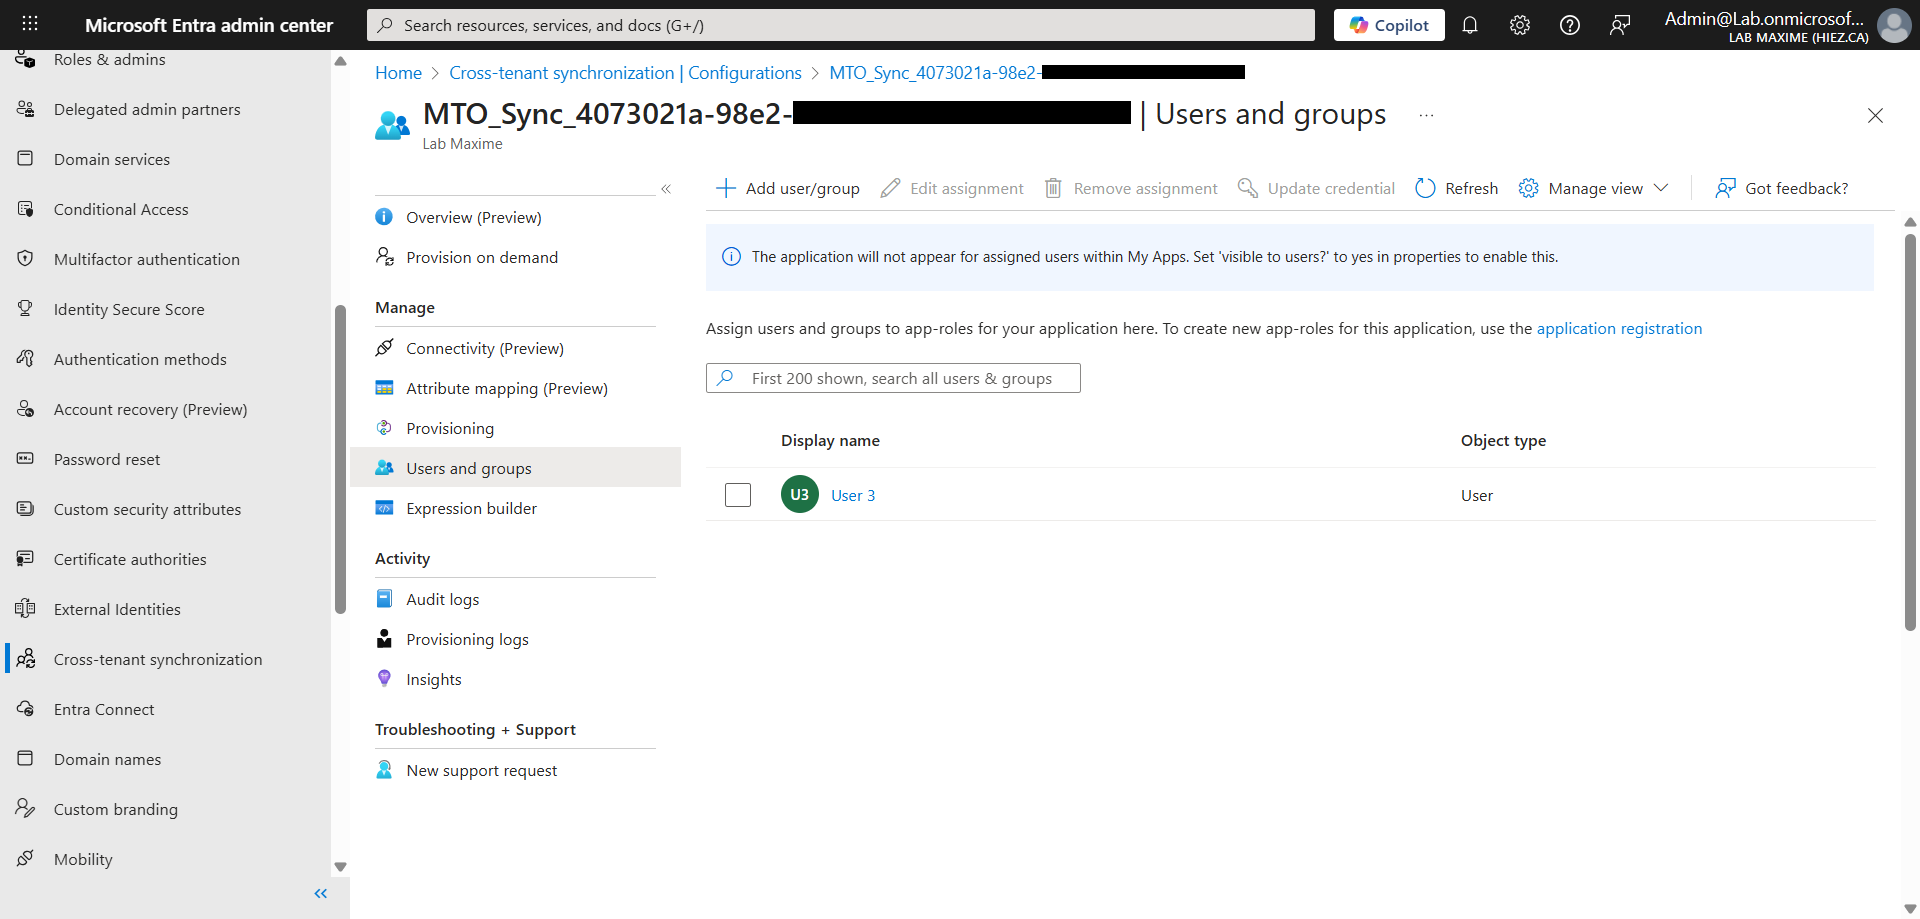
Click on the created MTO configuration, then Users and groups. The account is visible, and you can add other accounts by clicking Add user/group.
tip
Step 7 : Validate the MTO
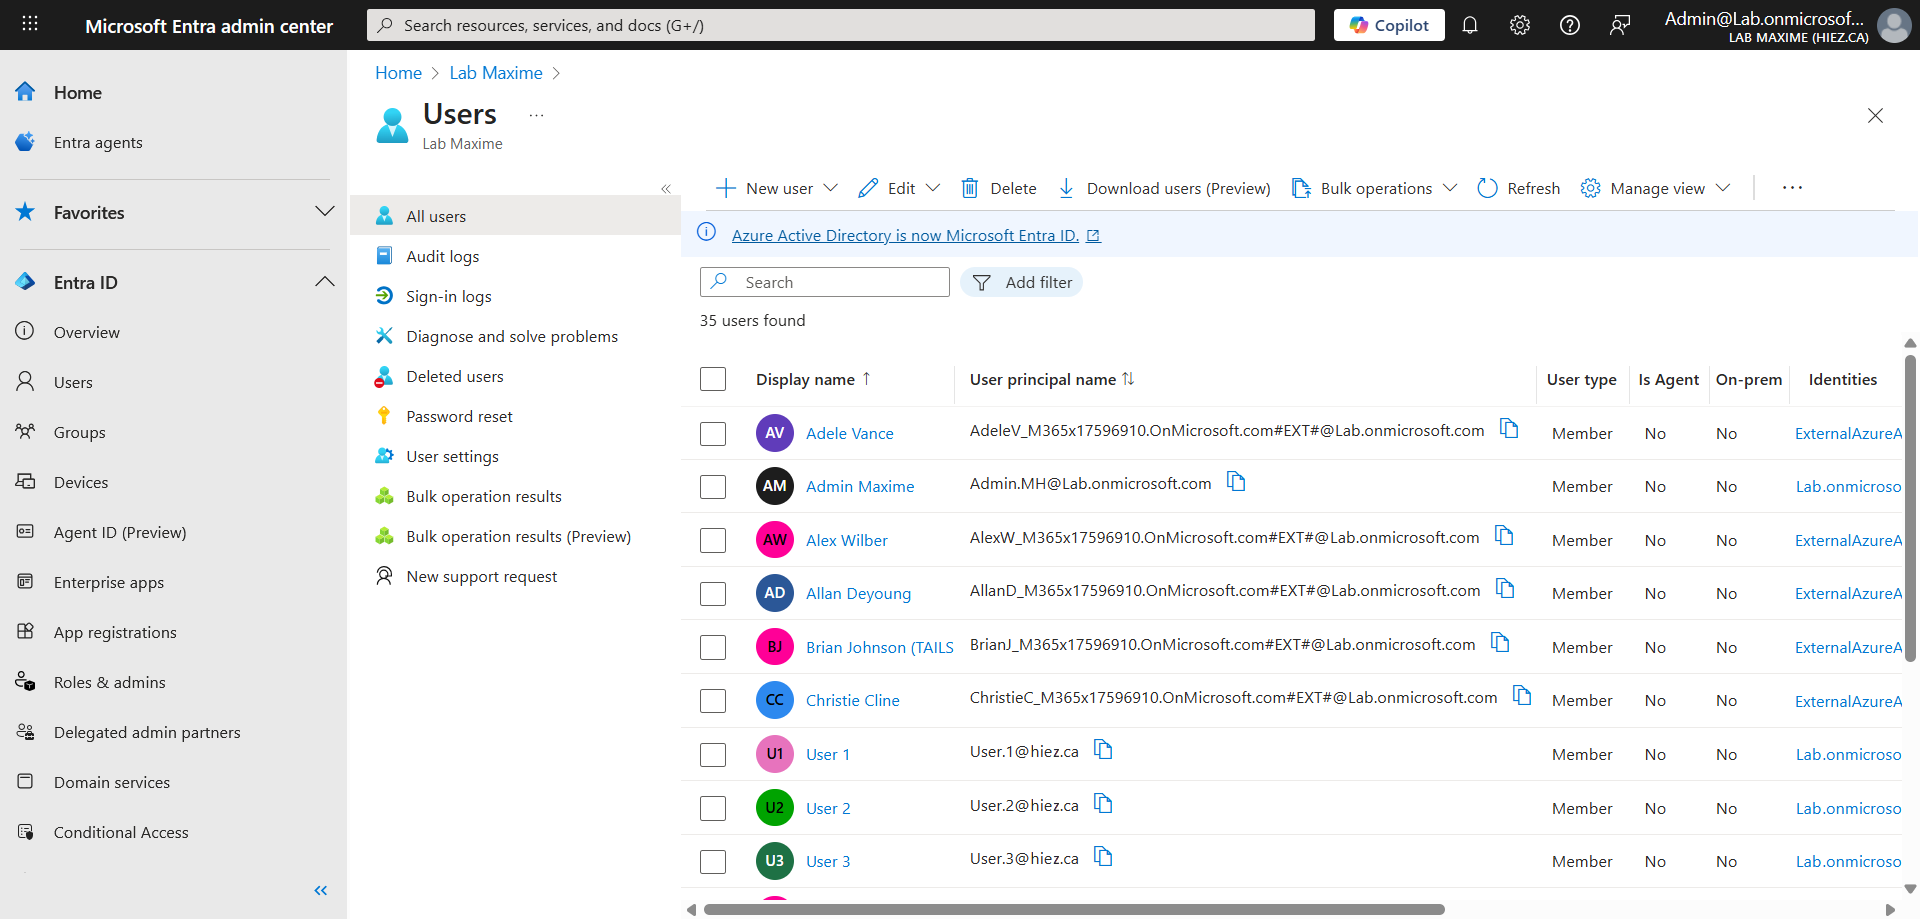
In my user list, you can see that there are now accounts whose identity is defined as ExternalAzureAD and with the suffix of my tenant #EXT#@Lab.onmicrosoft.com. These are the accounts that were synchronized from the other tenant.
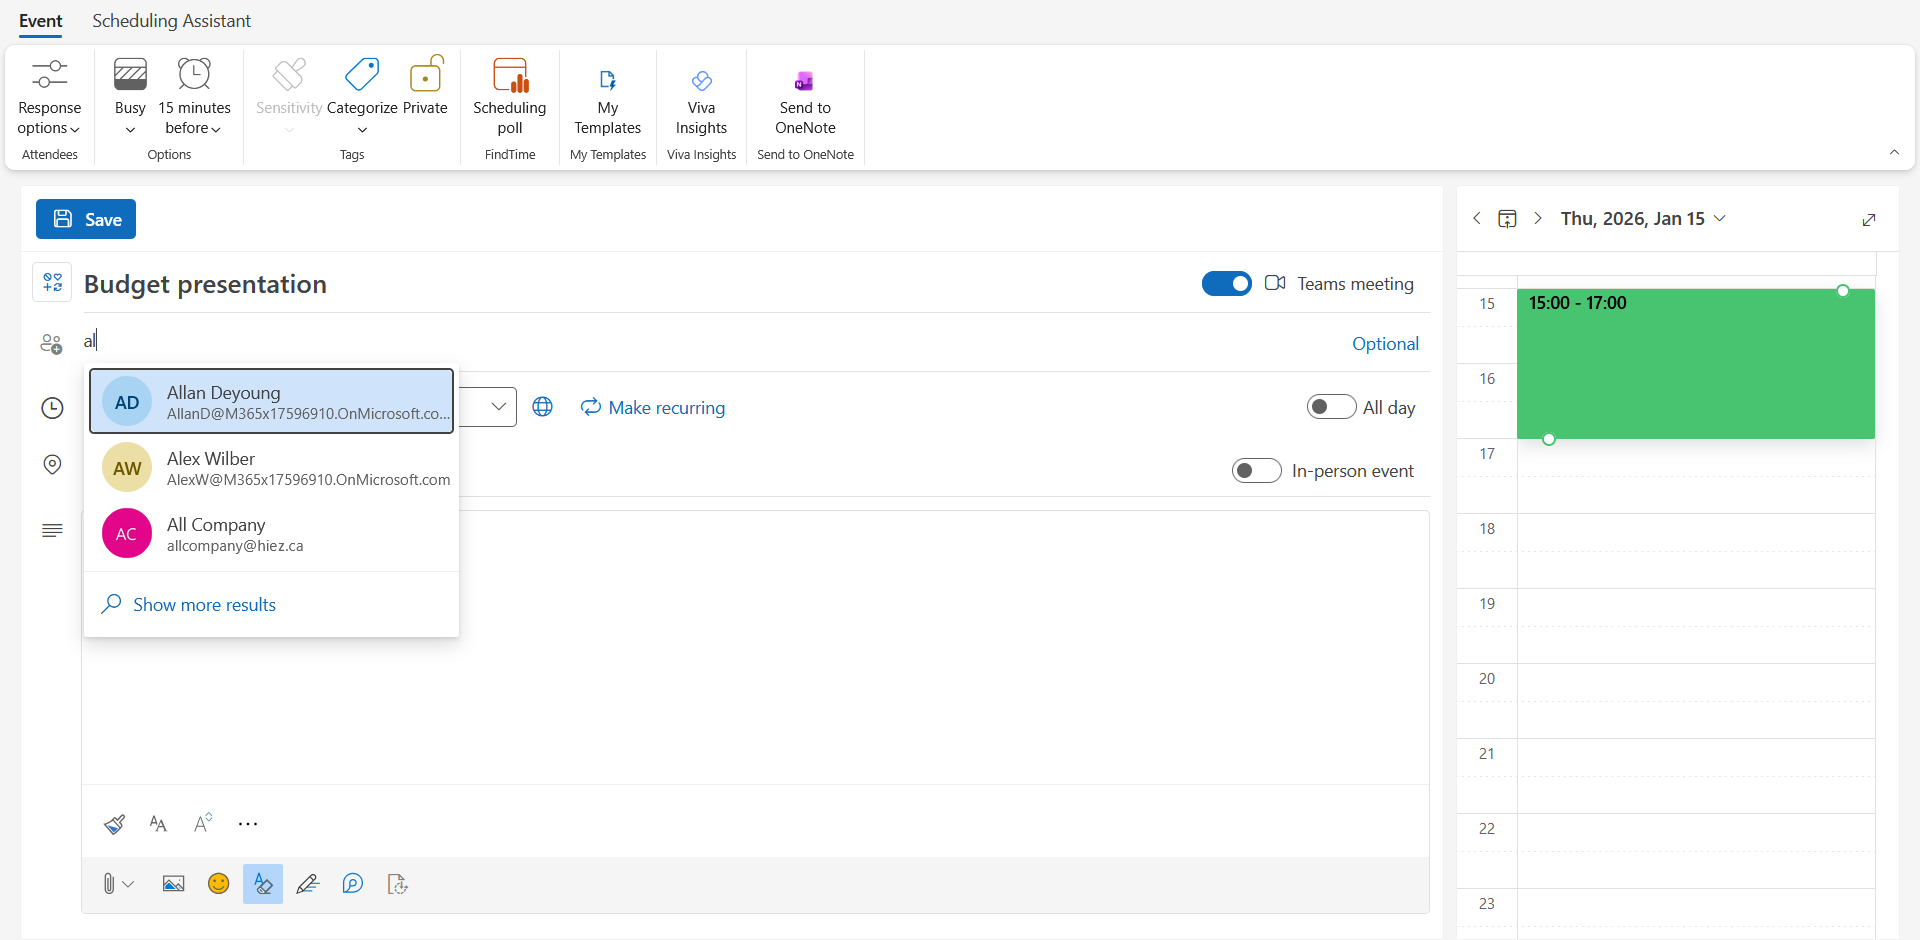
They can be found in the Outlook directory search …
… and in Teams …
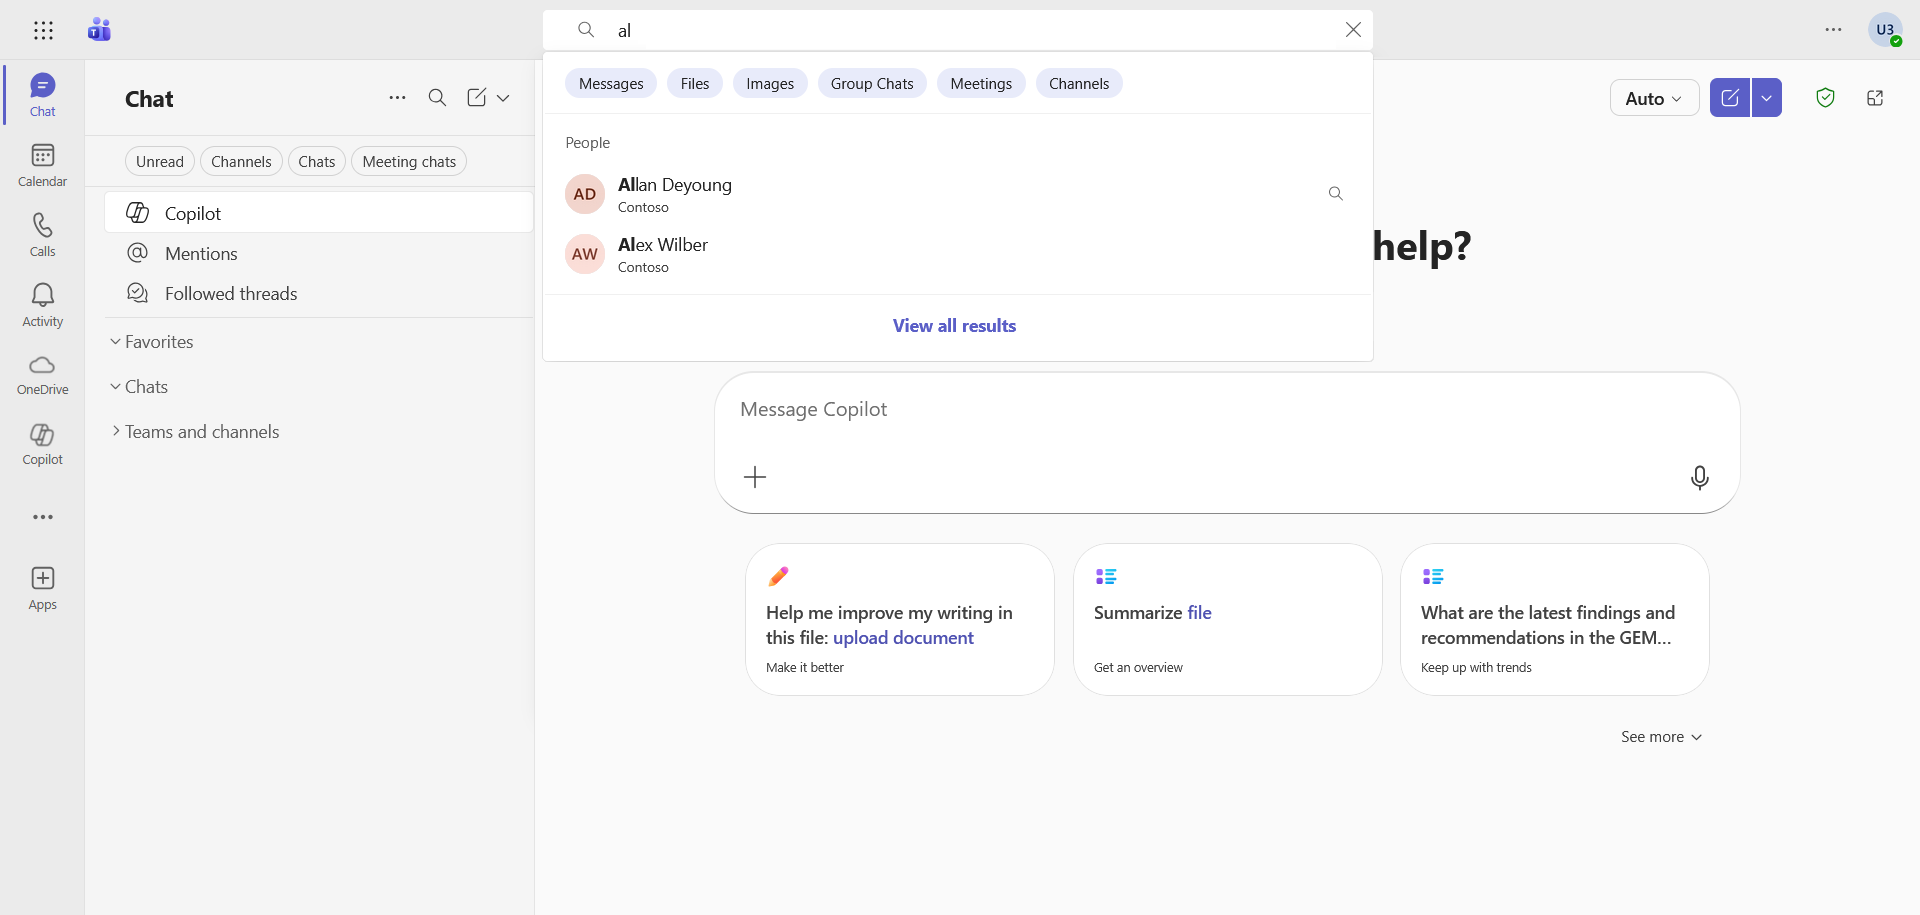
… and I am able to start a conversation with these accounts.
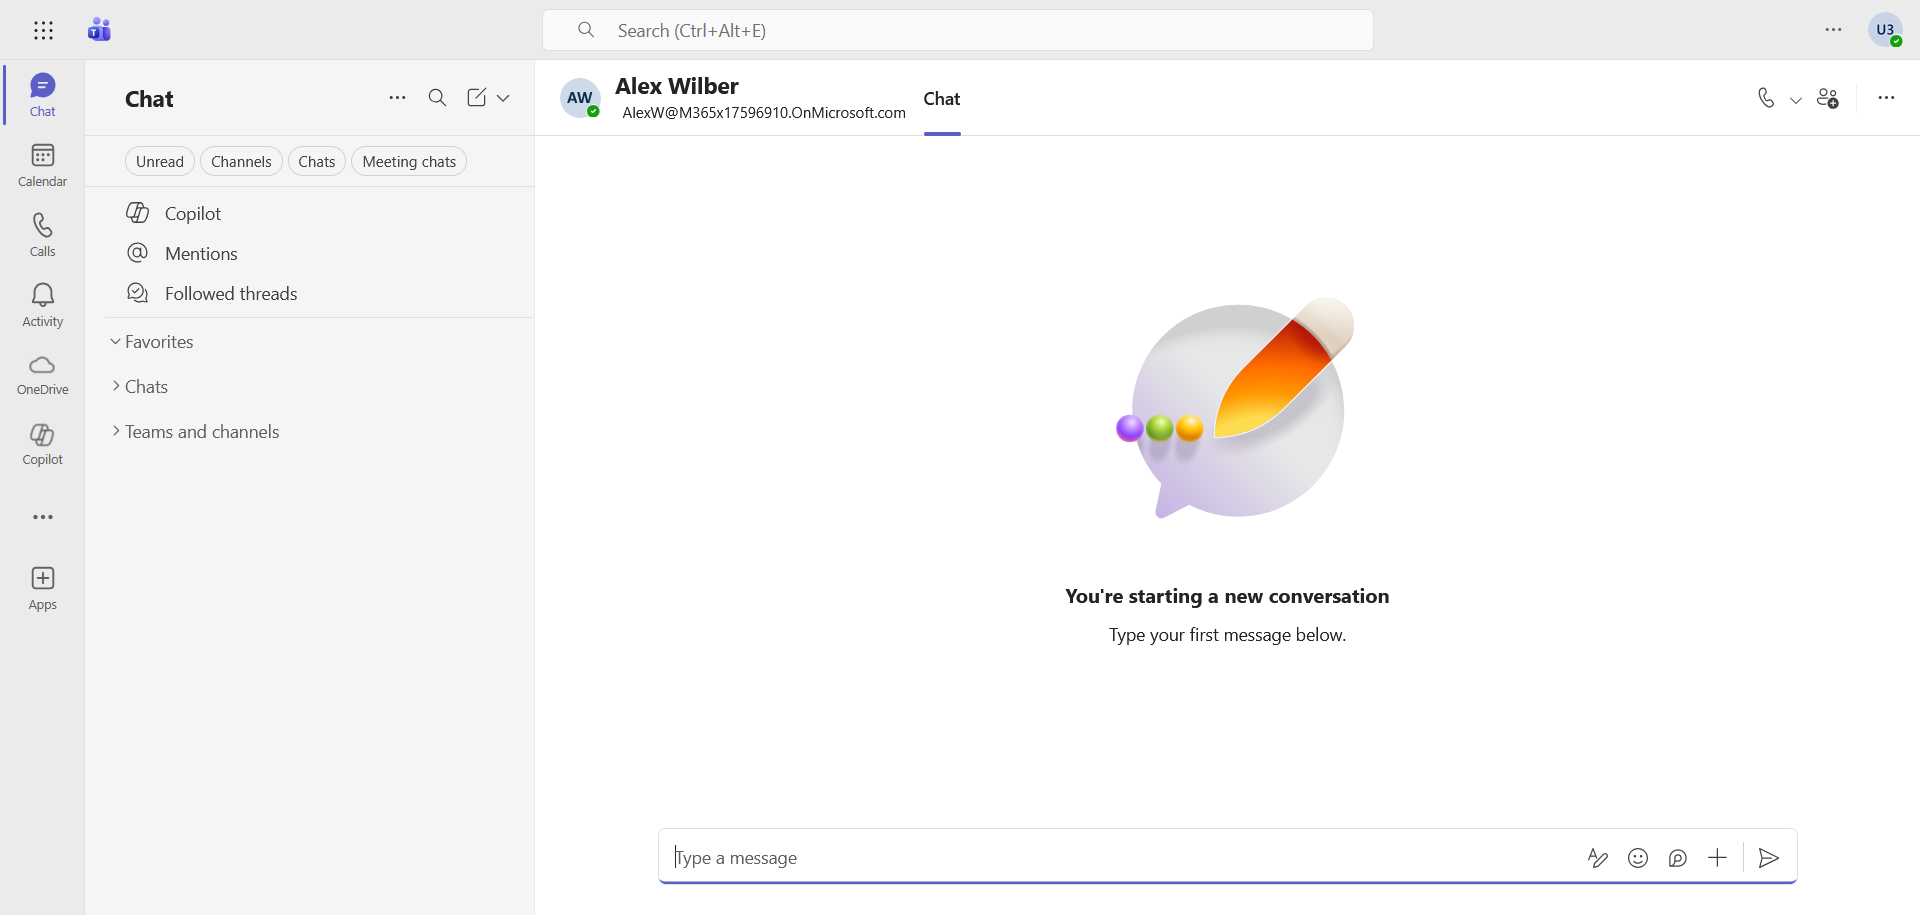
We can also see that the account is not detected as External, there is no badge in the top right corner.
Conclusion
You now know how to configure the MTO between 2 organizations.
Sources
Microsoft Learn - Configure an MTO
Microsoft Learn - Organization capabilities with MTO
Did you enjoy this post ? If you have any questions, comments or suggestions, please feel free to send me a message from the contact form.
Don’t forget to follow us and share this post.