How to enable DLP for Outlook with Microsoft Purview
- Maxime Hiez
- Purview , Tutorial
- 22 Jul, 2025
Introduction
Last week, I showed you how to enable DLP for Teams with Microsoft Purview to prevent accidental or malicious data leaks (Data Loss Prevention). Purview is a comprehensive and extensive data protection solution, and I’m digging into it little by little. Continuing with the idea of talking to you about DLP, here this time is how to protect the sending of financial data from Microsoft Outlook.
Check the last week’s article HERE.
Prerequisites
Licenses required
- Microsoft 365 Business Premium, Microsoft 365 E5.
- Microsoft 365 E5 Compliance in addition to another license (E3, …).
Administrator role
- An account with the Global Administrator or Teams Administrator role to access the Microsoft Purview Portal.
Step 1 : Sign in to the Microsoft Purview Portal
Sign in to the Microsoft Purview Portal by opening your web browser to https://purview.microsoft.com.
Step 2 : Create a DLP policy for Outlook
In the left menu, click Solutions, then Data Loss Prevention.
Click Create policy.
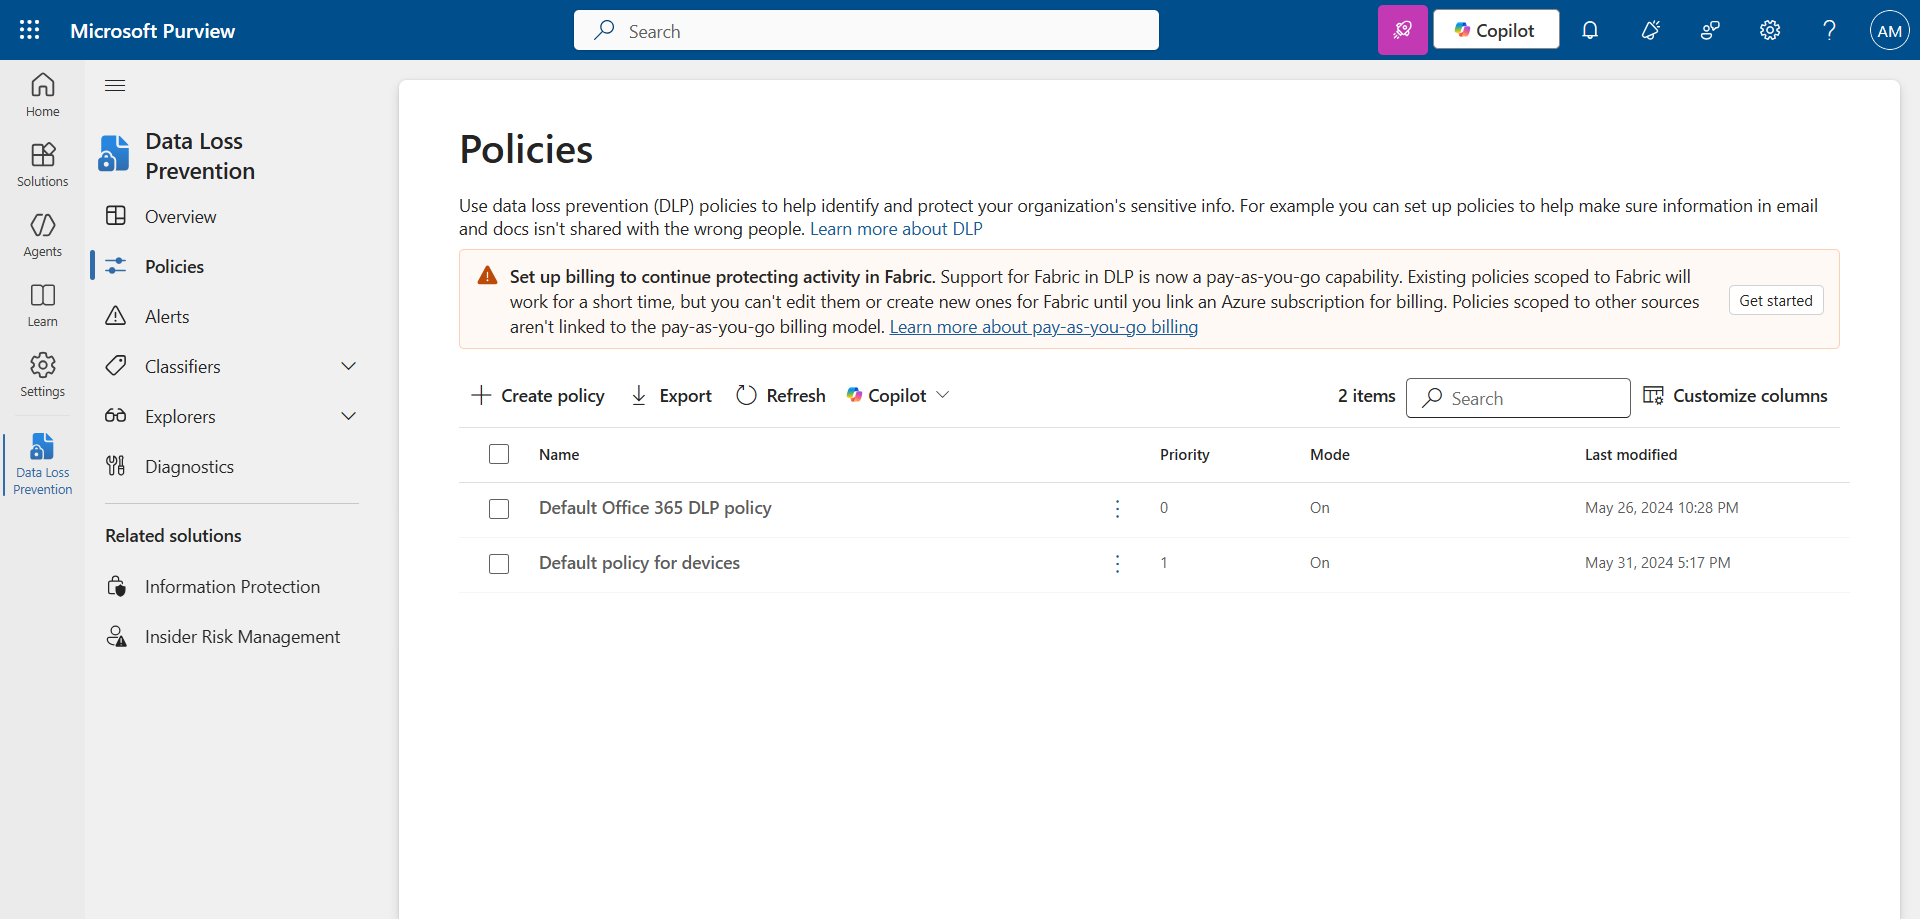
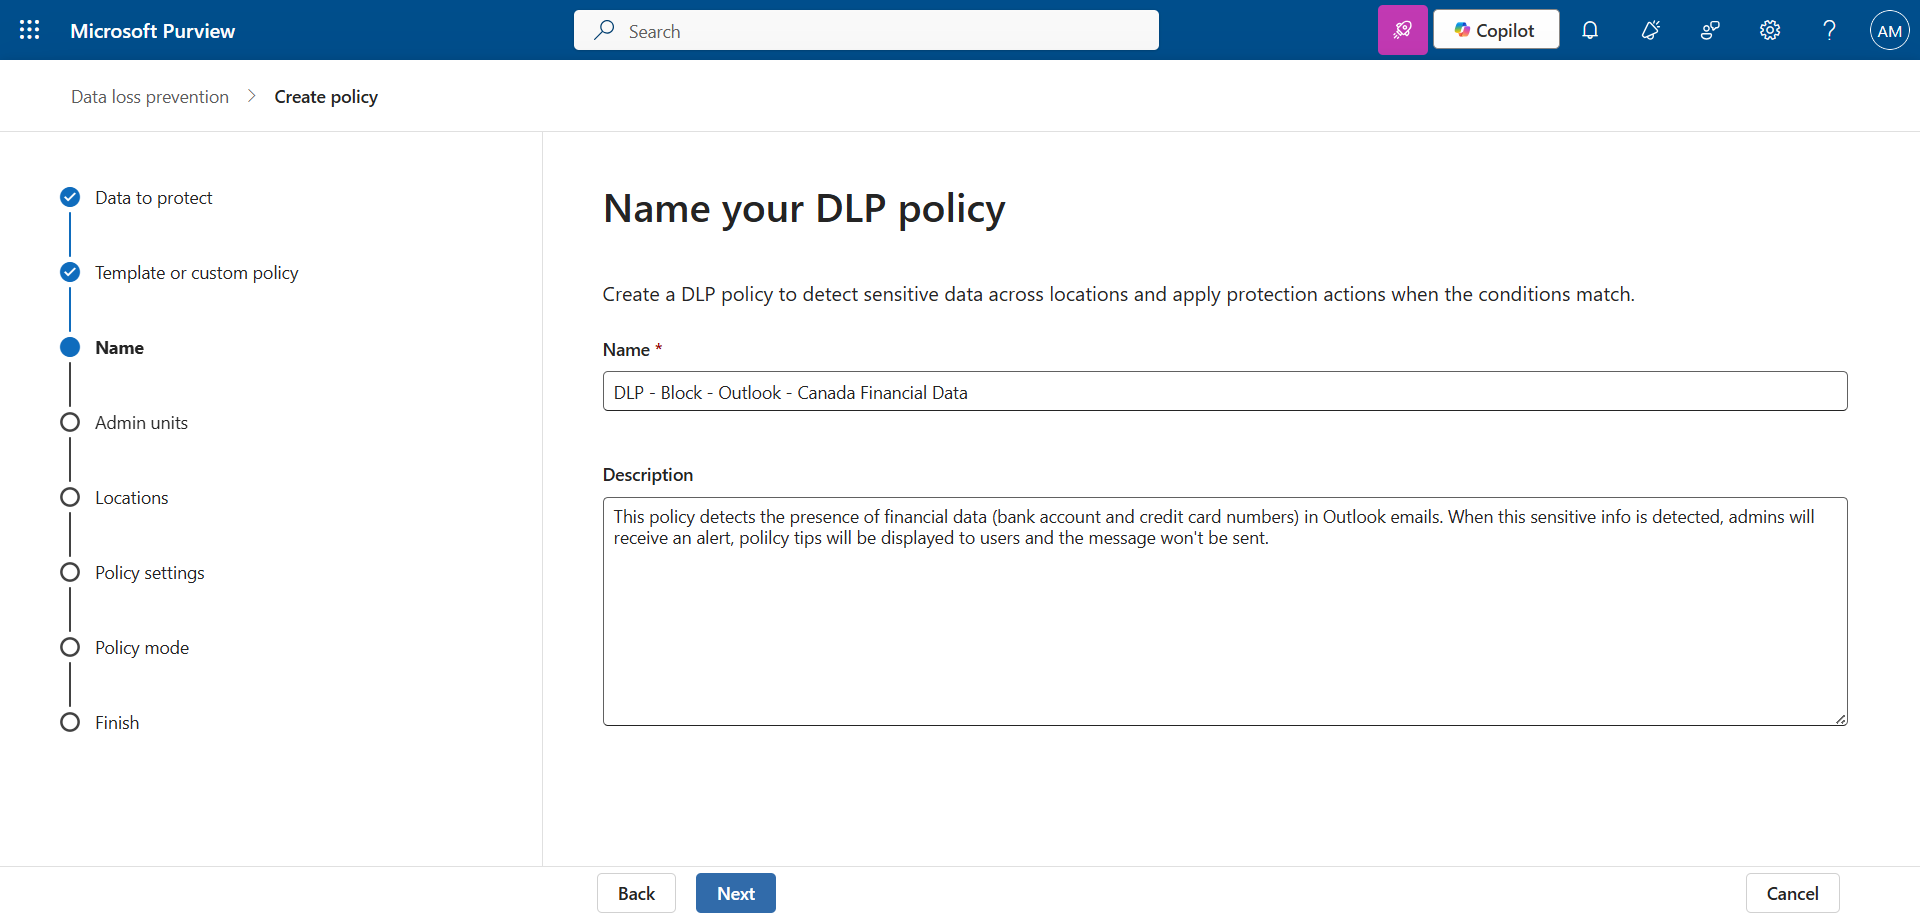
Set a name and description.
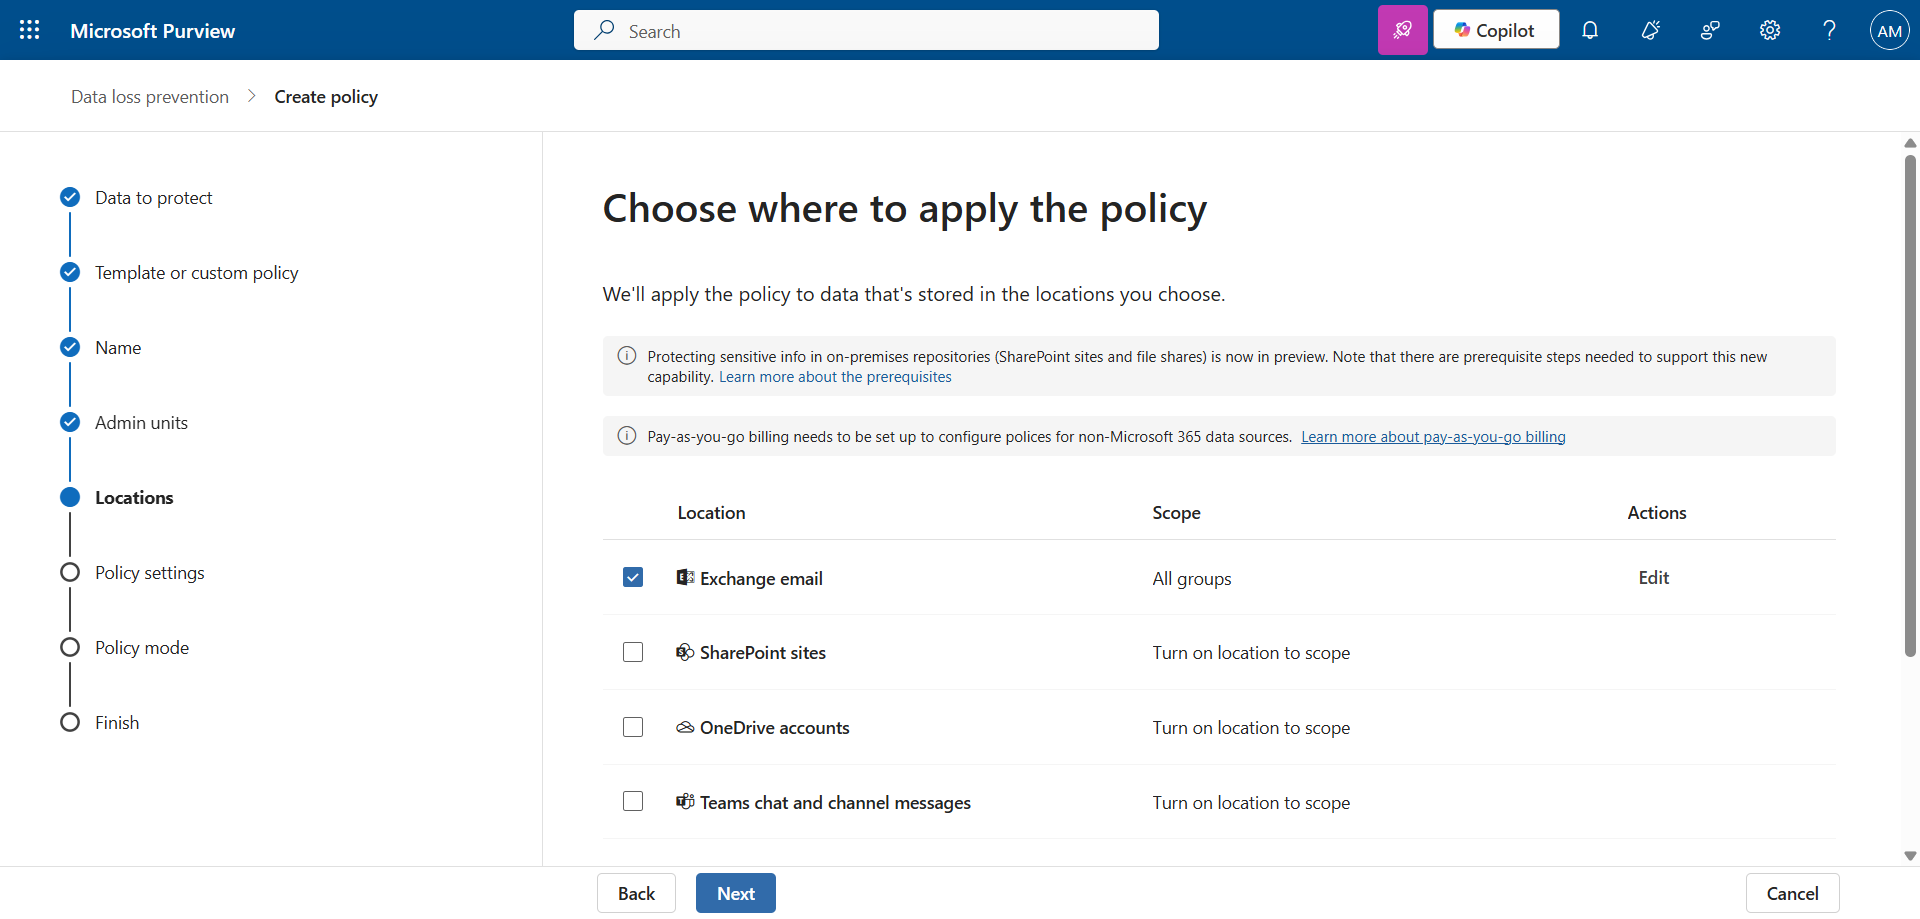
Apply this policy for Exchange emails.
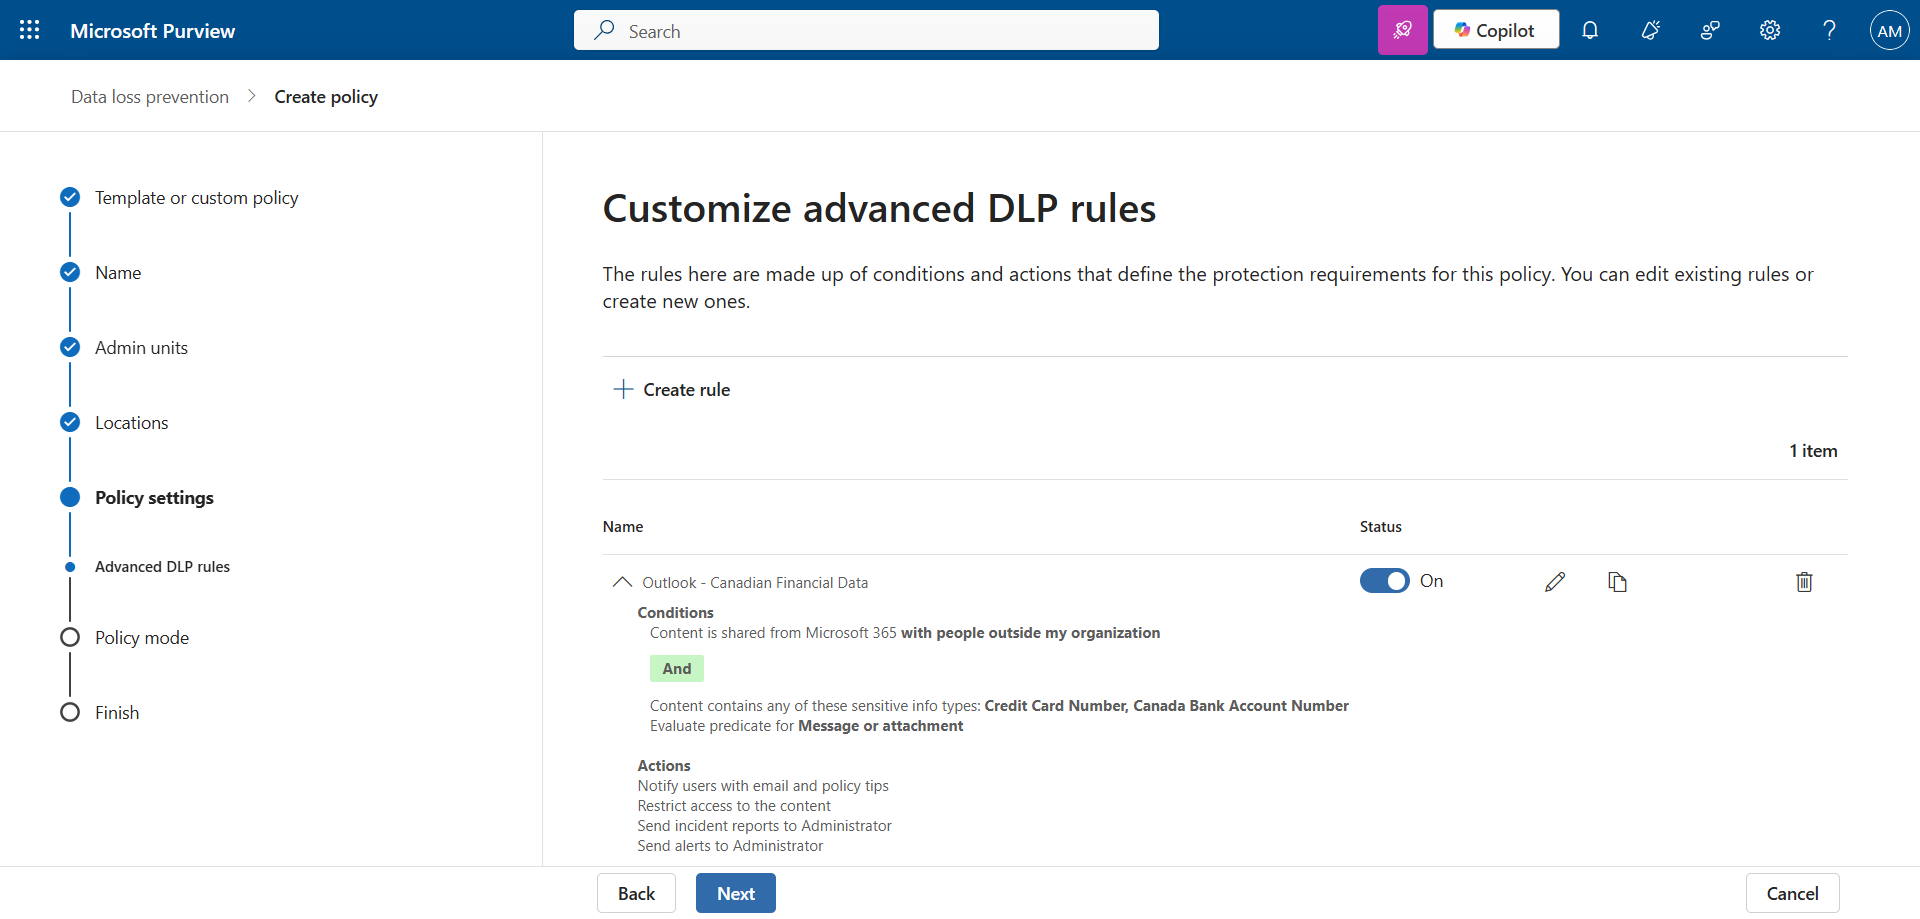
Configure the various data type attributes and notifications. In my example, I chose an existing type (Canadian banking data).
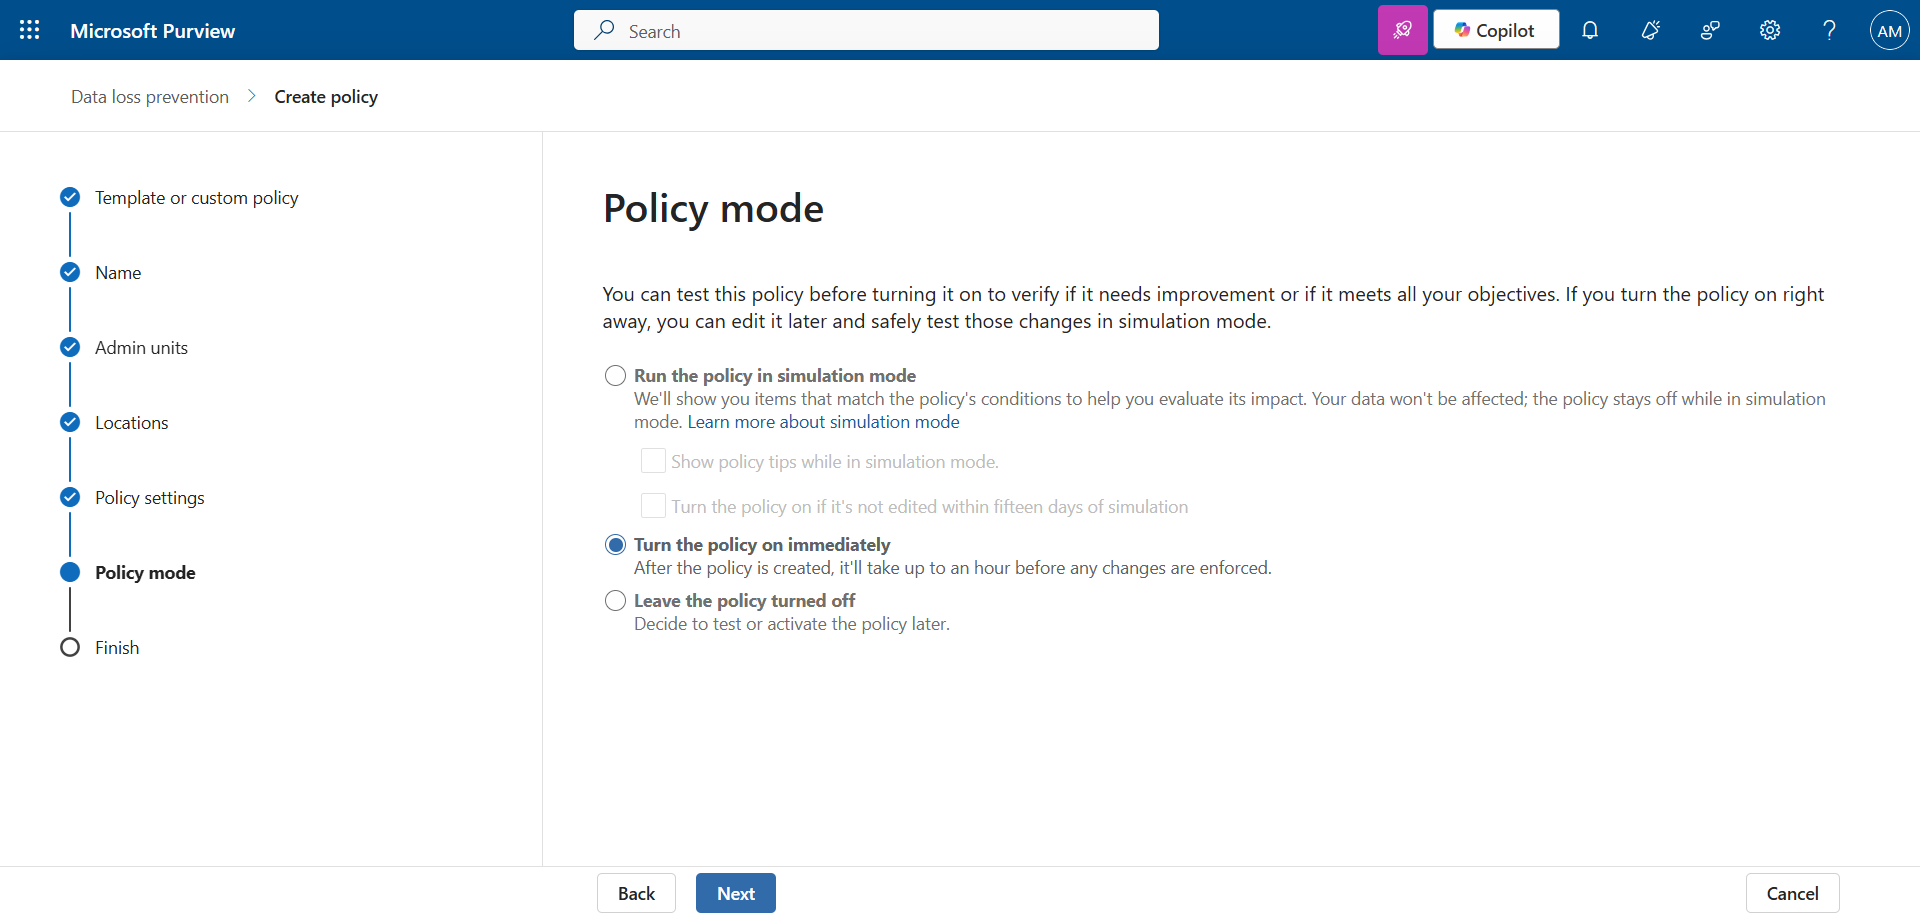
Enable the policy to put it into production.
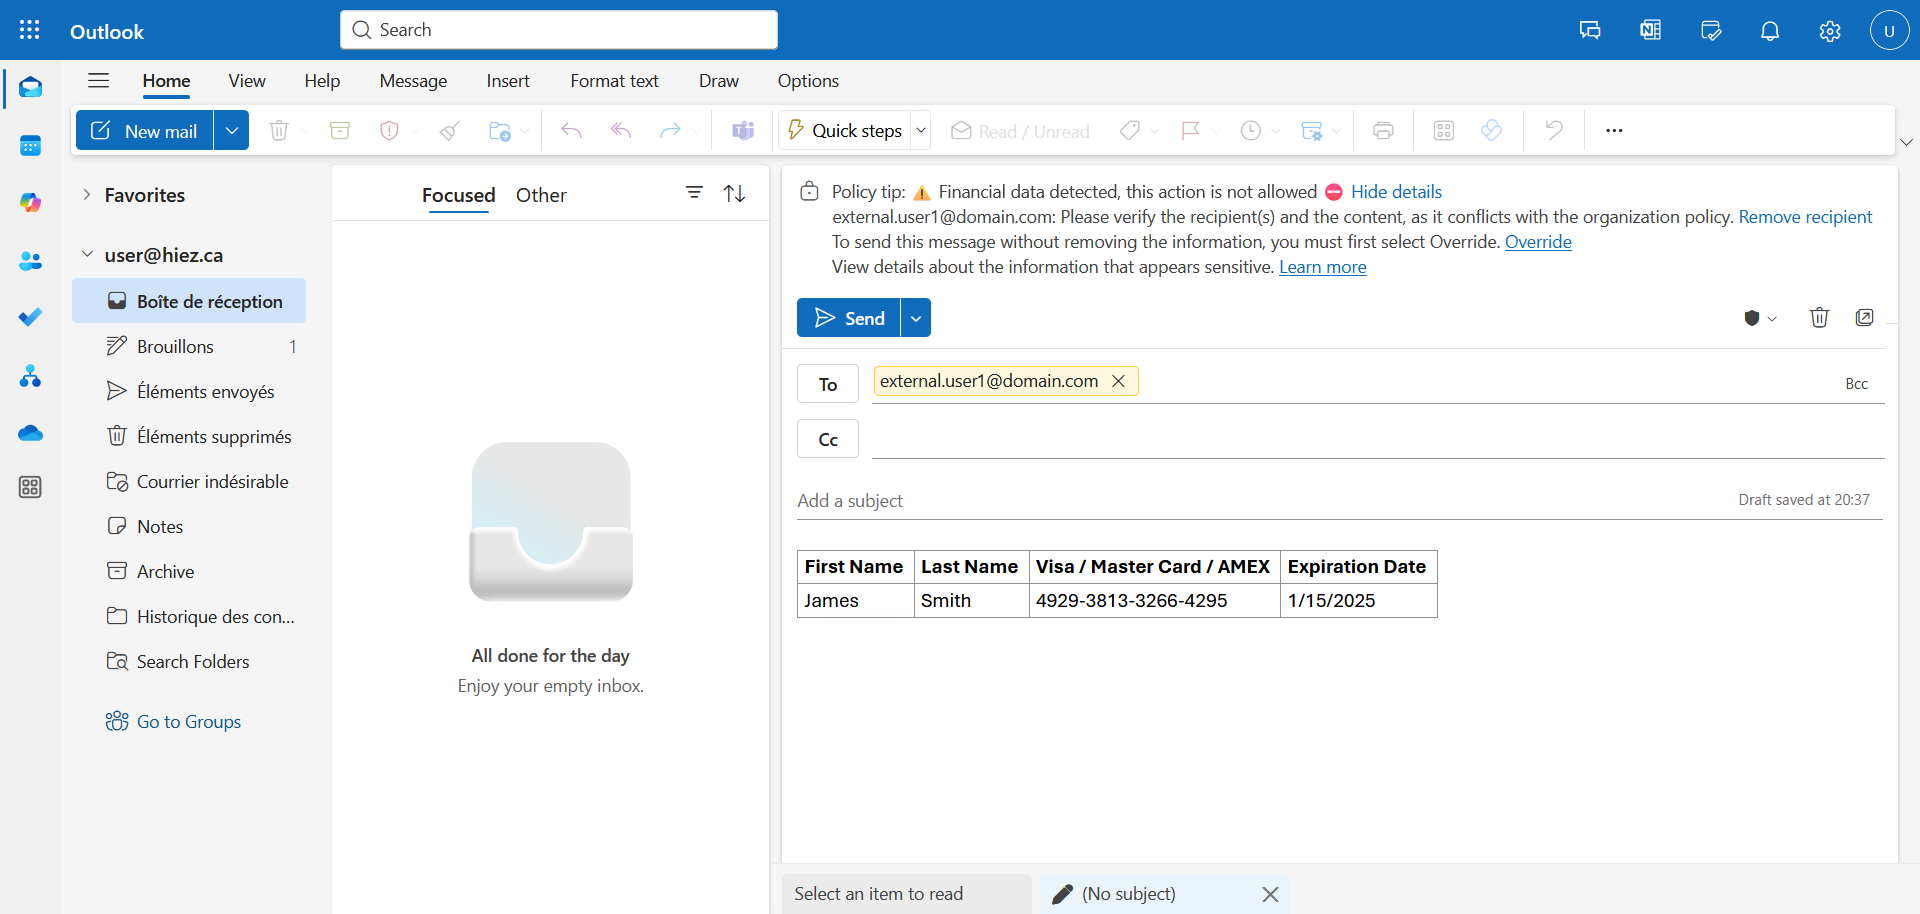
Step 3 : Send financial data to validate the policy
After a few minutes, try sending credit card information via Outlook. Here, we’re sending a (fake) credit card from the account User (user@hiez.ca) to External User 1 (external.user1@domain.com).
The banner configured in the rule is displayed at the top of the email warning that this is data prohibited from sending.
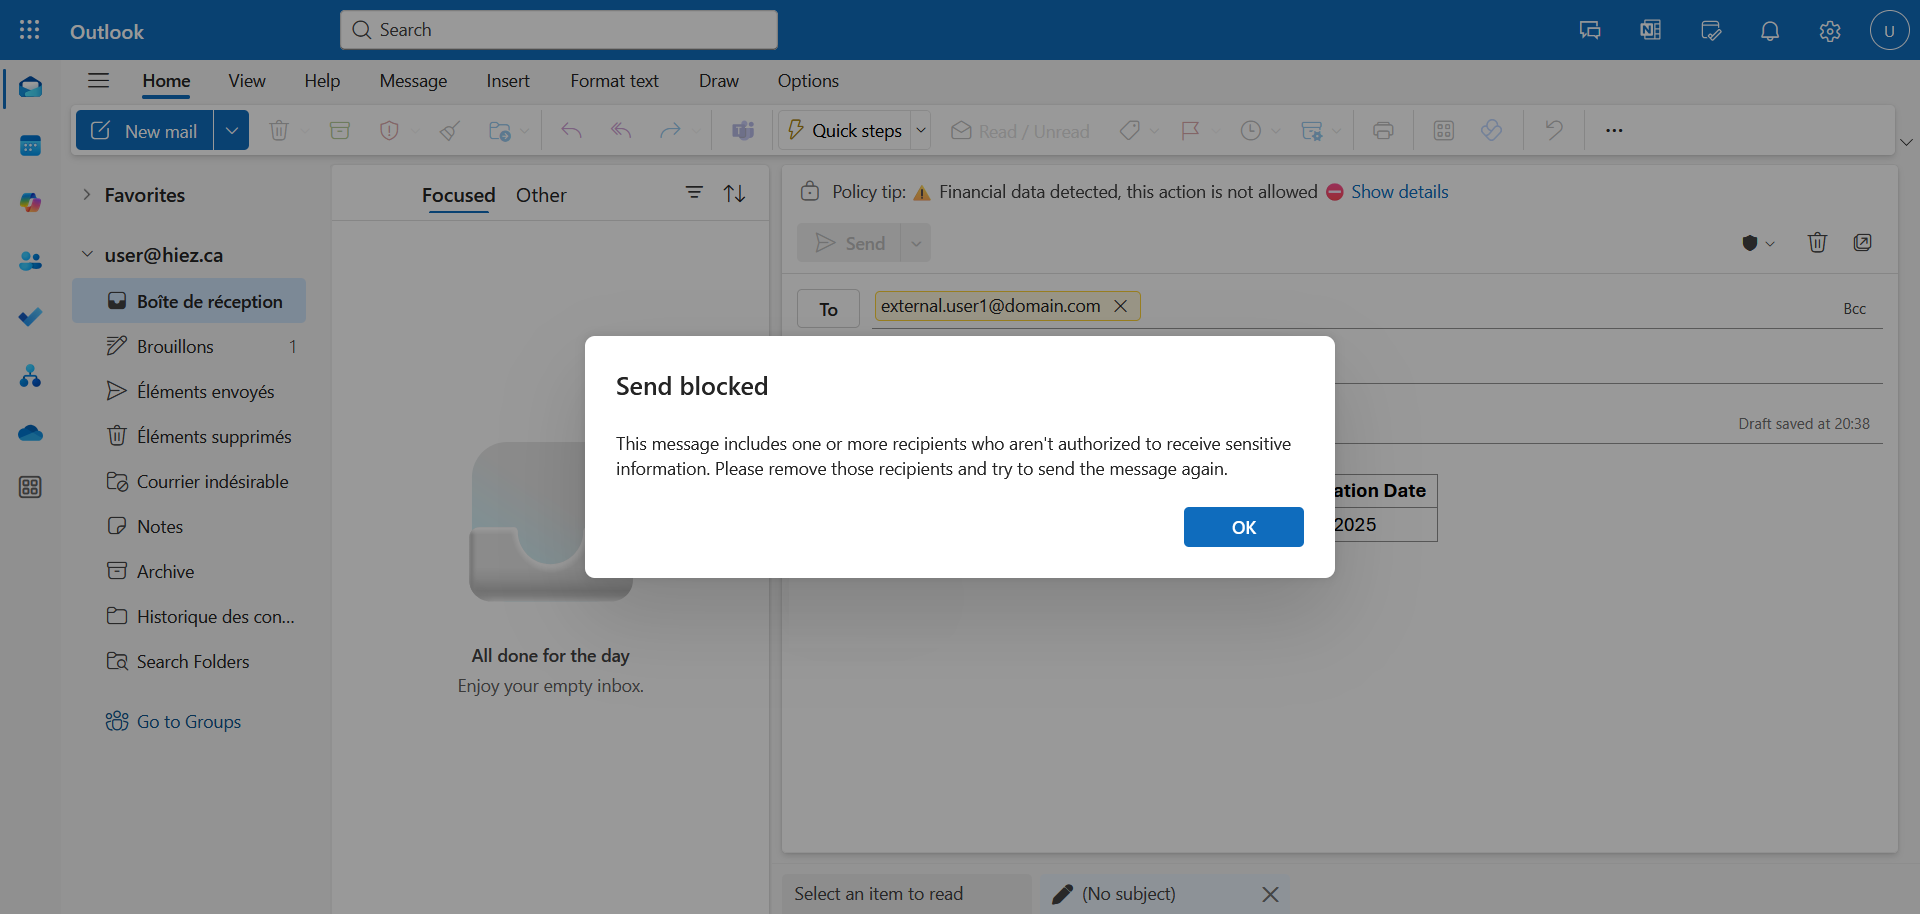
The message is automatically blocked if you try to send it.
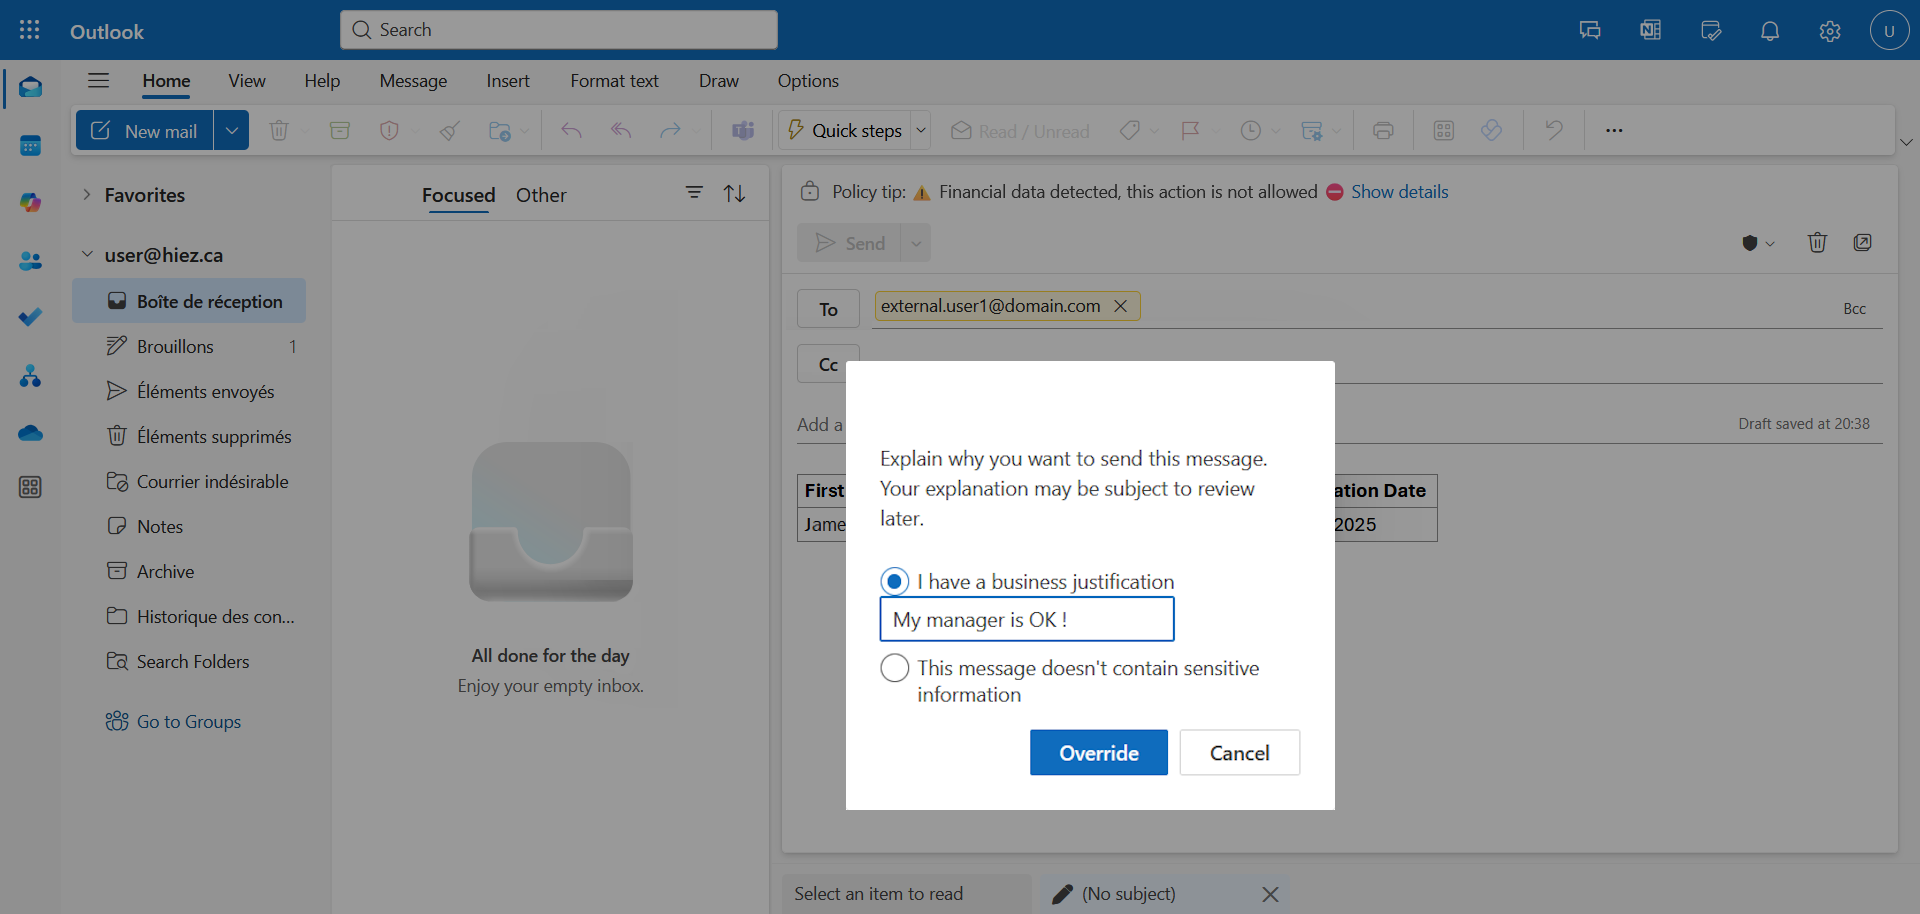
Step 4 : Bypass the policy (optional)
If you have chosen to enable the option to bypass the policy, you can provide an explanation for sending the content. The message will then be sent without blocking.
Step 5 : Receive the notification
If you have configured notifications, an email is sent to the designated people within the next few seconds.

Conclusion
With Microsoft Purview DLP, organizations can automatically detect, monitor, and block unauthorized sharing of critical data, such as credit card numbers or bank account information, whether in the body of Outlook emails or attached files.
You now know how to enable DLP for Outlook in Purview.
Sources
Microsoft Learn - DLP and Microsoft Outlook
Did you enjoy this post ? If you have any questions, comments or suggestions, please feel free to send me a message from the contact form.
Don’t forget to follow us and share this post.