
How to shut down an idle virtual machine in Azure
- Maxime Hiez
- Azure , Tutorial
- 12 Feb, 2025
Definition
Managing cloud costs effectively is crucial for organizations. One of the biggest cost drivers in the cloud is the presence of idle virtual machines (VMs) that continue to run even when they are not needed. Instead of manually shutting down these VMs, you can use Azure Automation and alerts to automatically shut down them when they are idle. Here’s how to configure this automation in Azure.
Prerequisites
Licenses required
- An Azure subscription.
Azure resources
- A deployed virtual machine.
Administrator role
- An account with the Contributor or Owner role on the Azure subscription.
Step 1 : Sign in to the Microsoft Azure portal
Sign in to the Microsoft Azure portal by opening your web browser to https://portal.azure.com.
Step 2 : Create an automation account
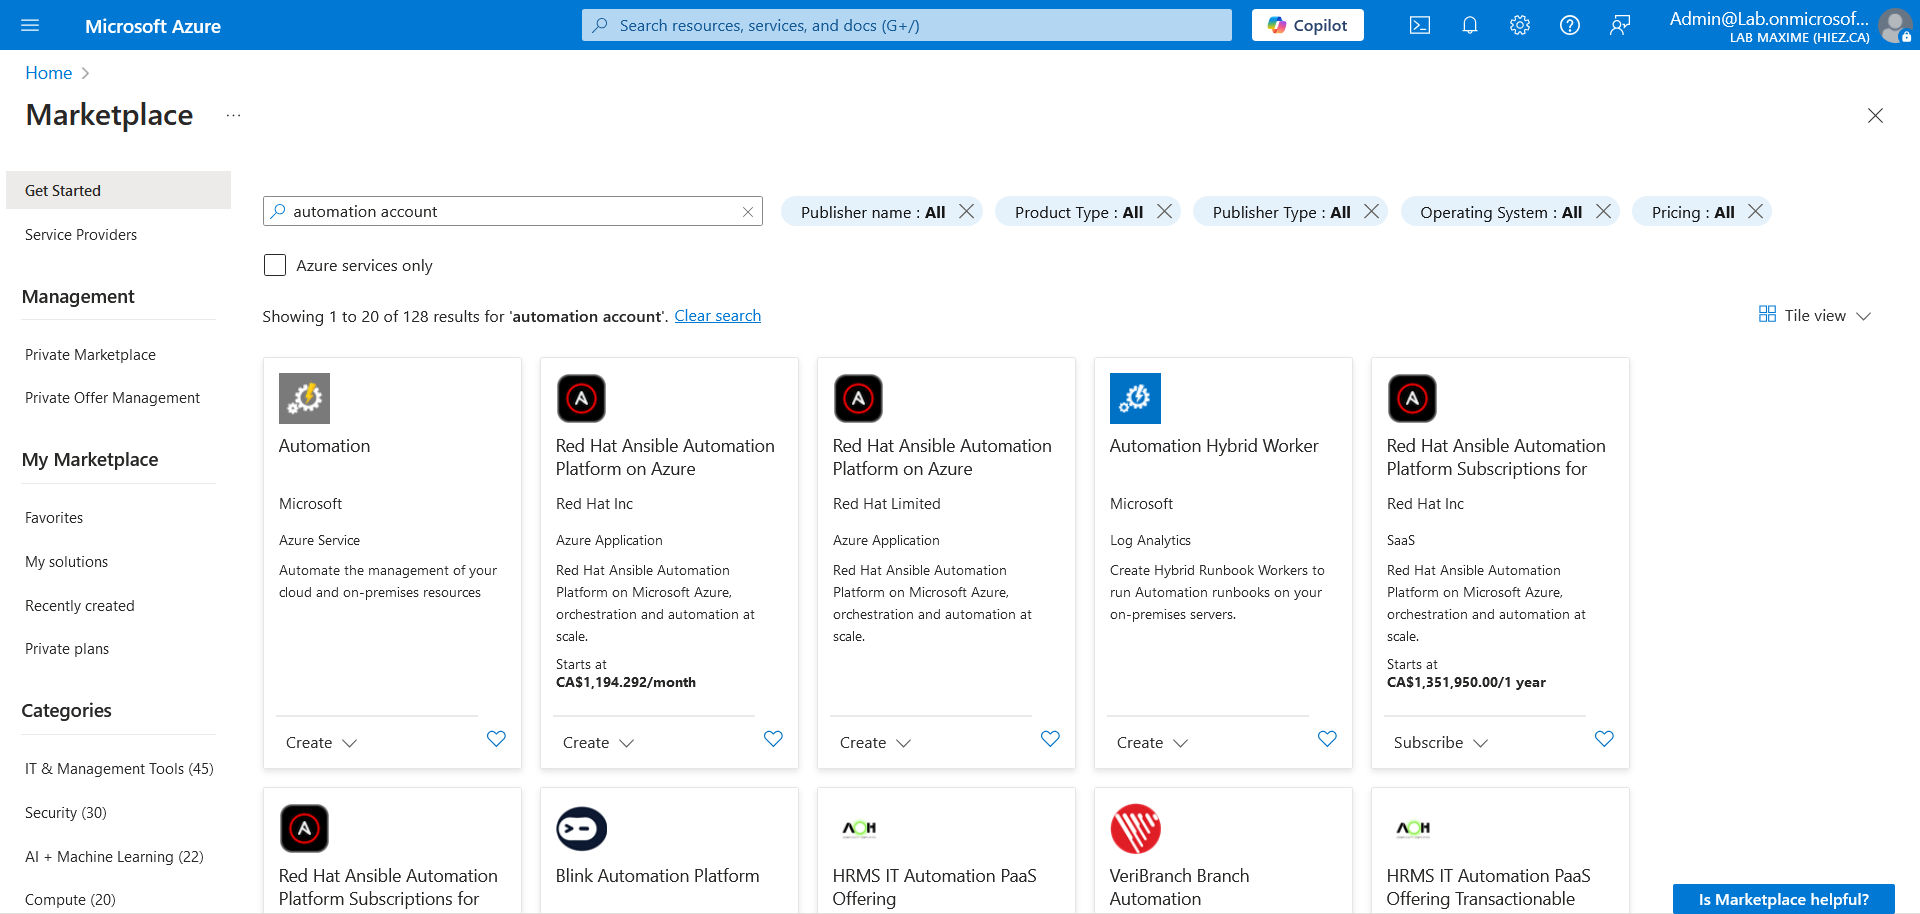
In the search bar at the top of the screen, type Automation account, and click the proposed menu.
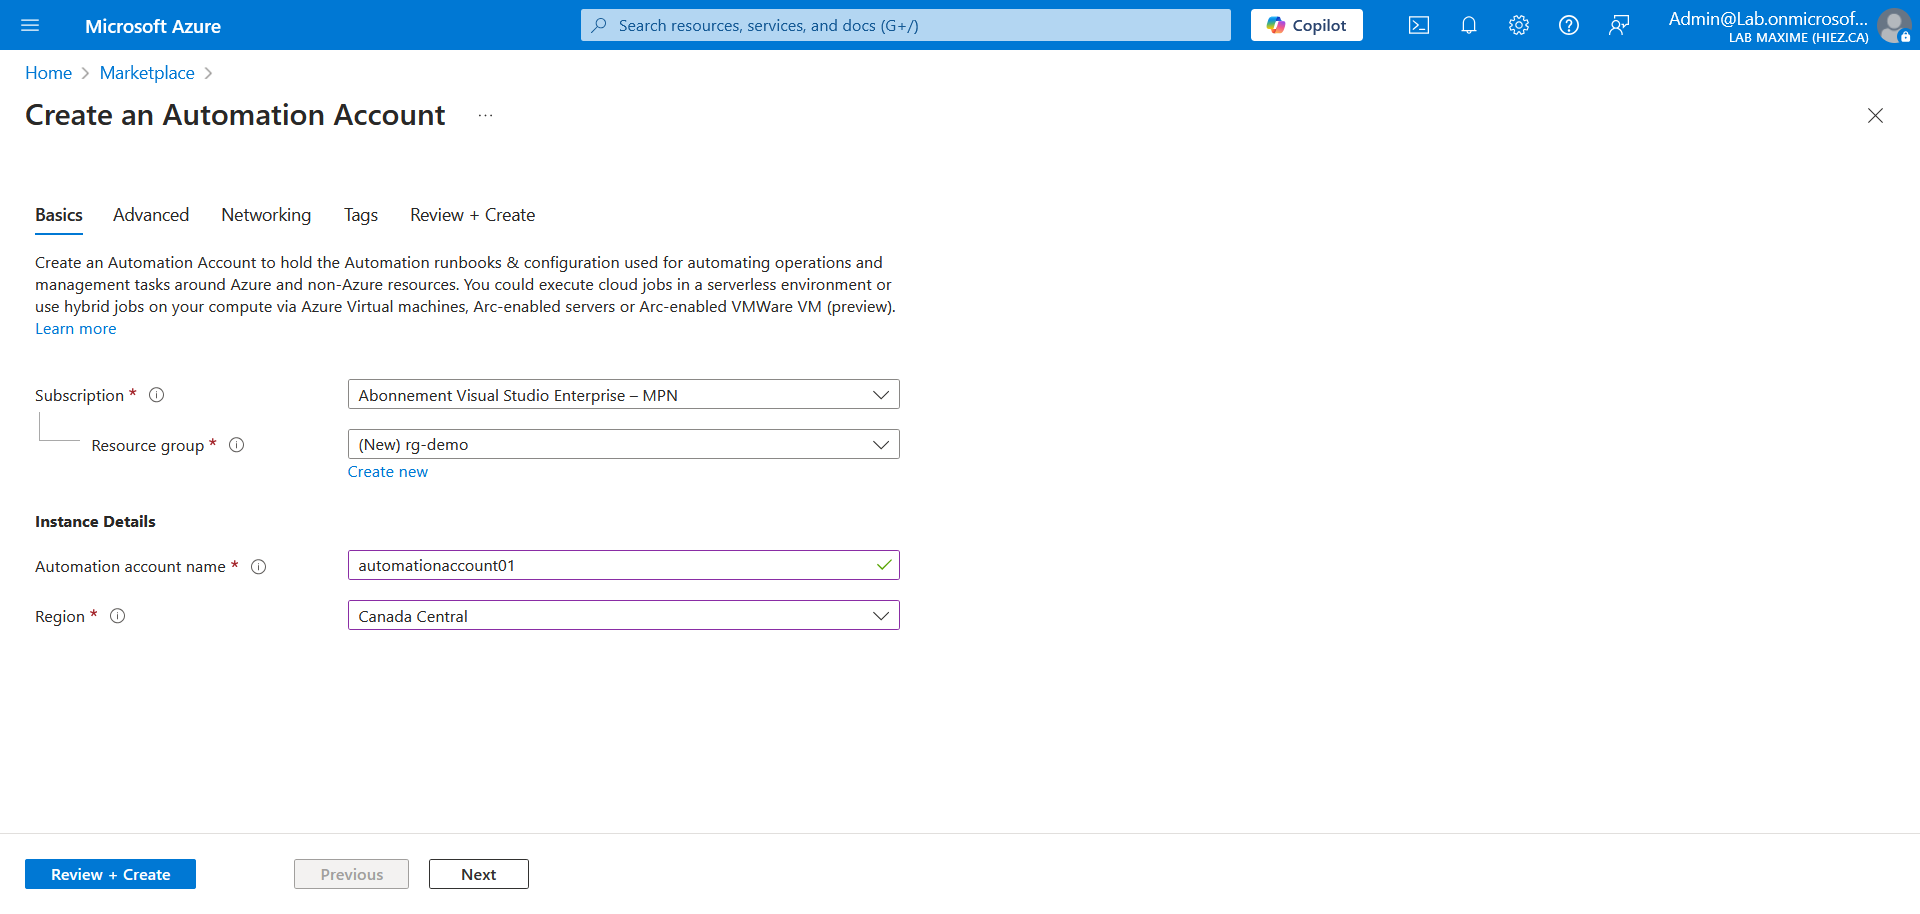
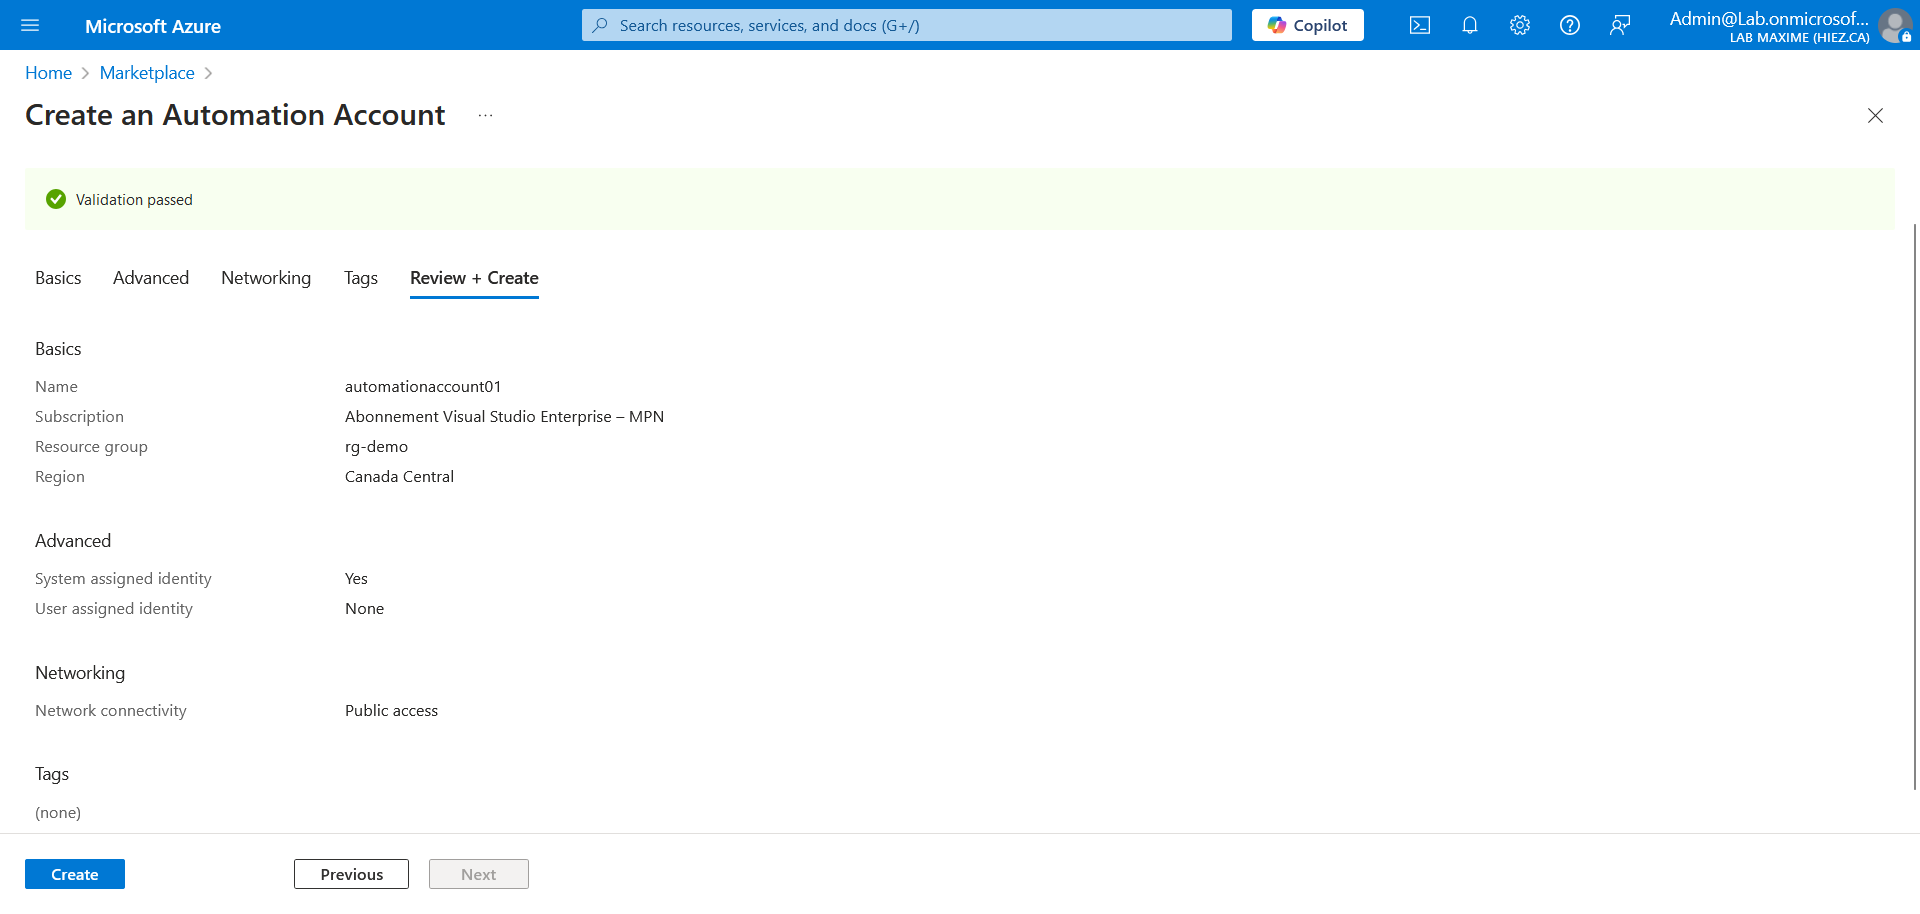
Fill out the basic information (subscription, resource group, name, and region) for your account.
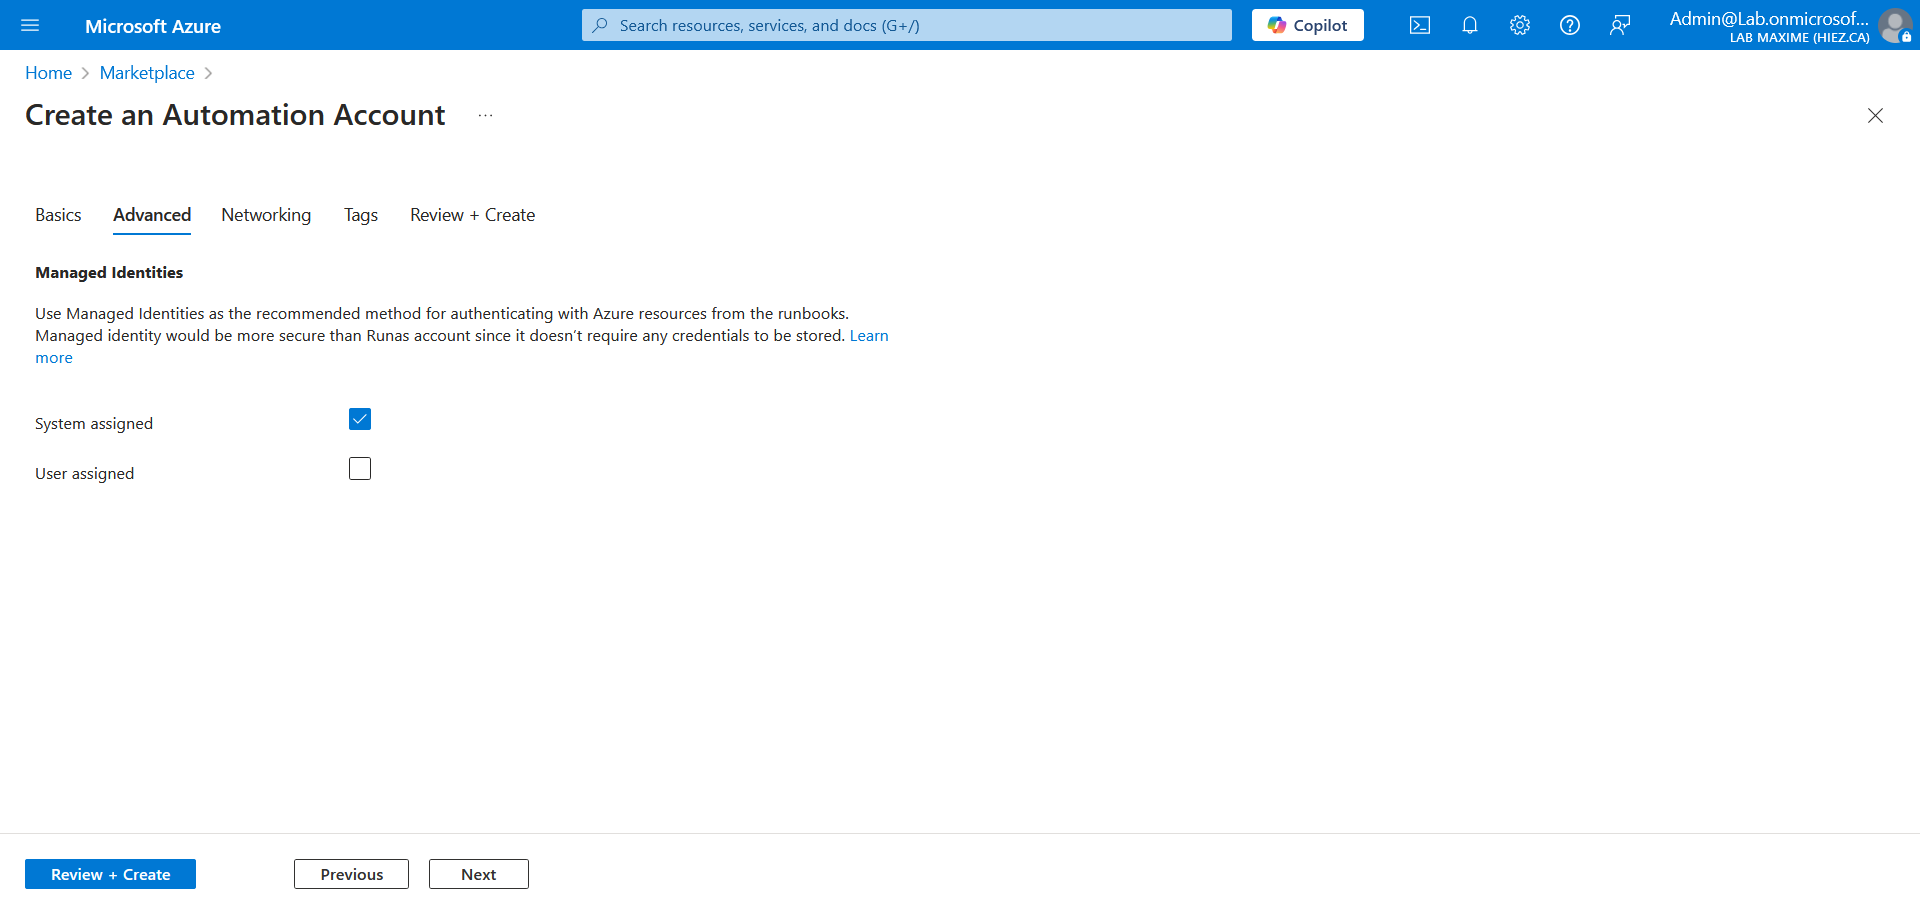
Check the System assigned box.
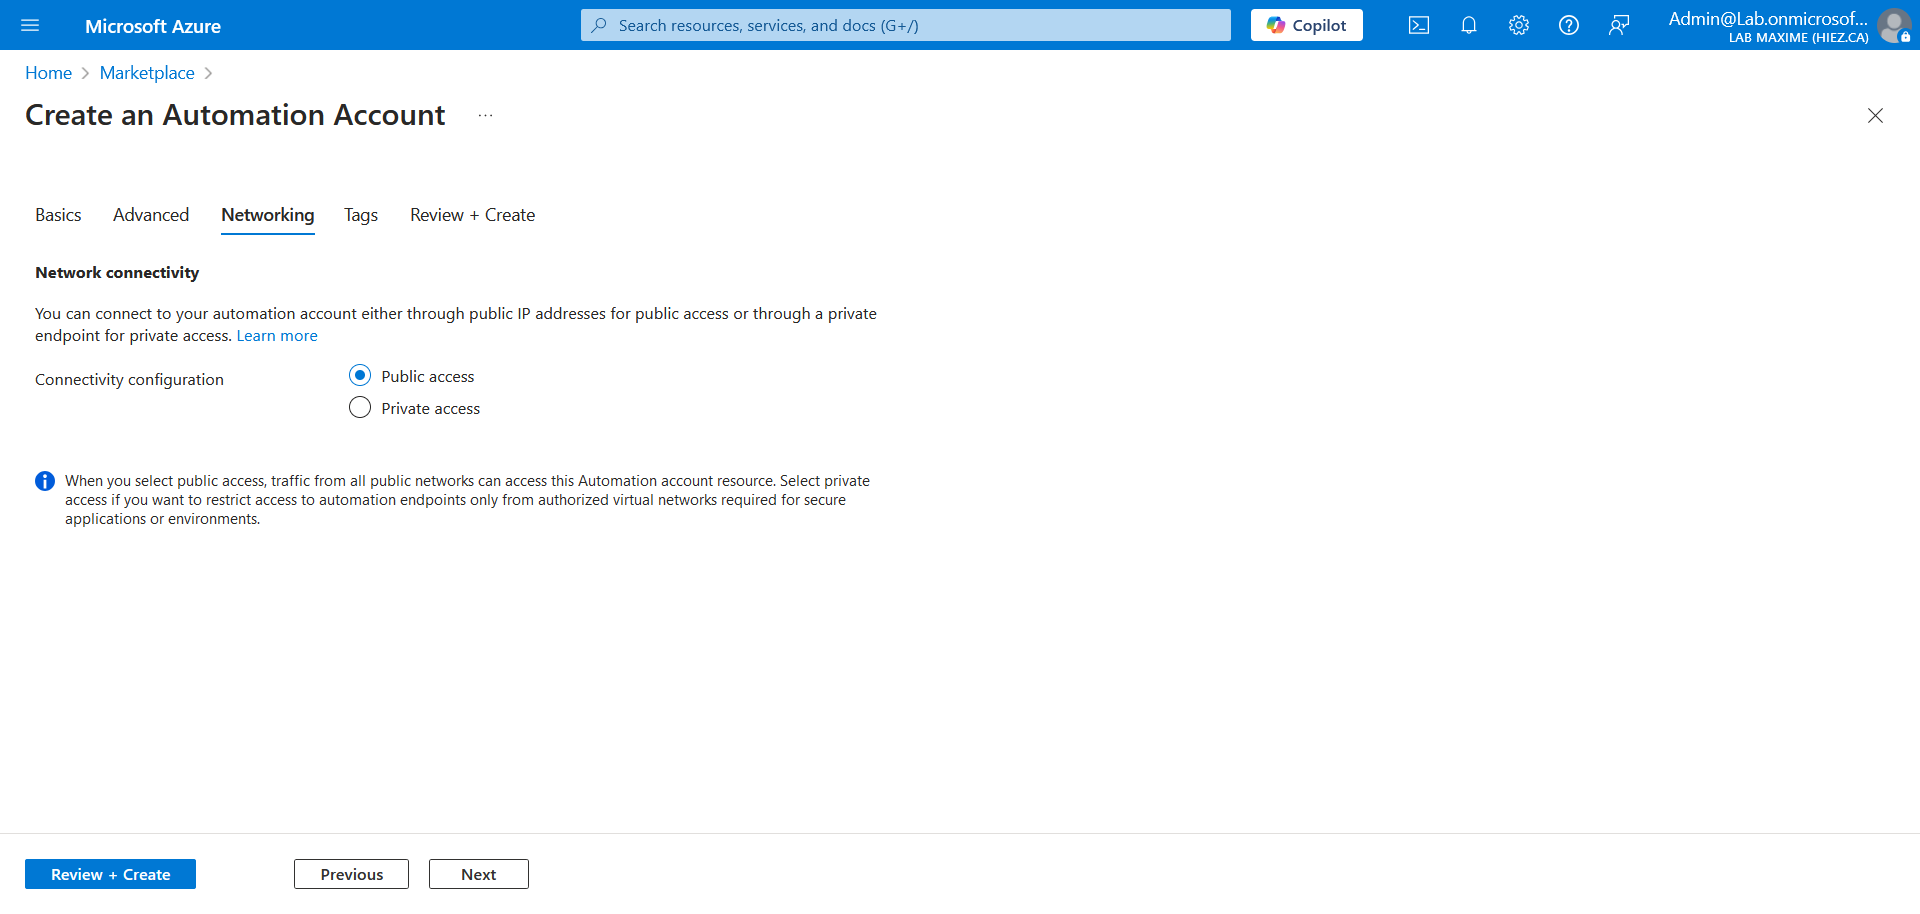
Check the Public access box.
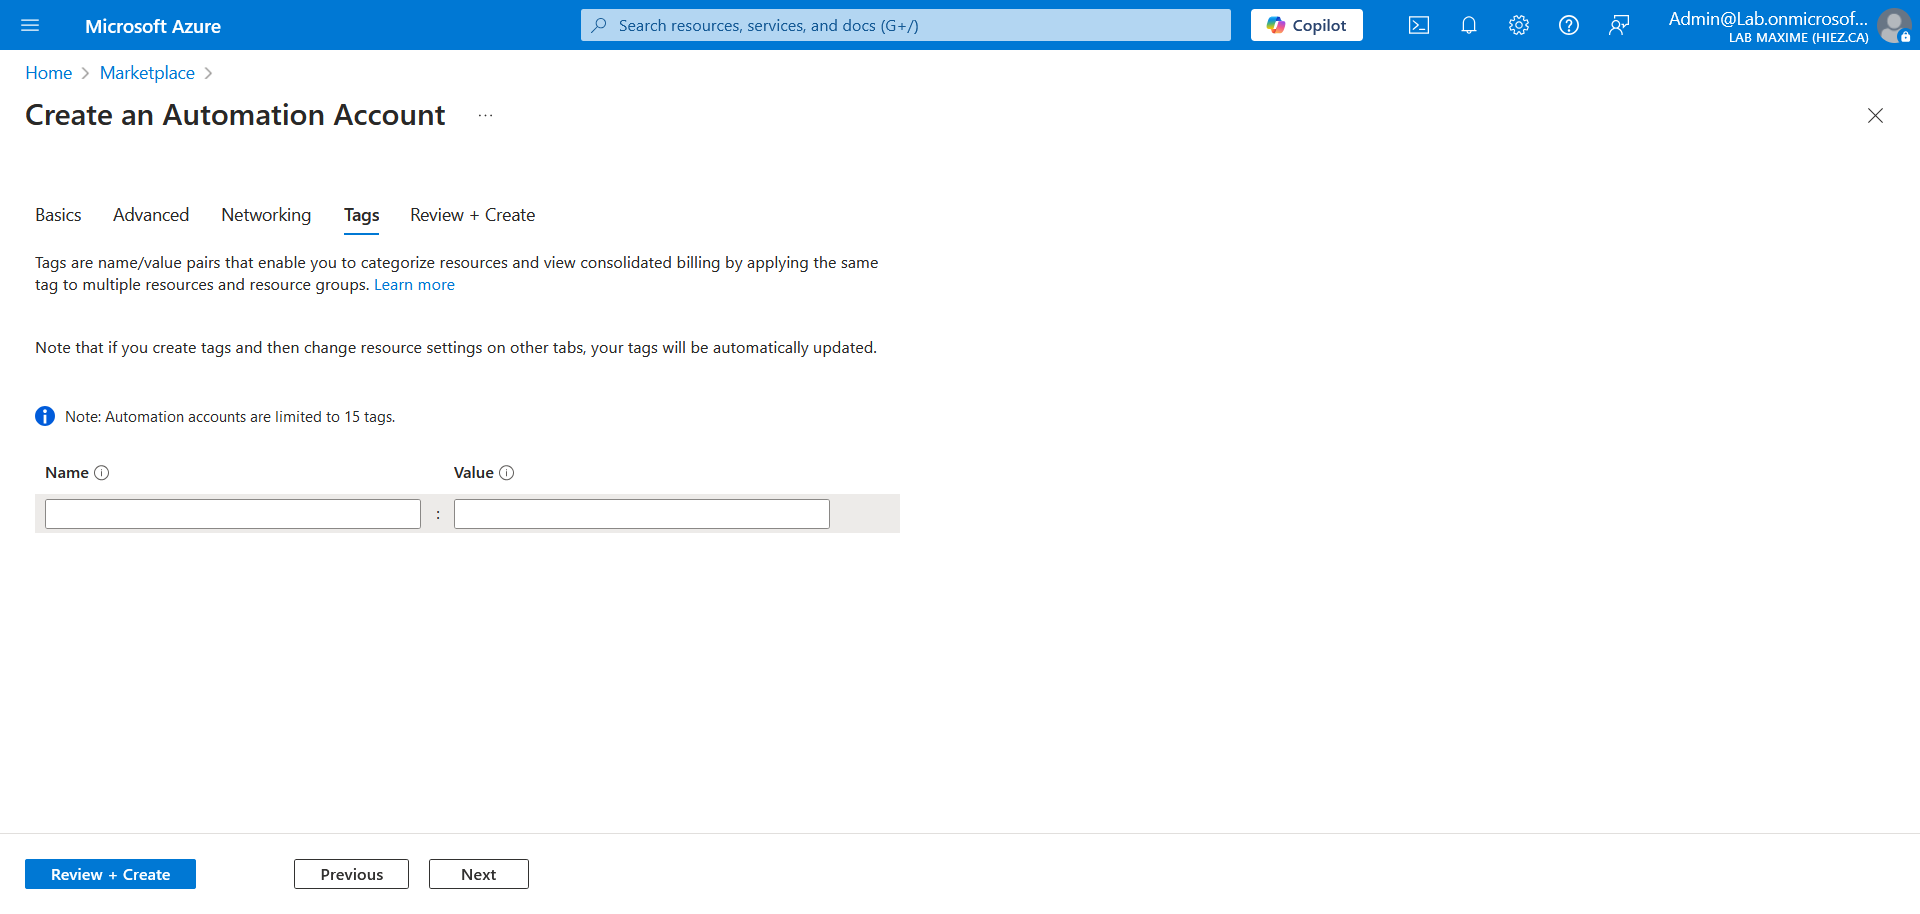
Optionally, you can attach tags. Check the January 2025 post HERE in which I talked about tags.
Your account is now created.
Step 3 : Create an alert to detect inactive VMs
In the search bar at the top of the screen, type Virtual machines and click the proposed menu.
All your virtual machines will be displayed; in my case there is only one (a Windows 10 PC).
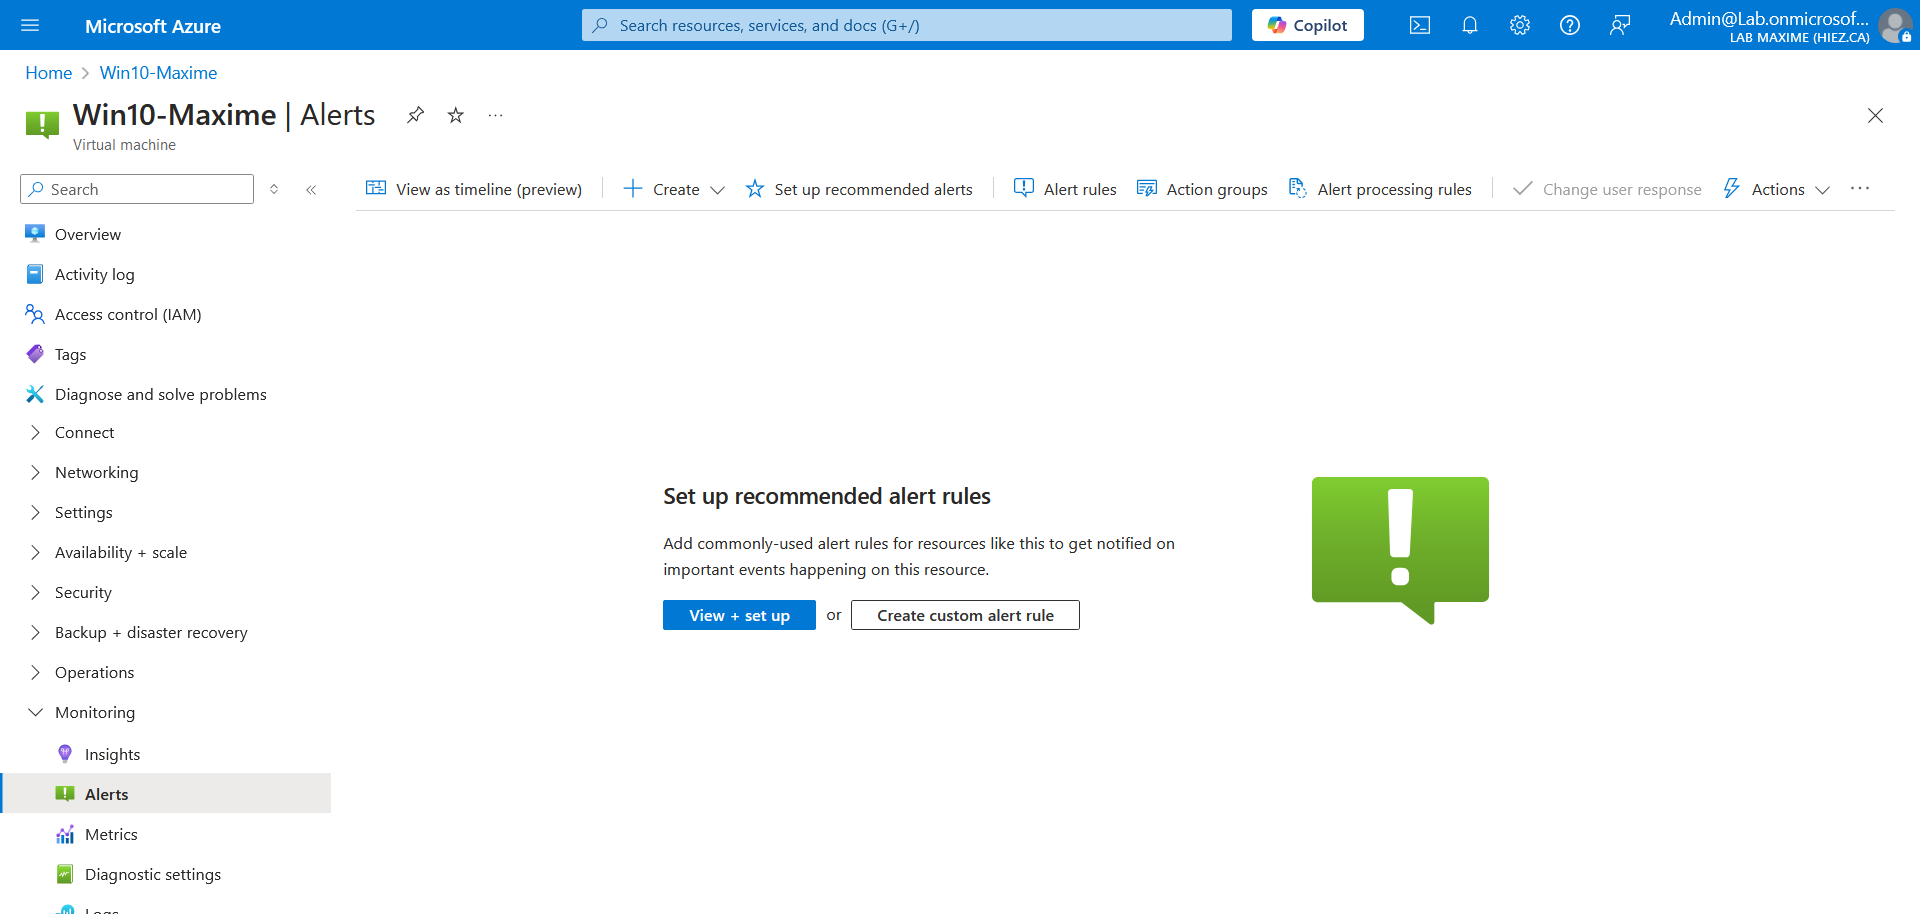
In the left menu, click Monitoring, then Alerts and Create custom alert rule.
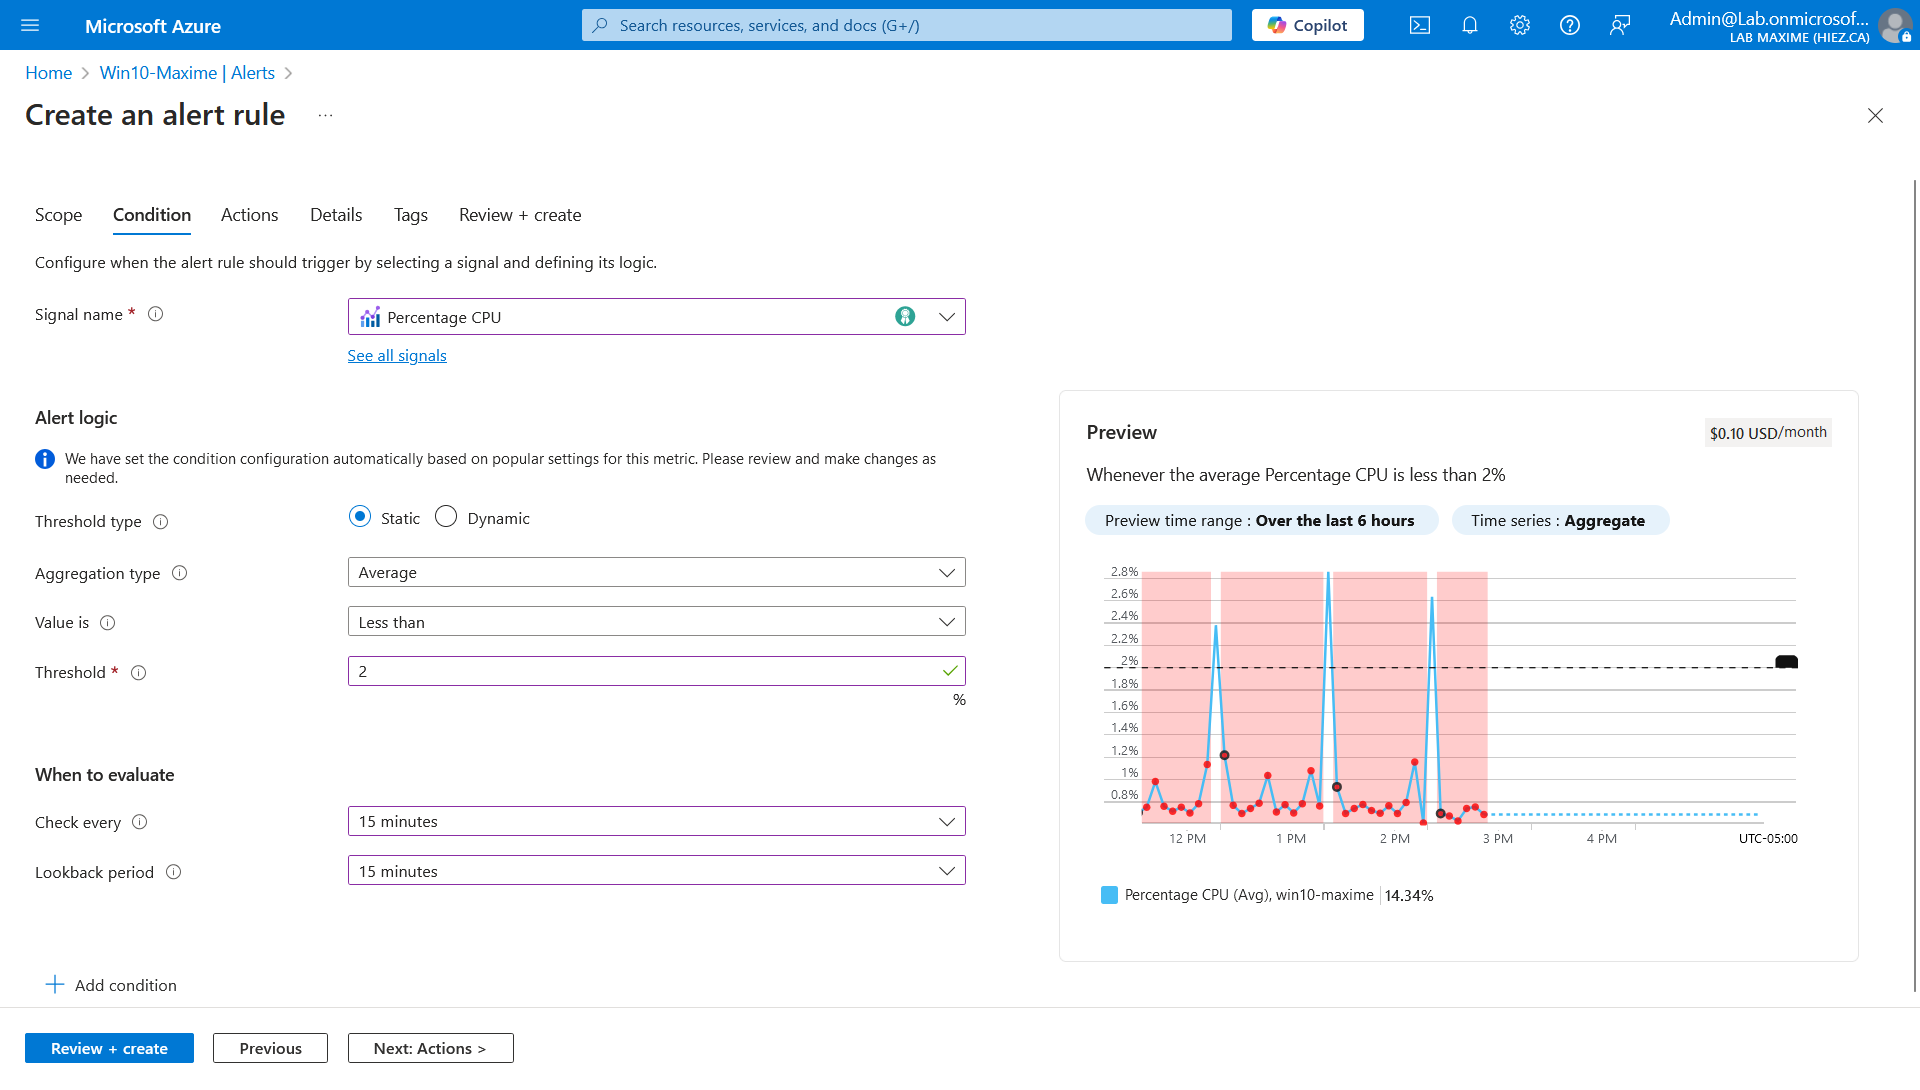
Choose CPU Percentage as signal, set the threshold (I put 2% for the example) and the check frequency (15 minutes in my case).
Step 4 : Create an action to turn the VMs off
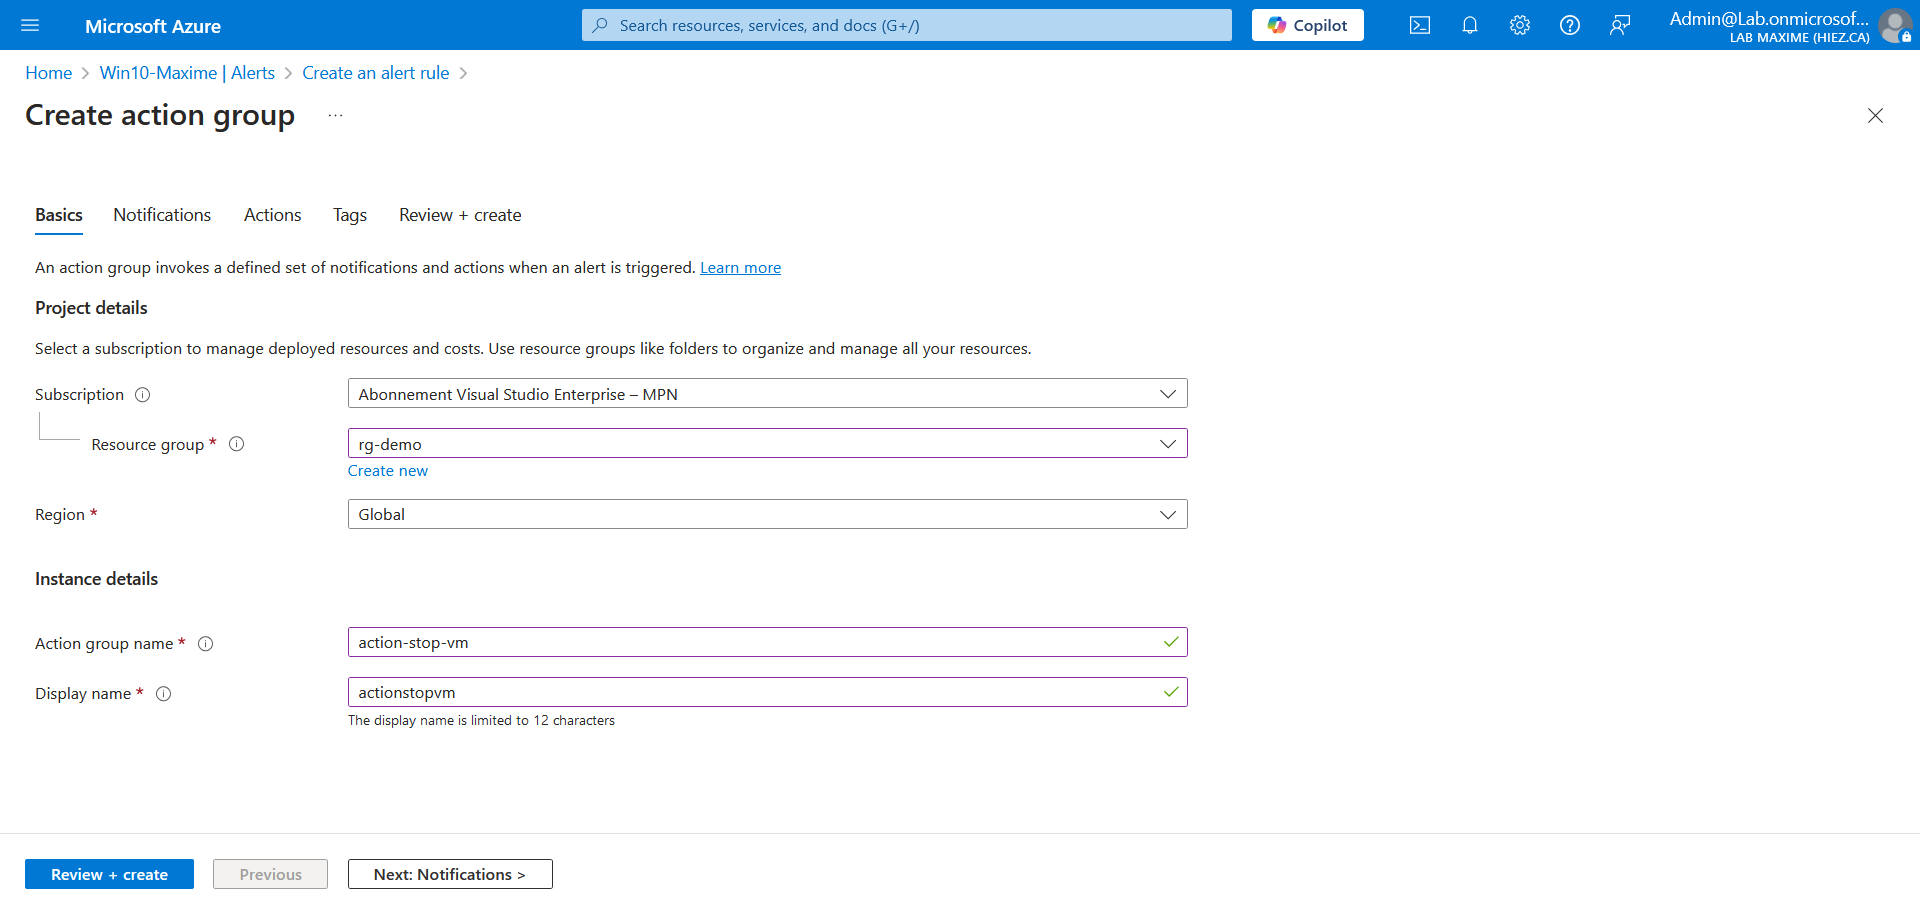
Click the Actions tab, then Create action group.
Fill out the basic information (subscription, resource group, region, and action name) for your action.
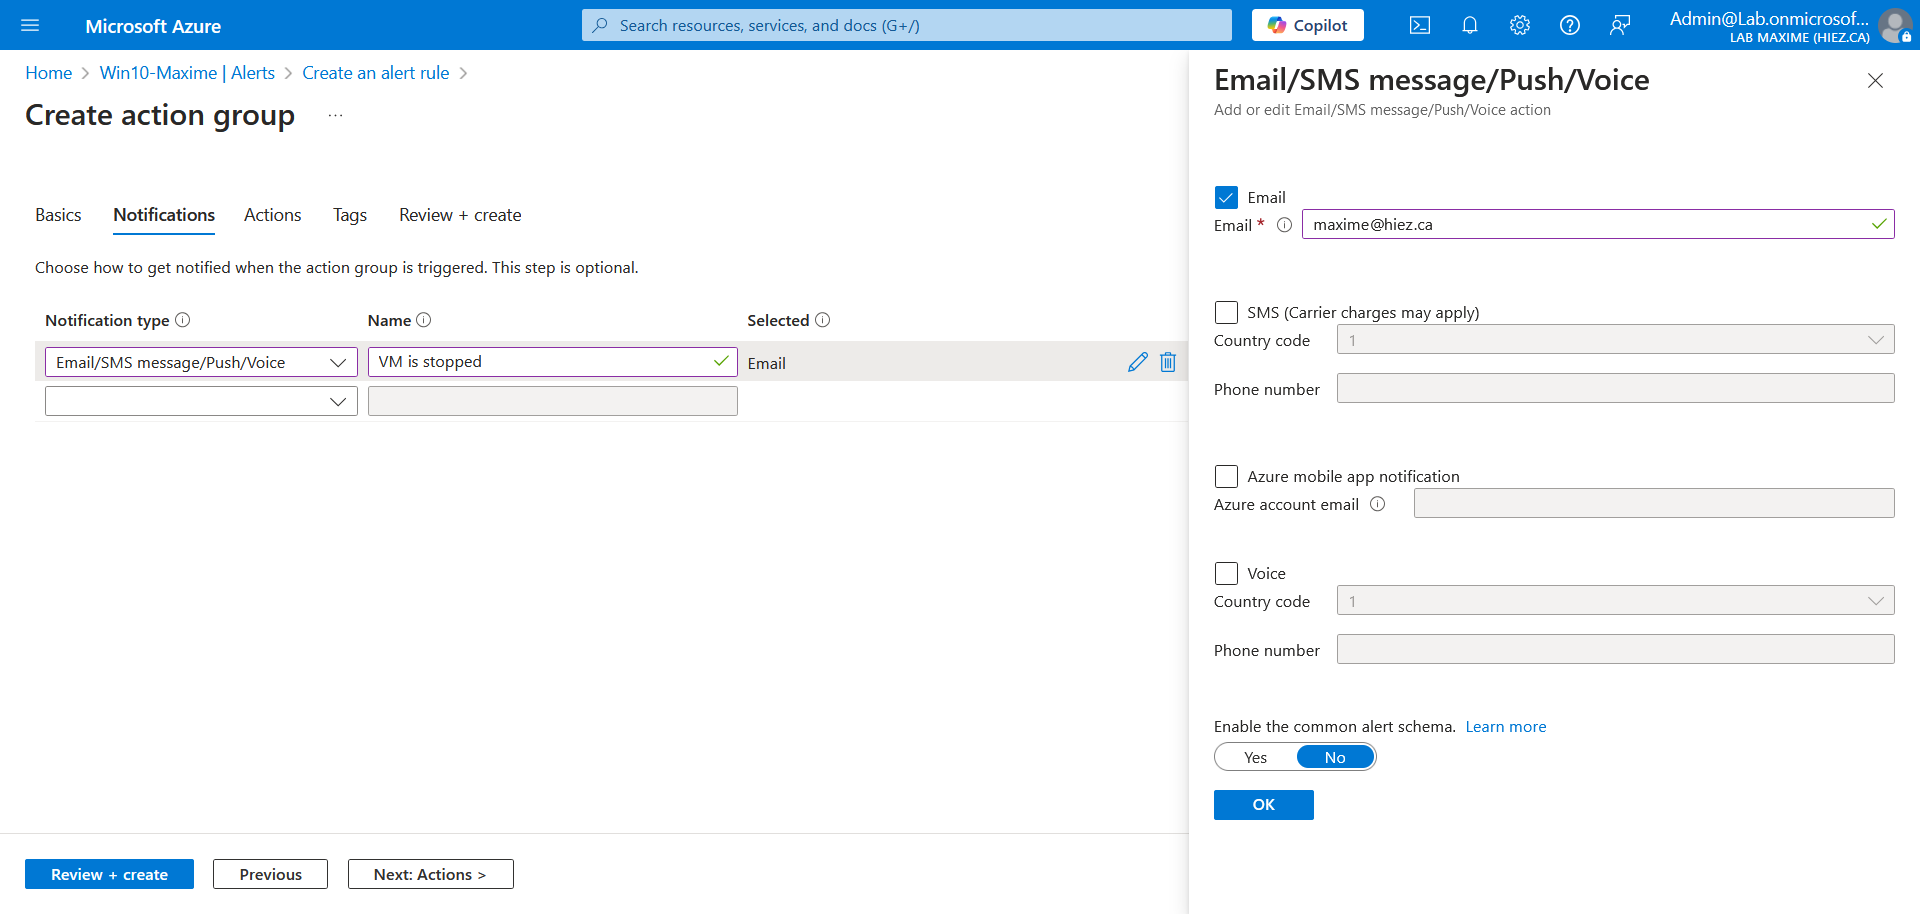
Choose the type of notification. I have configured the notification by email, but it is possible to do it via SMS.
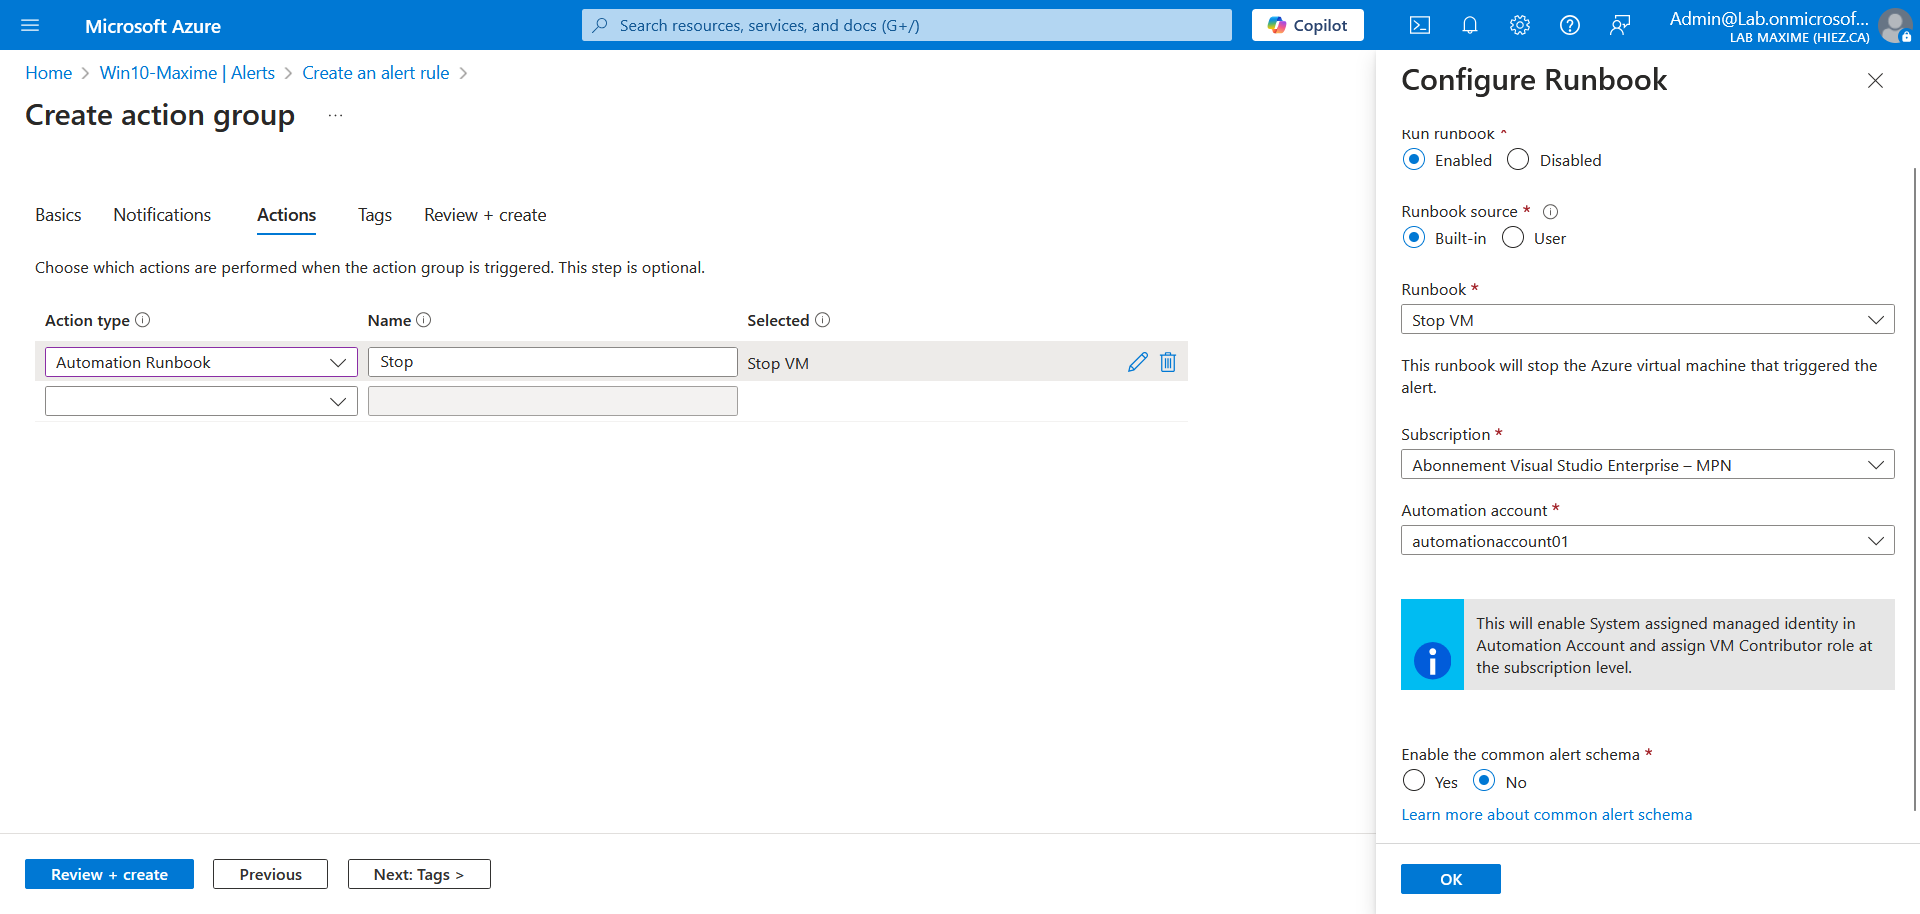
Choose the Stop VM action and the automationaccount01 account created in step 2.
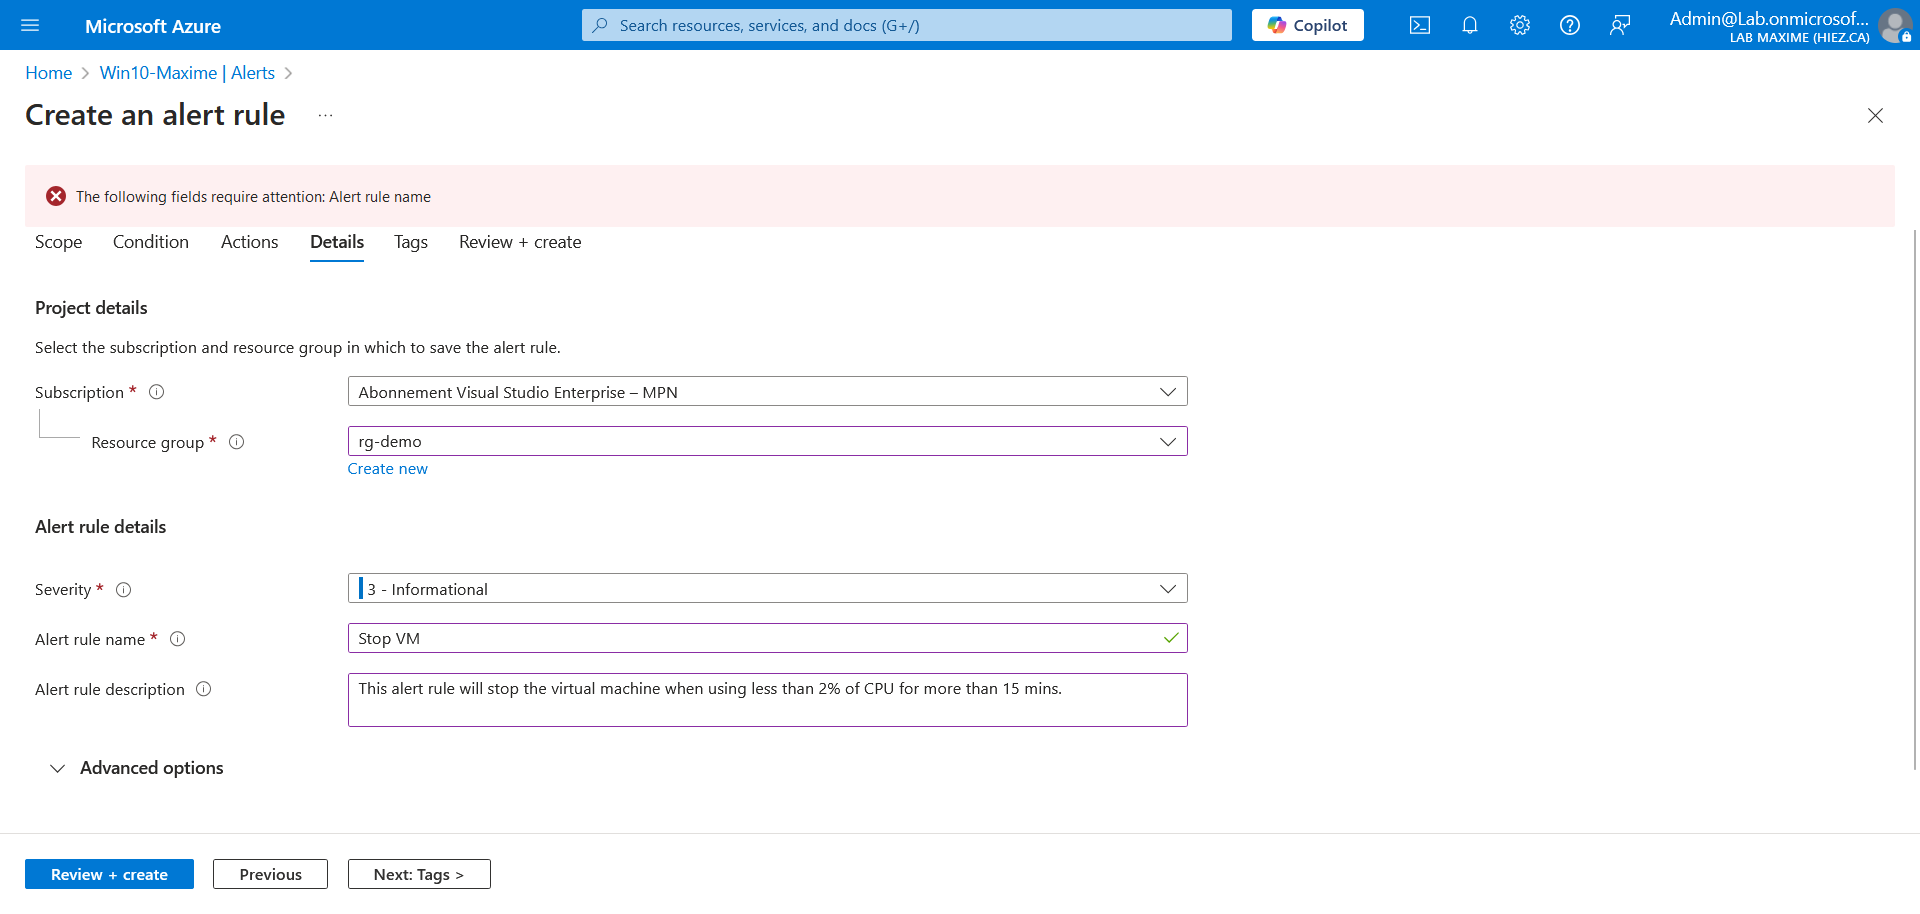
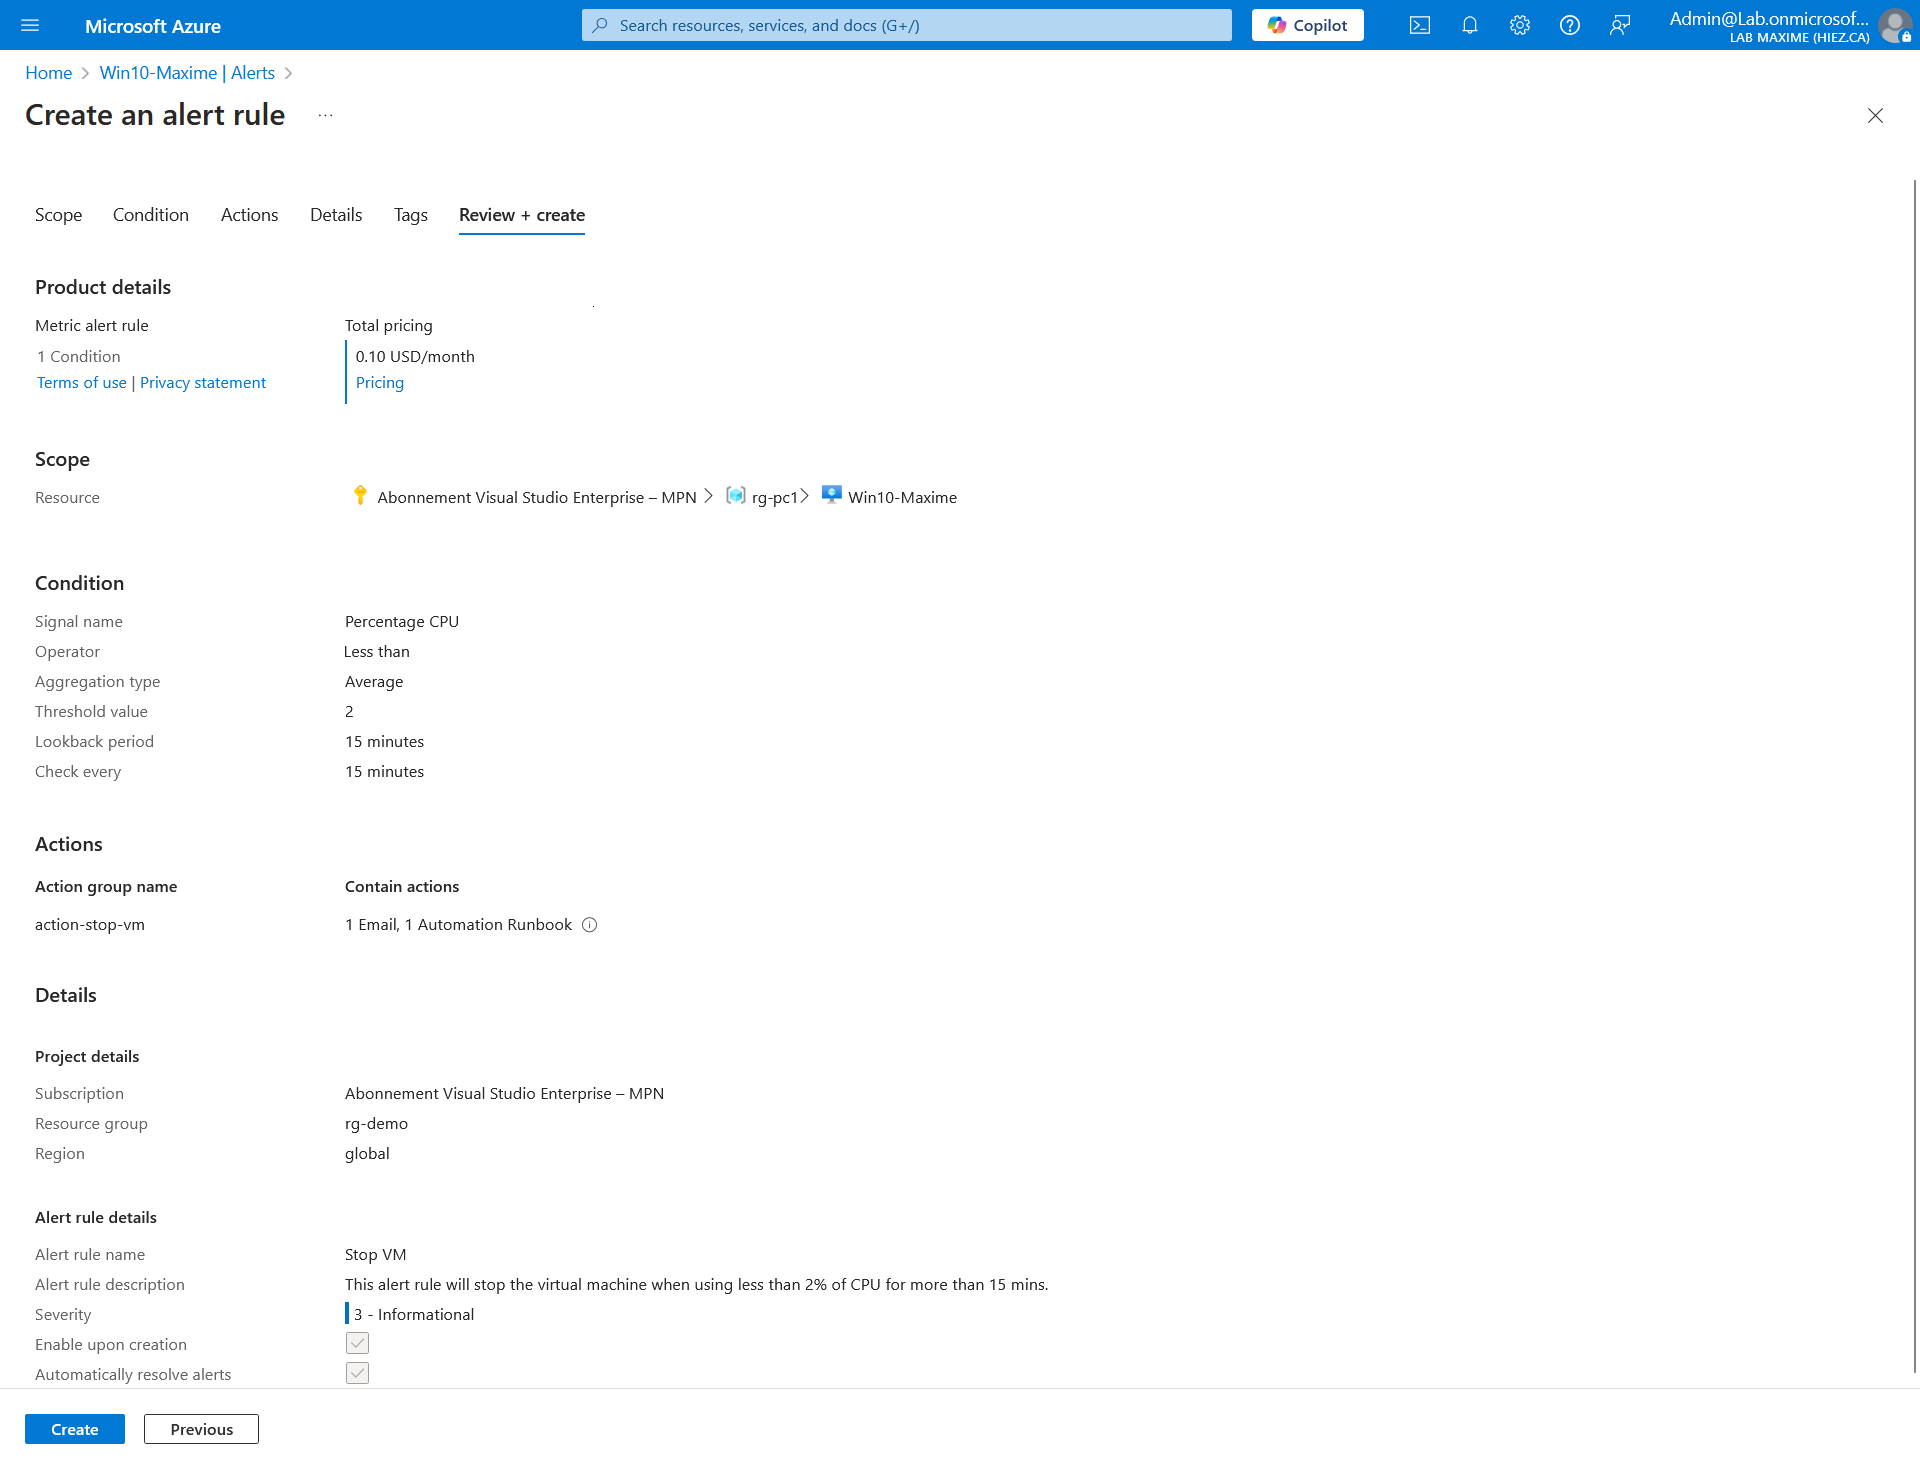
Step 5 : Complete the detection alert
Fill out the basic information (subscription, resource group, severity, alert and description) for your alert.
The configuration is now complete.
Where to see the result ?
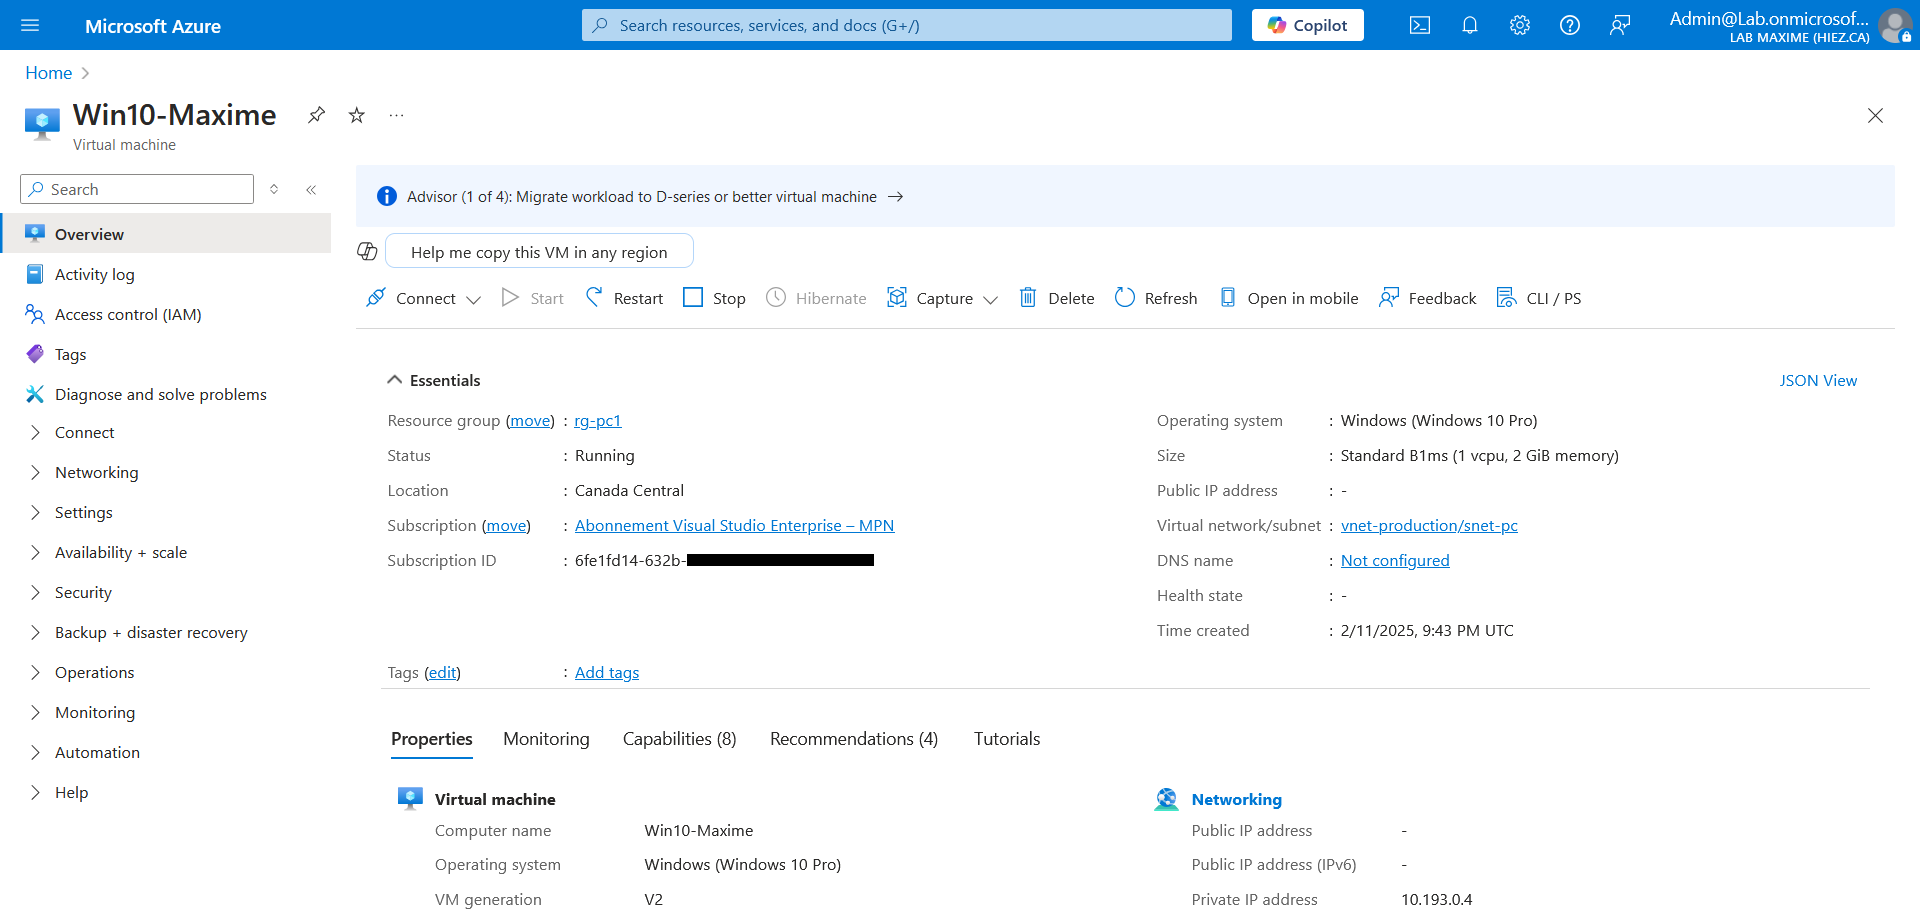
We can see here that my VM is on (running) because the signal (CPU less than 2% for 15 minutes) has not yet been reached. Azure monitors the CPU usage of the VM.
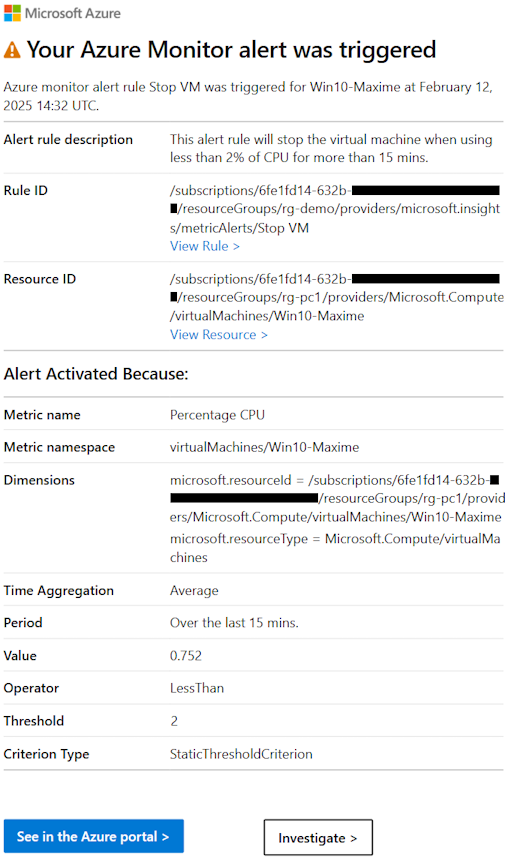
As soon as the signal is reached, I receive the notification email (or SMS).
And I can see that my VM is now turned off (deallocated).
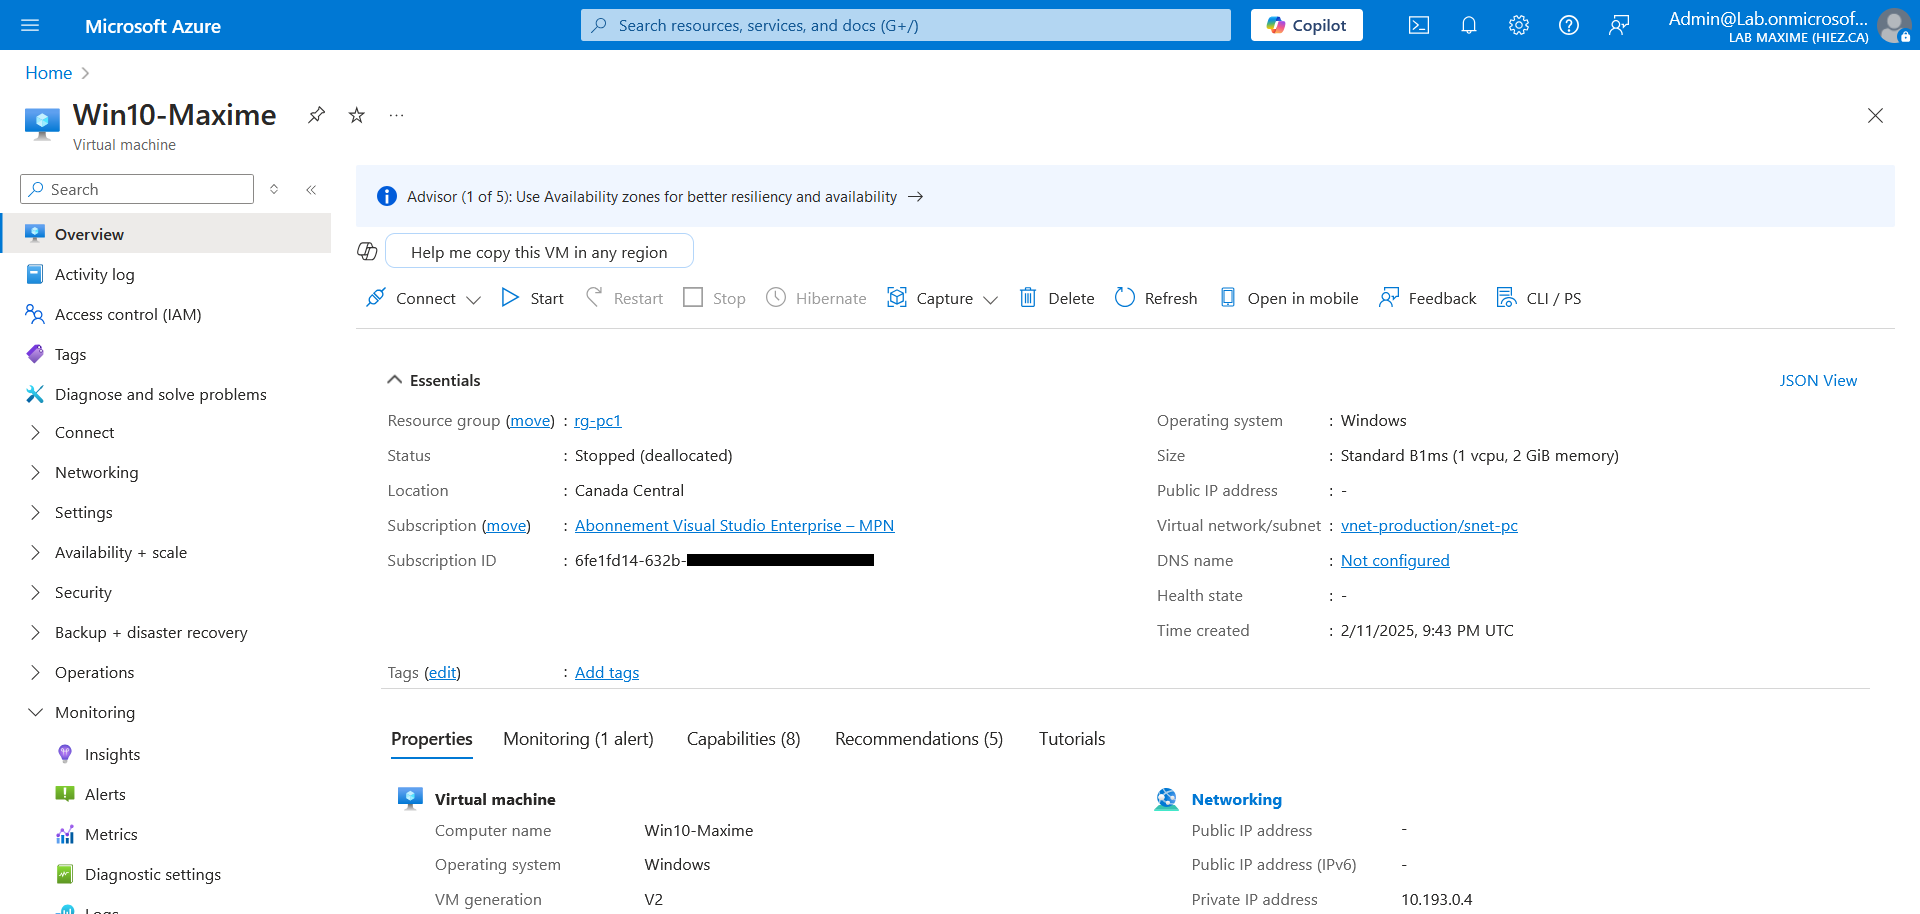
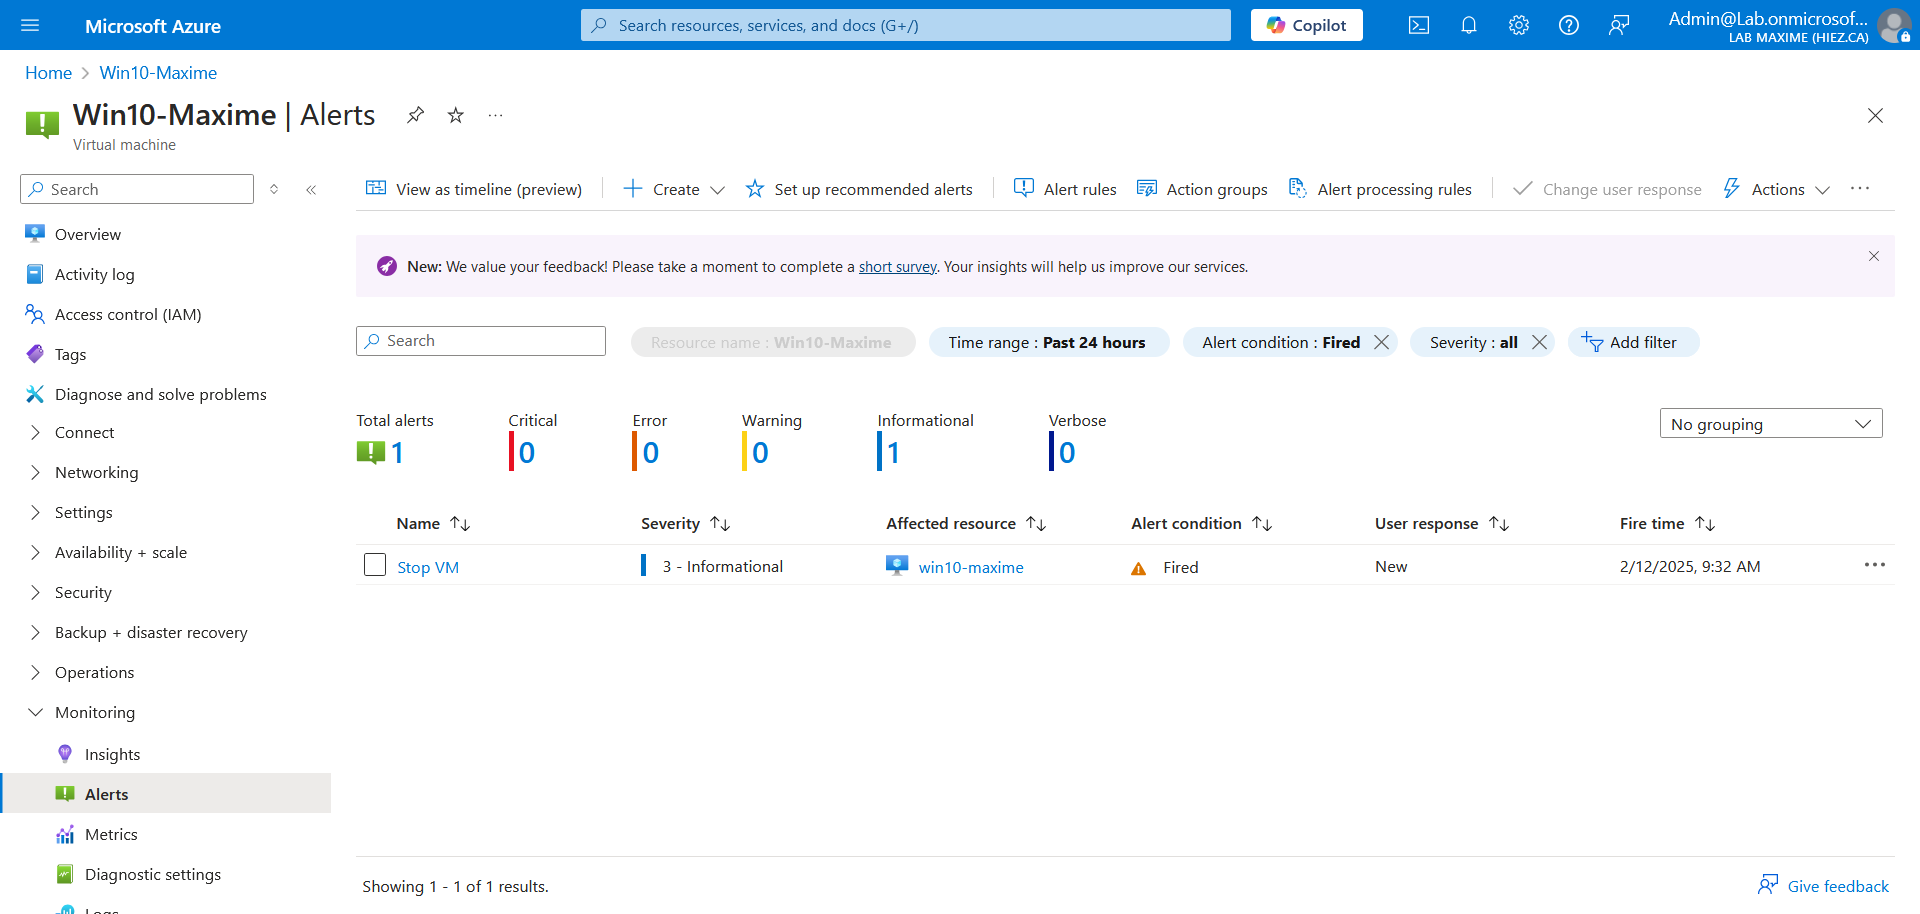
Click Alerts to validate that the programmed action is indeed the cause of the VM shutdown.
Conclusion
Using Azure Monitor Alerts & Automation to automatically shut down inactive VMs provides dynamic savings without manual effort. This method is particularly useful for environments where VM usage is unpredictable. By following these steps, you can optimize your cloud costs and improve the efficiency of your resource management.
You now know how to schedule an alert to shut down an idle virtual machine.
Sources
Microsoft Learn - Azure Monitor
Microsoft - Azure Monitor pricing
Did you enjoy this post ? If you have any questions, comments or suggestions, please feel free to send me a message from the contact form.
Don’t forget to follow us and share this post.
